Longtime readers of the HangZone blog will know exactly what the current temperature is, thanks to our blog post on how to call an external weather API. Unfortunately, they have absolutely no way of knowing what the temperature will be tomorrow, the next day, or even the three days after that. By popular request, we will convert the weather app from our previous tutorial into a 5 day forecasting tool!
Getting Started
If you haven’t already done so, complete our previous weather tutorial. We’re going to modify the code and storyboard from that app, so make a fresh copy of it in Finder. I renamed the new project “Weather Forecast” to differentiate it from the old one. Open up the new project in Xcode, and we’re ready to go.
Modify the Storyboard
Our old storyboard only had a single label and button. We need more labels in order to display five days of forecasted data. First, slide the button down to the bottom of the storyboard. This will give us some much needed room.
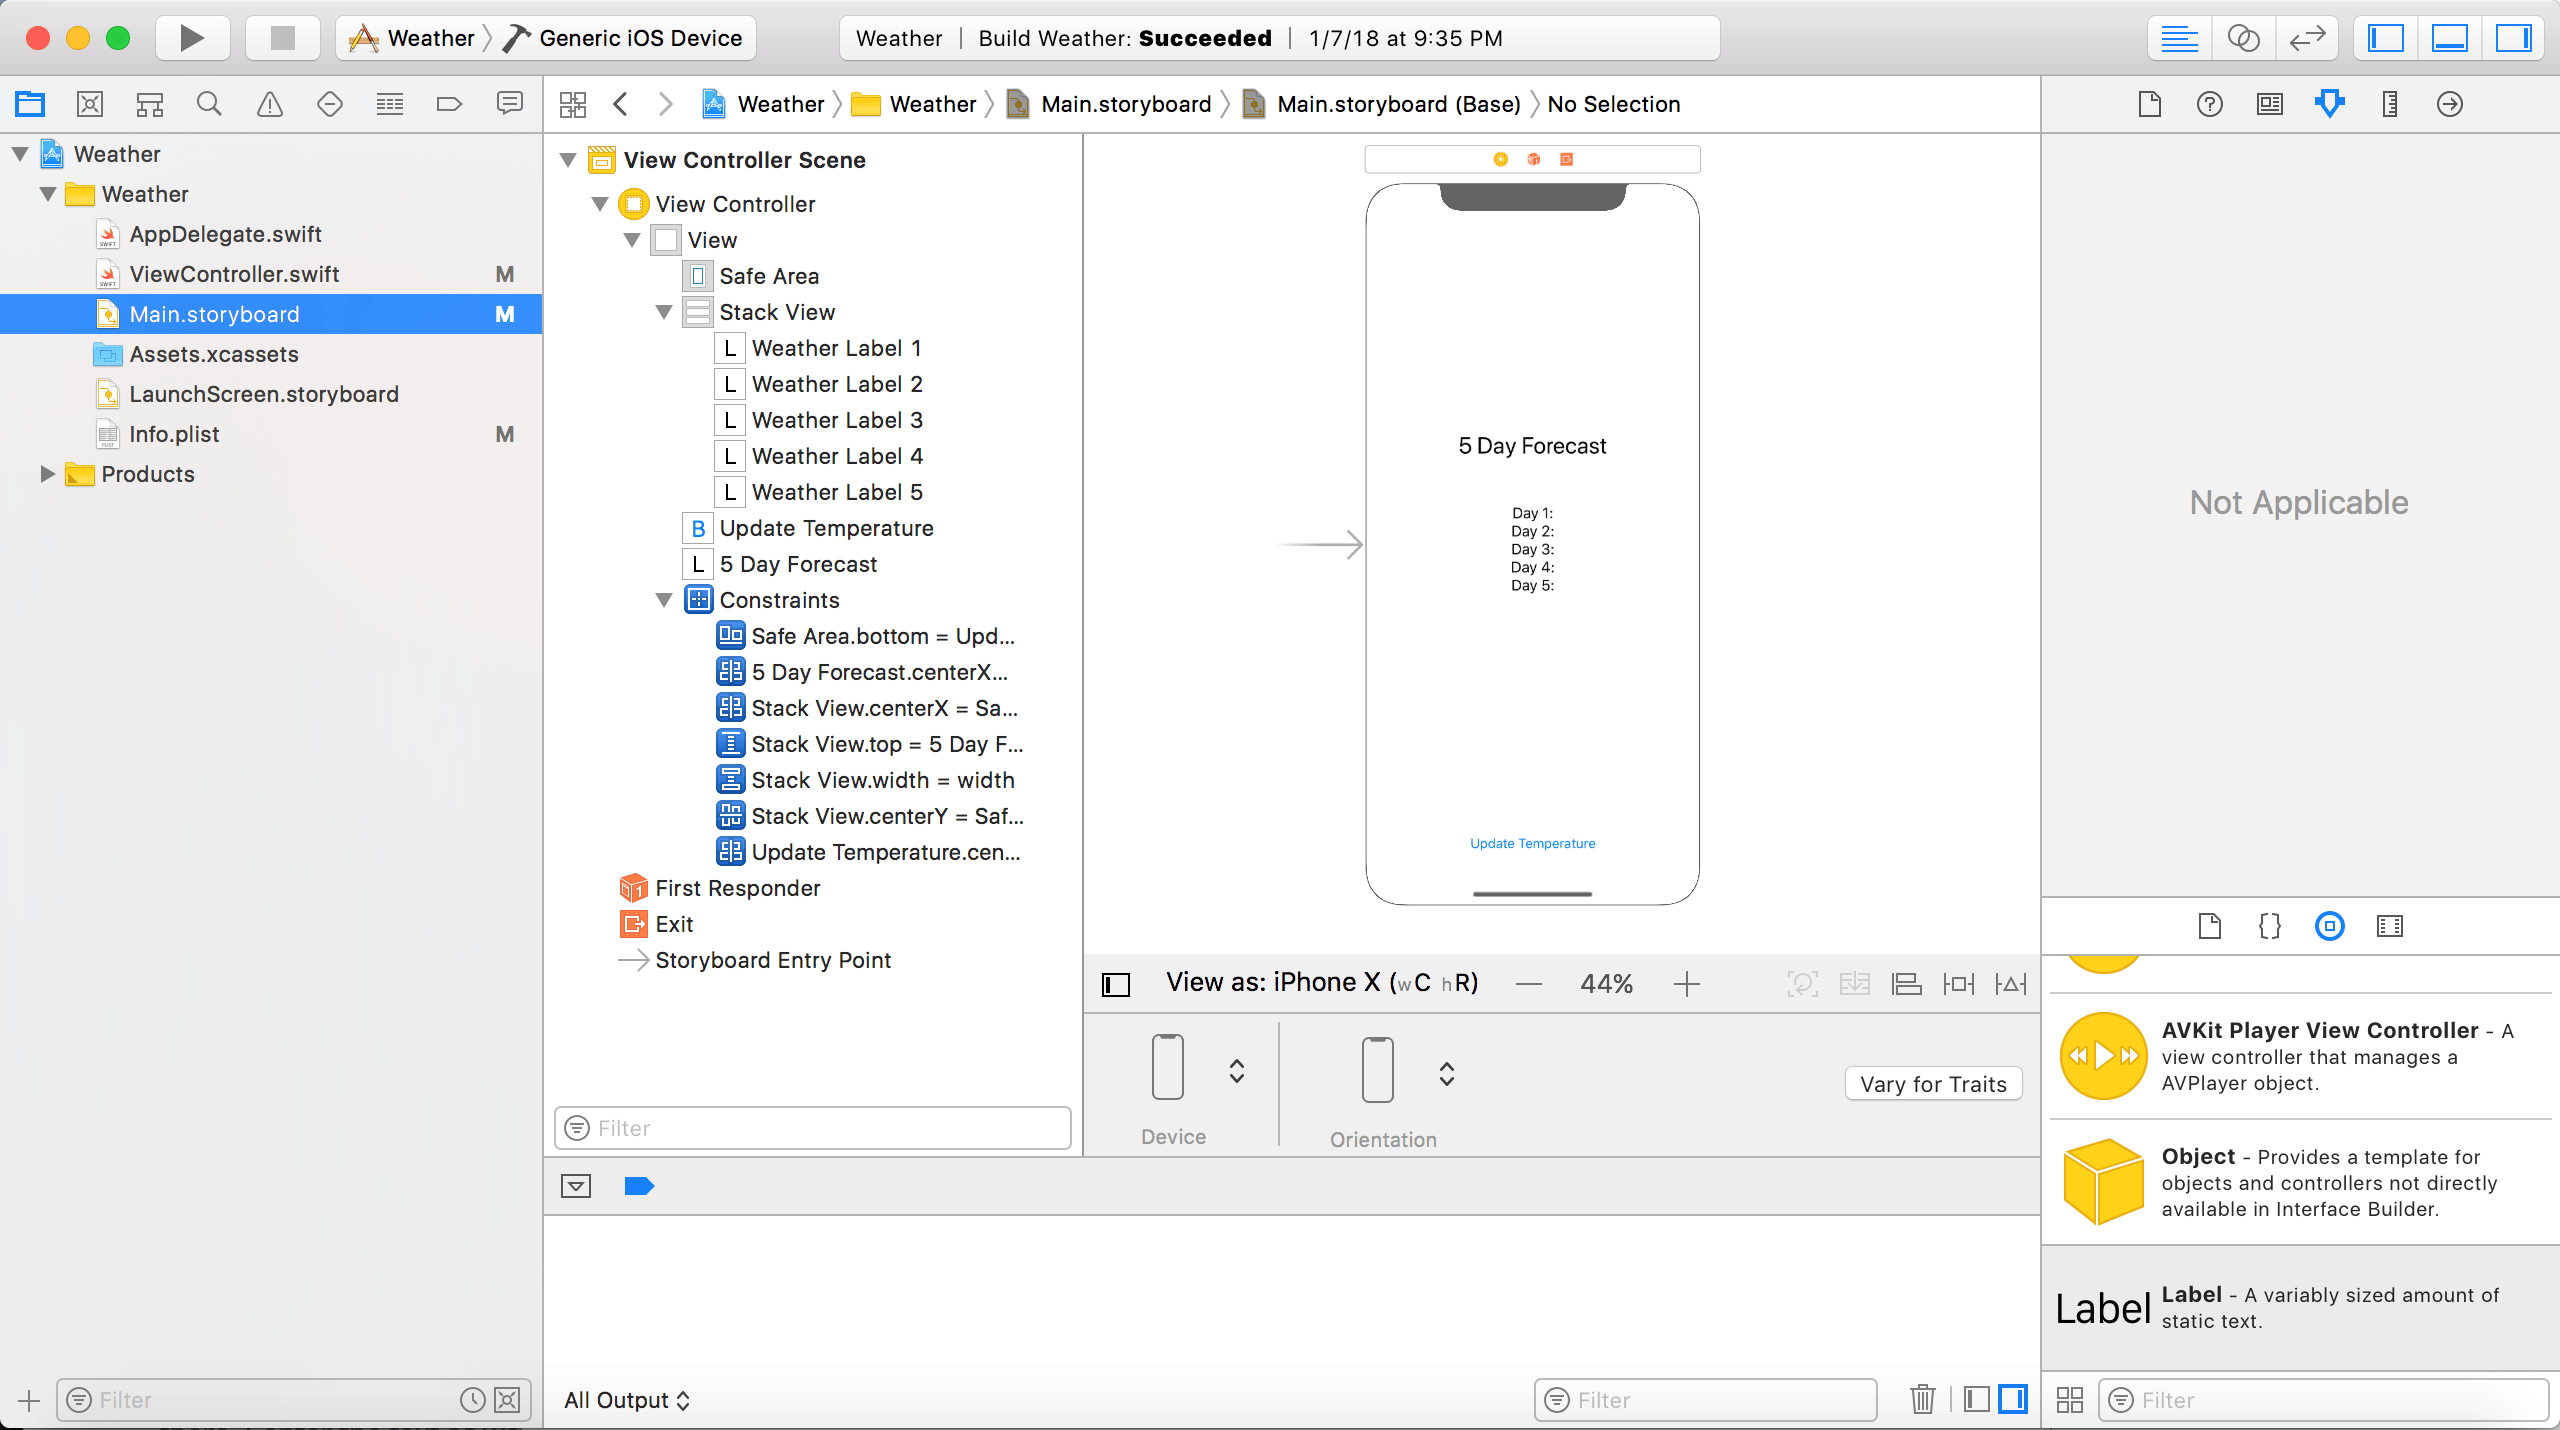
Next, let’s make the extra labels. We already formatted our label in the last tutorial to make sure the text doesn’t get truncated. To avoid doing that again, simply highlight the label in the left pane and copy and paste it four times. To avoid confusion, rename them Weather Label 1, Weather Label 2, Weather Label 3, Weather Label 4, and Weather Label 5. Spread them out vertically in order on your storyboard so they’re not on top of each other. Change their text in the storyboard to “Day 1:”, “Day 2:”, “Day 3”, “Day 4:”, and “Day 5:”.
Now let’s format the labels. Highlight them all, then select Embed In Stack View from the Editor menu. It’s time for some constraints! Center the stack view horizontally and vertically in the safe area, and make it the width of its container. Center the button horizontally in its container as well, and give it a trailing constraint to the bottom of the safe area.
For aesthetic purposes, we can add a title as well. Drag another label around the top middle of the storyboard. Give it a Title 1 font, and change its text to “5 Day Forecast”. Adjust the width if needed. Give it a horizontal center constraint. I gave it vertical constraint of 50 above the stack view. You could use multiple constraints here to theoretically prevent the title from going too high, but this will work for portrait and landscape orientations on different iPhone and iPad sizes.
Your storyboard should look something like this in portrait mode.
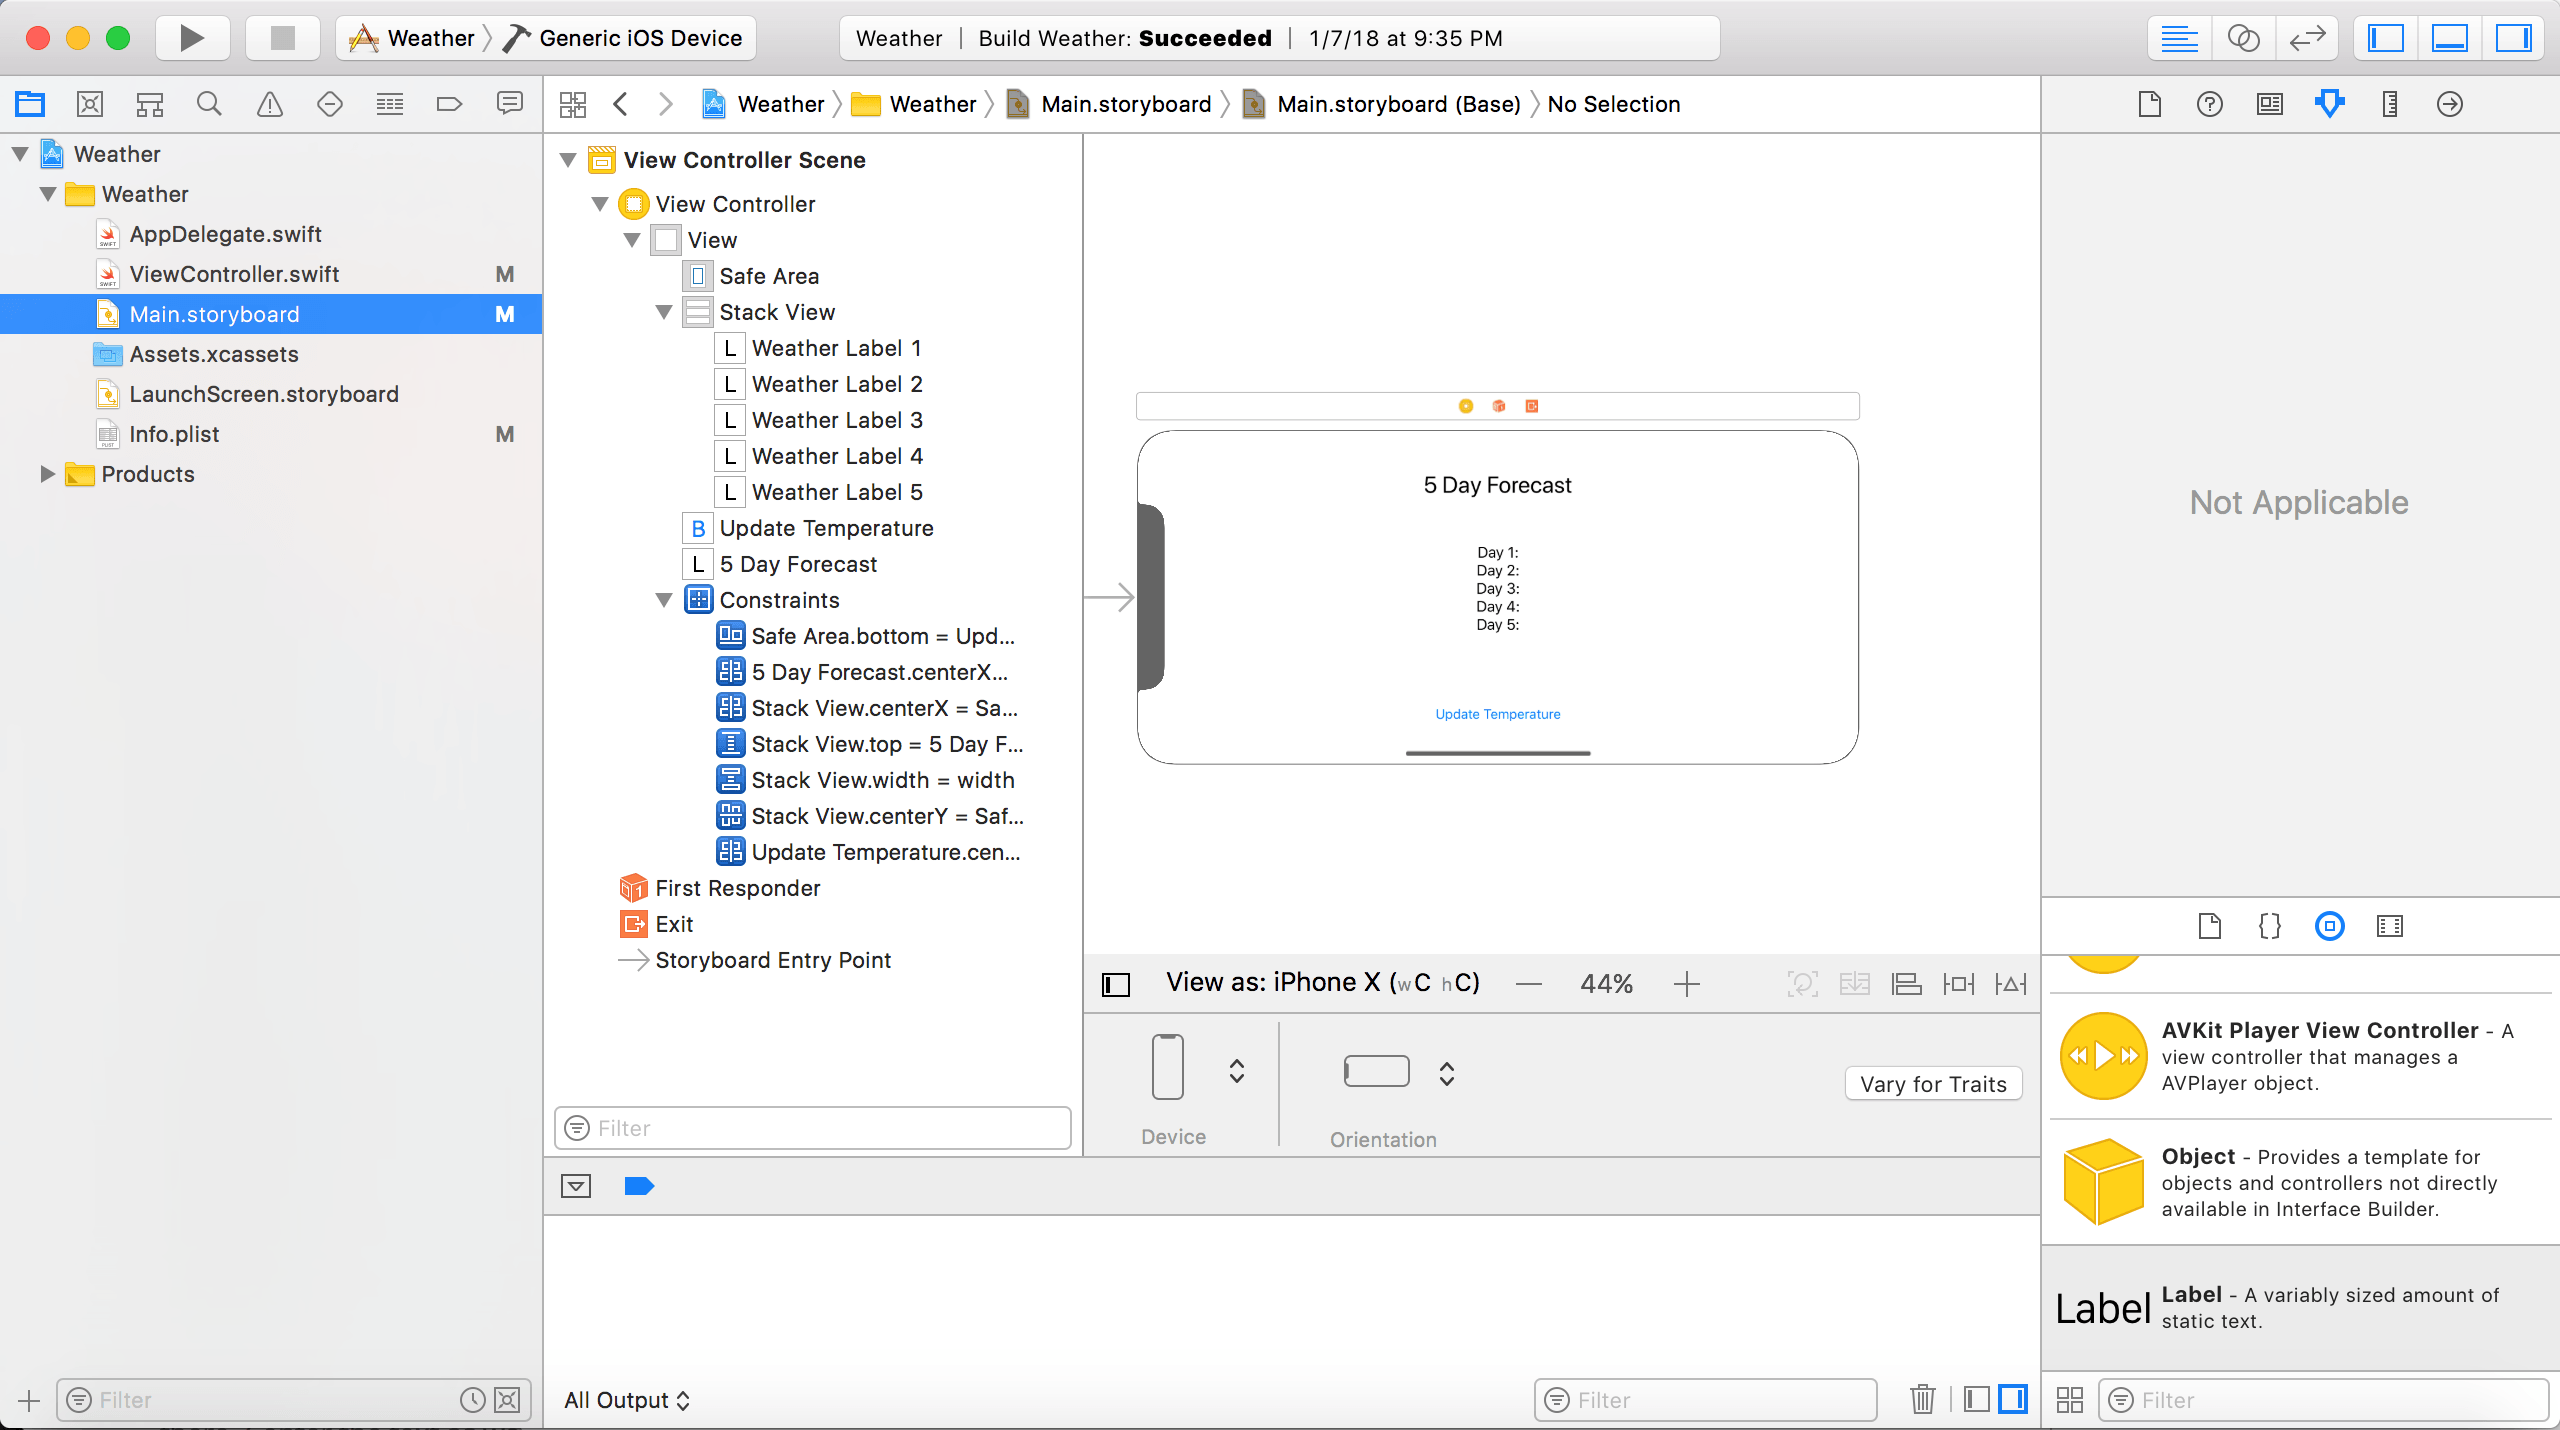
Here’s the landscape version.
Change the Instance Variables
We need to reconfigure the instance variables before we go any further into the code. Delete the existing weatherLabel from ViewController.swift. We’ll replace it with the five labels we just created. Head over to the storyboard. Control-click on the first Weather Label 1, and delete its connection to the now defunct weatherLabel variable.
Now that we have a fresh connection slate, open up the Assistant editor, and drag five connections for Weather Label 1 through Weather Label 5. We don’t need a connection for the title, and the connection for the button is already in place from last time.
Adjust the API Call
We’ll be using OpenWeatherMap again for our API. Fortunately, they provide 5 day forecasting data for free! We just need to change the API call slightly.
api.openweathermap.org/data/2.5/forecast?q={city name},{country code}&units={units}&APPID={API KEY}
It should look like the API call from the old tutorial, but it says forecast instead of weather. If you just change that one word in your code, you’ll get the data you want. Go ahead and run the app. It won’t work, but assuming you still have the log in your code, you should be able to confirm you’re getting the new forecast data.
Unpack the JSON
We can see the structure of the data from the log in the console. That will give us a clue how to drill down within the data to get the temperature for the next 5 days. Basically, we have a dictionary the includes an array. Inside that array there are a series of dictionaries that have weather data on a rolling 3 hour basis. Each of those dictionaries is similar to the one we used in the previous weather app. It has a “main” dictionary, which includes a double for the temperature.
In order to keep things simple, let’s only worry about forecasting the high temperature for the day. It is winter after all, and we want to look forward to warmer times. You’ll notice that the “temperature” value is the same as the “temp_max” value, so we’ll continue to use that key in our code. Since we get data on a 3 hour basis, we’ll have to loop through 8 readings per day to make sure we find the highest high for each day. We’ll store the temperatures in a separate array, and once we’ve determined all of the values, we’ll update the user interface. The new ViewController.swift code looks like this.
import UIKit

class ViewController: UIViewController {

    @IBOutlet weak var weatherLabel1: UILabel!
    @IBOutlet weak var weatherLabel2: UILabel!
    @IBOutlet weak var weatherLabel3: UILabel!
    @IBOutlet weak var weatherLabel4: UILabel!
    @IBOutlet weak var weatherLabel5: UILabel!

    @IBAction func weatherButtonTapped(_ sender: UIButton) {
        getWeather()
    }

    override func viewDidLoad() {
        super.viewDidLoad()

        // Do any additional setup after loading the view, typically from a nib.
        getWeather()
    }

    override func didReceiveMemoryWarning() {
        super.didReceiveMemoryWarning()
        // Dispose of any resources that can be recreated.
    }

    func getWeather() {
        let session = URLSession.shared

        let weatherURL = URL(string: "http://api.openweathermap.org/data/2.5/forecast?q=Atlanta,us?&units=imperial&APPID={API KEY}")!

        let dataTask = session.dataTask(with: weatherURL) {
            (data: Data?, response: URLResponse?, error: Error?) in

            if let error = error {
                print("Error:\n\(error)")
            } else {
                if let data = data {
                    let dataString = String(data: data, encoding: String.Encoding.utf8)
                    print("All the weather data:\n\(dataString!)")

                    var temperatureArray: Array<Double> = Array()
                    var dayNumber = 0
                    var readingNumber = 0

                    if let jsonObj = try? JSONSerialization.jsonObject(with: data, options: .allowFragments) as? NSDictionary {
                        if let mainArray = jsonObj!.value(forKey: "list") as? NSArray {
                            for dict in mainArray {
                                if let mainDictionary = (dict as! NSDictionary).value(forKey: "main") as? NSDictionary {
                                    if let temperature = mainDictionary.value(forKey: "temp") as? Double {
                                        if readingNumber == 0 {
                                            temperatureArray.append(temperature)
                                        } else if temperature > temperatureArray[dayNumber] {
                                            temperatureArray[dayNumber] = temperature
                                        }
                                    } else {
                                        print("Error: unable to find temperture in dictionary")
                                    }
                                } else {
                                    print("Error: unable to find main dictionary")
                                }

                                readingNumber += 1
                                if readingNumber == 8 {
                                    readingNumber = 0
                                    dayNumber += 1
                                }
                            }

                            DispatchQueue.main.async {
                                self.weatherLabel1.text = "Day 1: \(temperatureArray[0])°F"
                                self.weatherLabel2.text = "Day 2: \(temperatureArray[1])°F"
                                self.weatherLabel3.text = "Day 3: \(temperatureArray[2])°F"
                                self.weatherLabel4.text = "Day 4: \(temperatureArray[3])°F"
                                self.weatherLabel5.text = "Day 5: \(temperatureArray[4])°F"
                            }
                        }
                    } else {
                        print("Error: unable to convert json data")
                    }
                } else {
                    print("Error: did not receive data")
                }
            }
        }

        dataTask.resume()
    }
}
Code Explanation
We added three new variables within our getWeather function: temperatureArray, dayNumber, and readingNumber. After unpacking the slightly more complicated JSON, we arrive at the temperature. If it’s our first reading for the day, we add it to the array. If we already have a reading for the day, we’ll check to see if the new temperature is higher. We can replace the temperature in the array if we find a higher one.
At the end of each loop, we increment the readingNumber. When it hits 8, we cycle it back to 0, and increment the dayNumber to the next day. Once we finish looping through all the data, we update our UI with the temperature data.
Conclusion
There you have it! You’re a regular fortune teller in the meteorological arts. Try extending the app to show both the high and low temperatures for the coming days. It will be summer before you know it, and you’ll want to look forward in hopes of cooler weather!