People love to send texts. The Messages app is quite possibly the most used app on your iPhone. Lots of companies incorporate chat into their own apps as well—think one-on-one conversations in Words with Friends or team chat in Clash of Clans. Chat makes apps and games more personal. That’s good for retention!
In this blog series, we will learn how to incorporate chat into an iOS app using Google’s Firebase, CocoaPods, and push notifications. All three of these tools have lots of other potential applications, so they’re useful to have in your toolbox. I’ll break the tutorial into three separate posts: setting up Firebase and CocoaPods, building the app, and integrating push notifications.
Introduction to Firebase
Firebase is a suite of development services for mobile and web. It provides analytics, user authorization, a realtime database, cloud storage, and a bunch of other features. We’re interested in the realtime database. Users can post messages to the database, so their friends can read them. Likewise, users can retrieve their friends’ messages, thus establishing a conversation. The Firebase database pushes out updates in realtime, so we don’t have to constantly query the database in search of new posts. Users will receive new messages as soon as their friends send them. This gives Firebase a significant advantage over some other mobile database options.
Introduction to CocoaPods
To integrate a third party library, you would normally download the SDK and drag it into your Xcode project. That’s certainly a viable way to handle things, but once you accumulate a lot of SDKs, it can be a nuisance to keep them all updated. You have to go to all of the individual websites, download the new SDKs, and check if you need to link any new libraries in order for the SDKs to operate correctly.
With CocoaPods, you can keep all of your SDKs updated and manage them from one place. Your Xcode project simply maintains a Podfile that tells your project which SDKs to import and which version to use. For example, you can set-up your Podfile to automatically use newer minor updates of your SDKs, but hold off on major updates until you adjust your Podfile. That’s a safe way to receive updates that aren’t likely to require changes to your code.
Firebase recommends you access it via CocoaPods, so we’ll do just that!
Initial Project Set-up
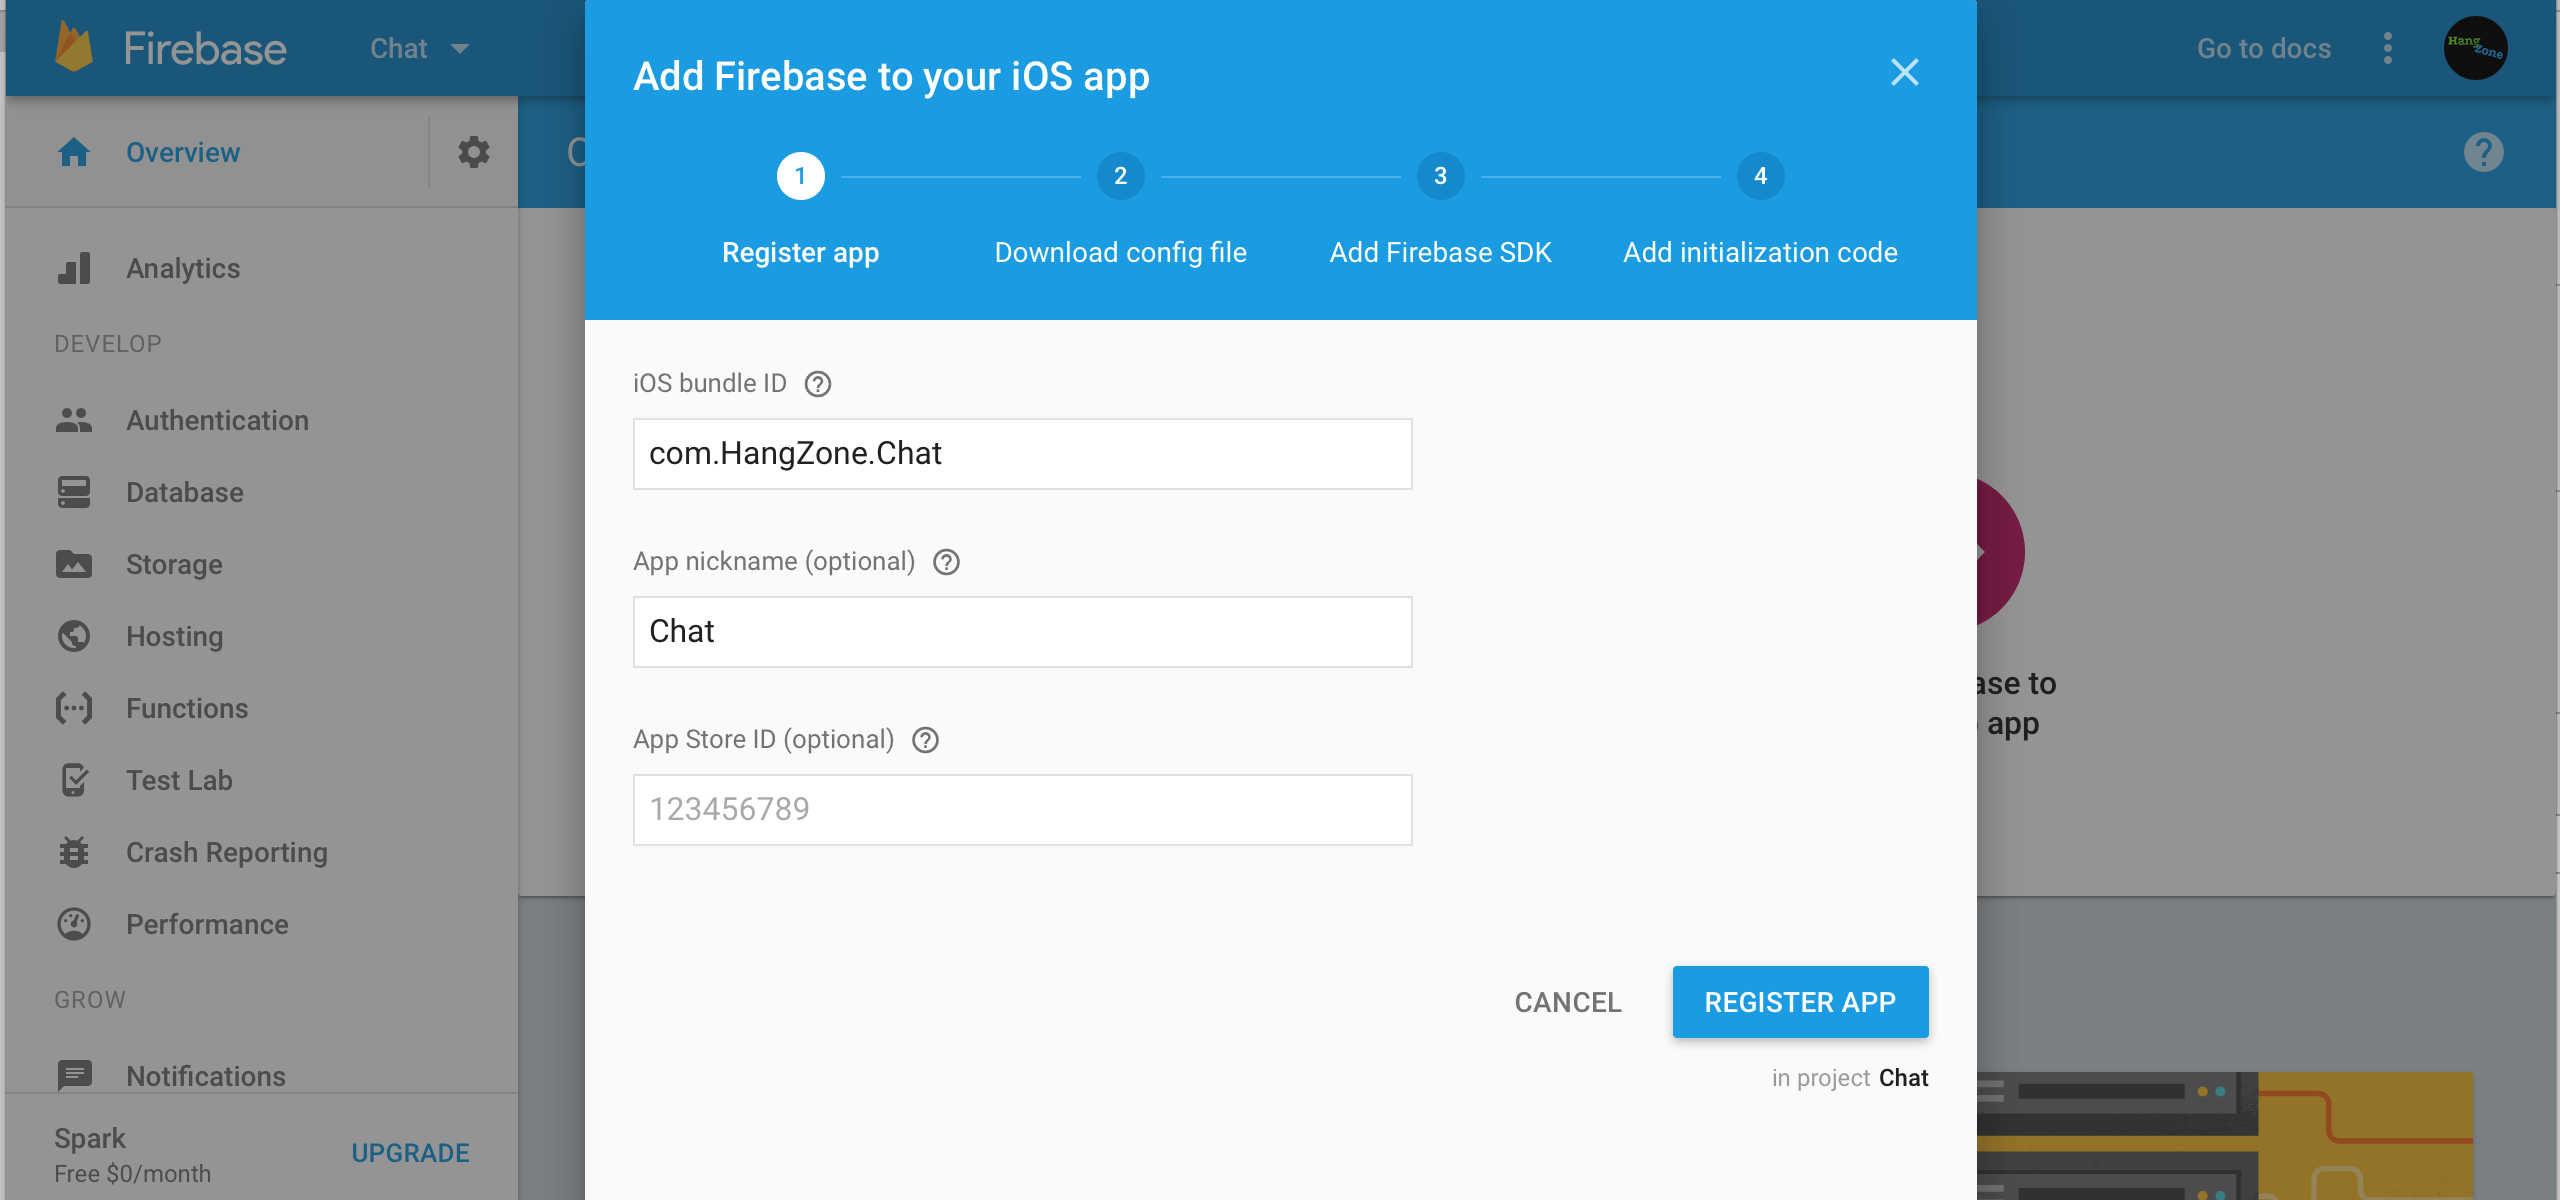
First, we need a new Xcode project. Launch Xcode and create a new single view app. I named my project Chat and my bundle identifier is com.HangZone.Chat. We’ll need the bundle identifier later. I set the language to Swift and left the other setup options as default. We’re done with Xcode for now!
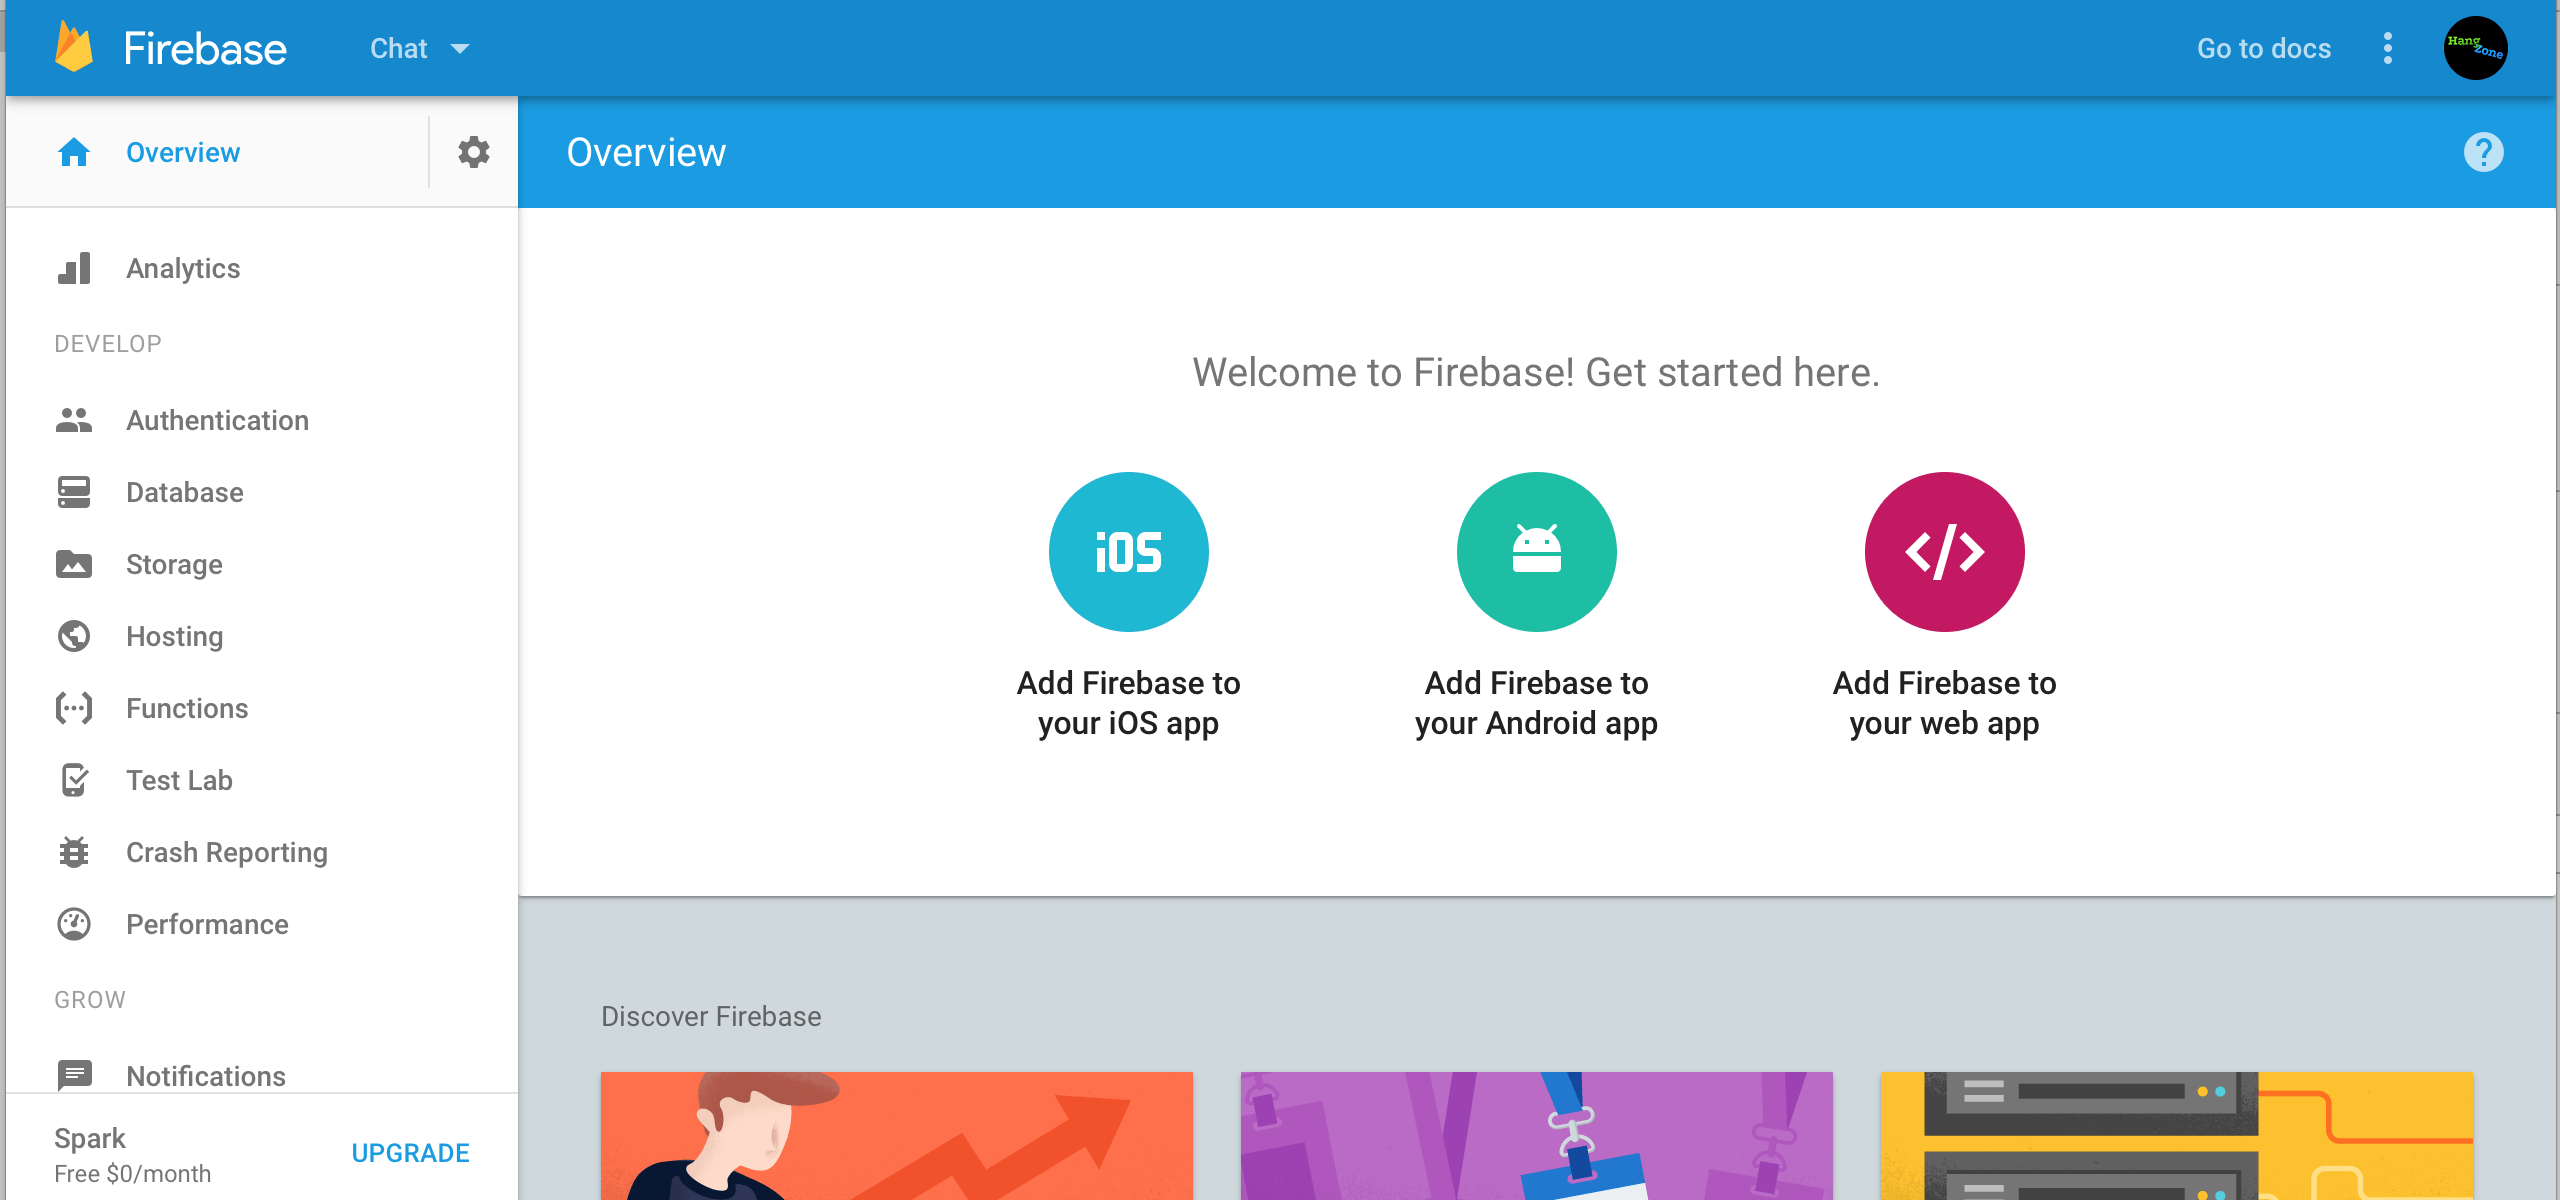
Now head over to firebase.google.com. Sign-up, make your way to the console, and click Add Project. Again, I named my project Chat and left the country as United States. You should be redirected to a page that looks like this.
Choose to add the project to your iOS app. Do you remember your bundle identifier? Good! Type it in, and give your app a nickname. I stuck with Chat. Register your app, and we’re off to the races!
Integrating Firebase into your App
Google will guide you through some additional steps to add Firebase to your app. I’ll offer guidance as well. You’ll see a button to download GoogleService-Info.plist. Download it, then drag the file from your Finder window into your Xcode project. Make sure the copy option is checked when Xcode confirms the file addition.
The next step is to add the CocoaPods Podfile to your project. You need to have CocoaPods installed on your Mac first. If you’ve never installed it, open up Terminal and type in the following command.
sudo gem install -n /usr/local/bin cocoapods
You should be good to go! If you get an error message, try checking some of the troubleshooting options on the CocoaPods website.
With CocoaPods successfully installed, let’s jump back to the Firebase instructions.

Keep Terminal open and change to your project’s directory. If you’re not used to Terminal, just type in cd followed by a space. Before hitting enter, navigate to your Xcode project’s folder in Finder. Then, drag the folder into the Terminal window. That will automatically write out the directory. Now hit enter, and Terminal will navigate to the project’s directory.
It’s time for a new command! Enter the following.
pod init
You’ll get a short message. If you check out your project’s folder in Finder, you’ll find a Podfile! Open it up. Google’s instructions just direct you to add the Firebase/Core pod, but let’s go ahead and add Firebase/Database as well. Your Podfile should look like this.
# Uncomment the next line to define a global platform for your project
# platform :ios, '9.0'

target 'Chat' do
    # Comment the next line if you're not using Swift and don't want to use dynamic frameworks
    use_frameworks!

    # Pods for Chat
    pod 'Firebase/Core'
    pod 'Firebase/Database'

end
Save the file. Back in Terminal, run the following in your project directory.
pod install
You’ll see some text zipping by that indicates which Firebase libraries you’re using. That’s a good sign! Even better, take a look back in your Finder window. In addition to your old Chat.xcodeproj, there is now Chat.xcworkspace. From now on, we will do all of our work in Chat.xcworkspace, since it includes the libraries we’re importing. If we want to add any new libraries, we simply edit the Podfile, then run pod install again.
Open up Chat.xcworkspace, and go to AppDelegate.swift. At the top of the file, import Firebase with the following code.
import Firebase
Inside func application(_ application: UIApplication, didFinishLaunchingWithOptions launchOptions, configure Firebase with the following.
FIRApp.configure()
At the moment, Google’s instructions say to call FirebaseApp.configure() instead. This results in an error, so go with FIRApp.configure().
That’s it! We’ve integrated Firebase using Cocoapods!
Until Next Time
That’s all for part one of this series. Your project is ready to do all sorts of fancy database work. We’ll jump right into the action next time with posting and reading messages to and from the database. See you then!