Have you ever tried to download a large app in the App Store, only to see Apple’s 100MB warning?
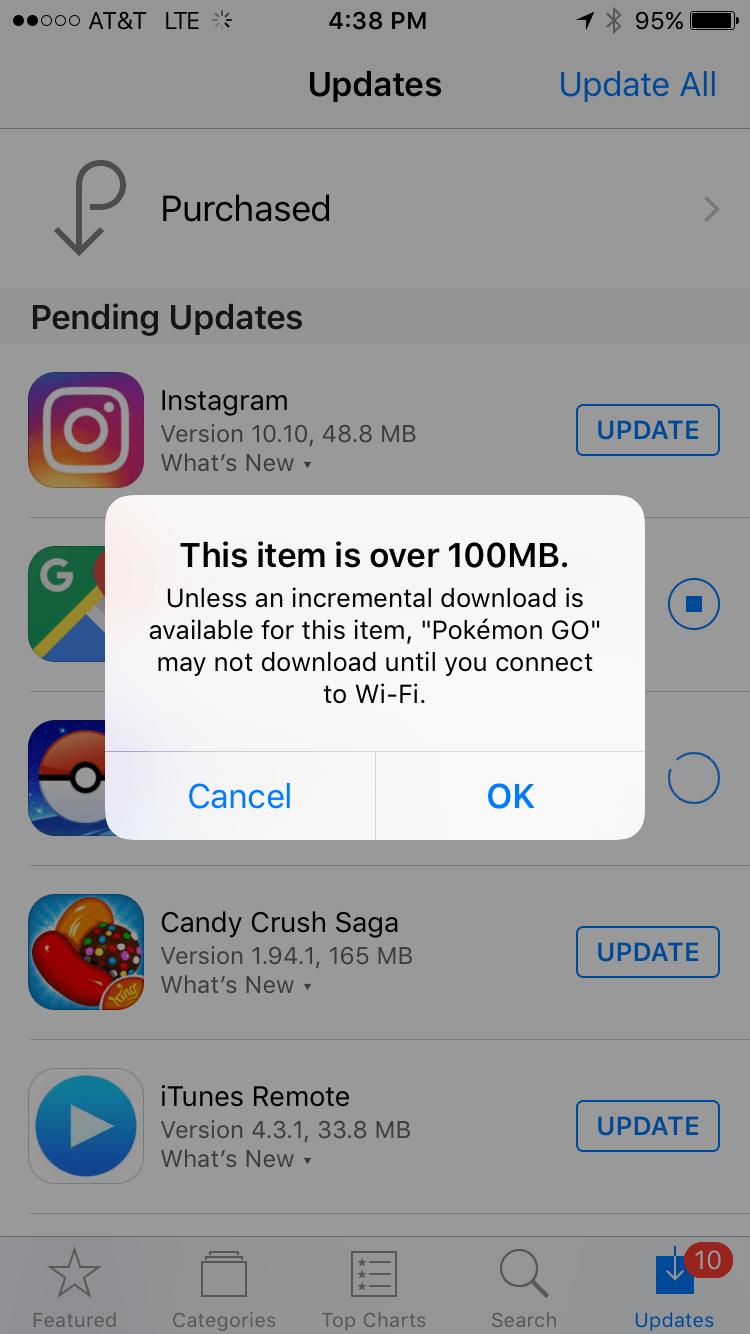
In order to download apps from the App Store that exceed 100MB, you have to use a Wi-Fi network instead of a cellular network. It’s a rule designed to help you save cellular data, but it’s kind of a nuisance. Sure, you can download the app later once you find some Wi-Fi, but what if you want satisfaction now? Moreover, what if you forget to download it later?
That’s the worry for many app developers, who know just how hard it is to get downloads in the first place. You don’t want to have any extra obstacles between your app and its potential users. Unfortunately, it has become harder and harder to keep apps under the 100MB threshold. As Apple keeps introducing newer devices with larger retina displays, developers have to include larger images in their app bundles. This is especially troubling for games, which often have hundreds of image assets. It doesn’t take long before you have a wealth of PNG files (with at least two duplicates of each image in different sizes to handle different devices) totaling a couple hundred MB in size.
This once seemed like an insurmountable challenge, but it’s a lot easier to manage than you probably expect. We’ll just cut the file sizes by about 75% with negligible downside!
ImageAlpha
ImageAlpha allows you to reduce the file size of PNG images with lossy compression by reducing the number of colors. Just saving everything at 256 colors will probably reduce your file sizes by around 70% with barely any discernible difference. For large background images, I like to try reducing to 128 colors and see if the image still looks good. If you still need to shrink your app bundle size, you can get creative and strategically reduce the colors on other images. Even if you stick to 256 colors, this is truly a game changing amount of file size reduction. You can download ImageAlpha here.
Since you’ll want to use ImageAlpha on every image in your project, it may be easier to process all of your images at once. If you know you’re going to set everything to 256 colors, batch processing is certainly the way to go. If you’re comfortable with the command line, open up Terminal.
Assuming ImageAlpha is in your Applications folder, type in the following, but don’t hit enter yet.
/Applications/ImageAlpha.app/Contents/MacOS/pngquant --ext .png --force 256
We’re going to run pngquant, the file size reduction tool behind ImageAlpha. The rest of the command notes that we want to use .png for our new file extensions and overwrite the old files with 256 color images. Before hitting enter, highlight all of the files in finder that you want to shrink and drag them into the terminal window. You’ll see a list of all their file paths appended to the command you just wrote. Finally, press enter. Your images have now been converted!
ImageOptim
ImageOptim further reduces file sizes by removing metadata, comments, and other unnecessary information stored in the PNG files. This doesn’t reduce your image quality at all, so there’s no downside here. You won’t get the same file size savings that ImageAlpha generates—usually only 3 to 6%—but every little bit helps. Note that you can go to preferences to set how aggressive you want the optimization to be. More savings takes more time. You can even run ImageOptim multiple times and sometimes save a little more space on subsequent runs. You can download ImageOptim here.
Once you have both programs downloaded, ImageAlpha and ImageOptim are designed to run in concert with each other. When you’re finished saving your image with ImageAlpha, you will see an option to run ImageOptim. It’s space saving extravaganza! Your images are now probably a quarter of their original size, and you should have a much easier time staying under the 100MB limit.
Required Xcode Setting
There’s one more thing you need to do to maintain all your newfound savings. Xcode has its own PNG compression tool that saves a minimal amount of space. By default, it will convert all of your images, and, in the process, negate your file size savings. Don’t let Xcode do this to you. Go to your project’s “Build Settings” and change “Compress PNG Files” to “No.” There you have it! Now your users can get your app even when they don’t have access to Wi-Fi.