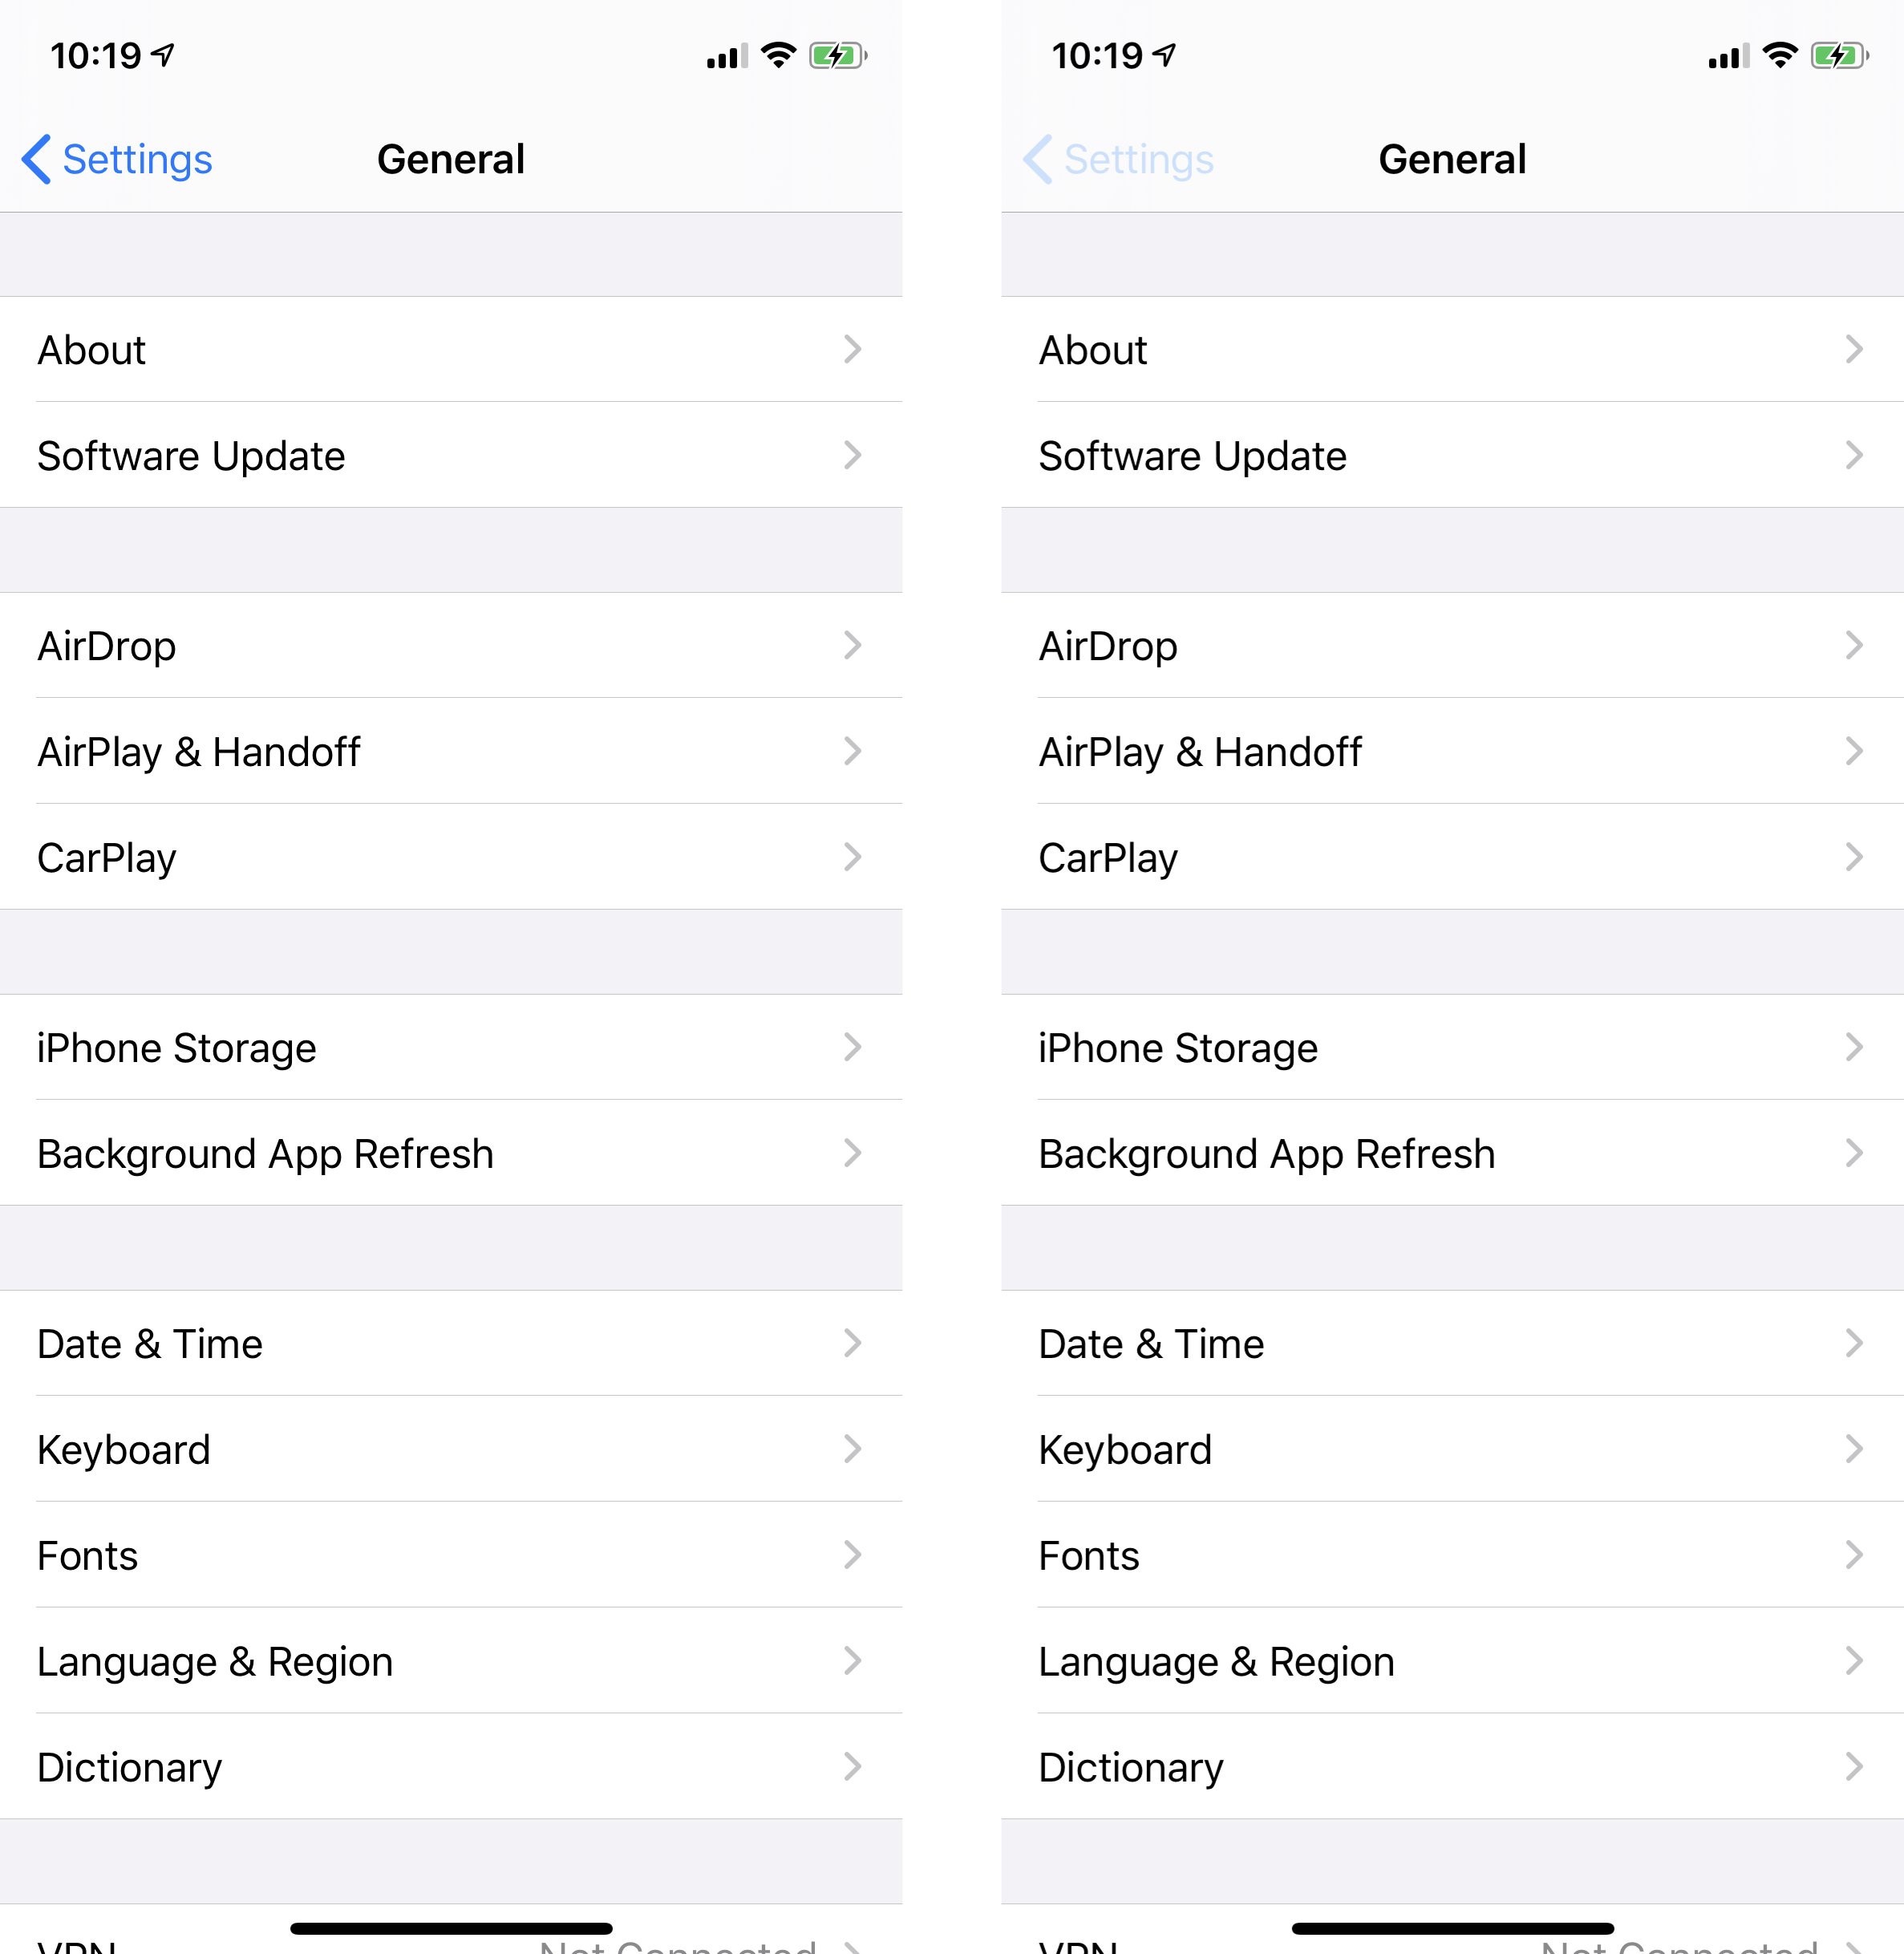
Subtle usage of opacity changes can give your app a polished look. For instance, open the iOS Settings app. Tap the General cell, and look at the top toolbar. The button to return to the previous page is written in blue. If you tap it, the button’s opacity decreases. This isn’t an over-the-top animation, but just enough to give you some feedback for your interaction.
The native iOS controls manage this particular navigation animation for you, but there will be many times when you’re using custom controls where you might want to manually manage opacity. That’s usually no problem, but occasionally you’ll find controls that don’t allow you to change the opacity. Fear not! This just requires some extra math. Let’s get to it!
The Formula
We’ll need to think of colors in terms of RGB values for the purposes of this calculation. If you’re using hex codes or predefined system colors, you’ll need to convert them to RGB values to proceed with this calculation. Once you’ve got the red, green, and blue values for your color, use the following formula on each R, G, and B units.
adjustedColor = opacity * foregroundColor + (1 - opacity) * backgroundColor
Let’s start with a quick sanity check to make sure this makes sense. Let’s say we have a black button against a white background. We want it to change to 50% opacity when it’s pressed. The RGB for black is (0, 0, 0) and white is (255, 255, 255). Consequently, the formula looks the same for each of the R, G, and B channels.
.50 * 0 + (1 - .50) * 255 = 127.5
We’ll round that up and get (128, 128, 128). That’s gray, and that’s the color we want. This equation will work with any foreground, background, and opacity combination that you need!
Backing Out the iOS Opacity
Apple is known for their polished app design, so let’s calculate what opacity they’re using on their button animation. We might like to use the same opacity adjustment with our custom controls.
The starting shade of blue is #3478F6. We need to convert that to RGB, which gives us (52, 120, 246). The pressed state is #CDE0FA, otherwise known as (205, 224, 250). The background gray is #FBFBFC or (251, 251, 252). Please note that I’m getting these color values from taking a screenshot and picking off the hex values in Inkscape. They might not be perfect, but should be extremely close. Let’s go to the formula. We should expect opacity to equal the same thing whether we perform the calculation with the red, green, or blue values. We’ll use the red channel.
205 = opacity * 52 + (1 - opacity) * 251

opacity = 23%
After a little algebra, opacity = 23%. As a test, what happens if we do the same thing with the green channel?
224 = opacity * 120 + (1 - opacity) * 251

opacity = 21%
Simplified, opacity = 21%. That’s close. Let’s try the blue channel.
250 = opacity * 246 + (1 - opacity) * 252

opacity = 33%
That’s puts opacity at 33%! So much for all of these opacity values being the same! Here’s the deal, though. RGB values are all integers, while opacity is a decimal. Inevitably, this will create some rounding error. This is especially true with the blue channel because all of the parameters in the equation are so close together. For instance, you could split the difference between the red and green channel calculations and assume an opacity of 22%. Let’s plug that in the blue equation to calculate an adjusted value.
.22 * 246 + (1 - .22) * 252 = 250.68
You can see this is within a fraction of 250, the correct value. I suppose that makes 22% a fine choice for an opacity change on your button animations!
Conclusion
Opacity is a great tool to have at your disposal. We’ve talked about using it in the context of button transitions, but the possibilities are endless. You’ll often adjust opacity to give disabled controls a more transparent appearance, for example. In the event that you find a troublesome control without an opacity property, now you’ll be prepared.
Thanks for reading the HangZone blog, and have a great 2020!