If you’ve been following along with Part 1 and Part 2 of this tutorial, you now have a functional chat app with a Firebase backend. Next, we’re going to set-up our app to handle push notifications with Firebase Cloud Messaging. Push notifications are a powerful tool to encourage retention. They’re especially important for a chat application, where users need to know when there’s a new message.
Before we send out push notifications for new chat, we need to equip our app to handle push notifications that we send manually from the server. That’s a task in itself, and we’ll focus on that phase of the process today. You’re going to have to hop around between a bunch of web portals and various programs for this tutorial. Get ready!
Create an App ID in the Apple Developer Portal
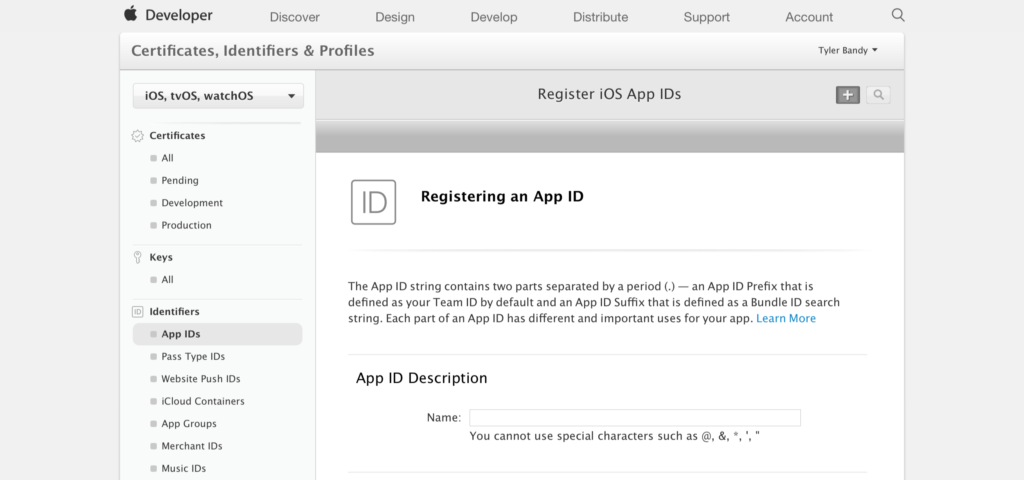
First, you need to create a new app ID on the Apple Developer website. Login to your Apple Developer account, then click on the Certificates, IDs & Profiles tab. You should see new sub-headers for Certificates, Keys, Identifiers, Devices, and Provisioning Profiles on the left. Under Identifiers, select App IDs, followed by the + button. This takes you to a new screen where you can register a new app.
There are two fields to fill out on this page, plus an option to select at the bottom. Name the app Chat. My bundle ID is com.HangZone.Chat, but use whatever you picked in the previous tutorials parts. Finally, check the box for Push Notifications. Click the Continue button, then on the next page, click the Register button. It’s registered! Hit the Done button to return to the App IDs page.
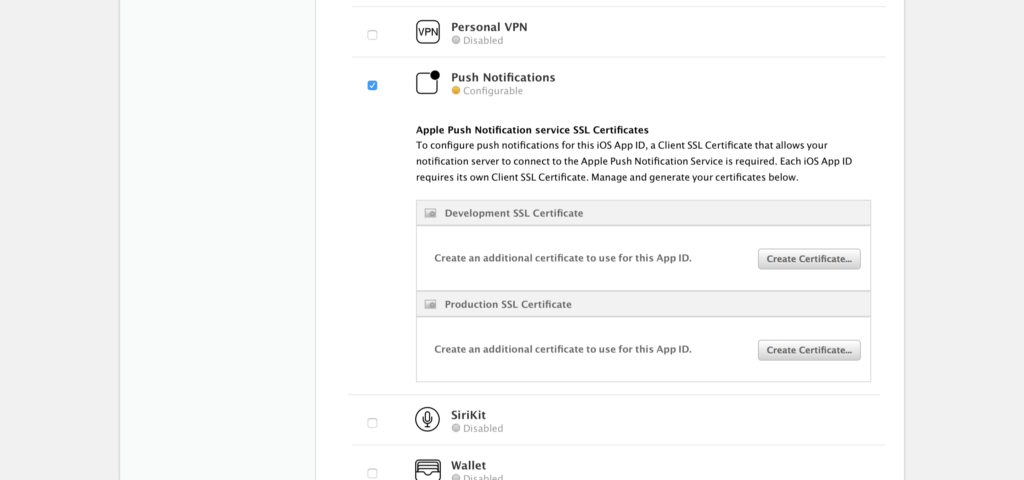
You may have noticed that Push Notifications were listed as Configurable, as opposed to Enabled. That’s because we have to create an SSL Certificate to enable push notifications. It’s time to deal with that now. Click on the App Id that you just created, and scroll down to the Edit button. Scroll down again, and you’ll find the push notification section. There are two options. We can either create a development certificate or a production certificate. We’re not submitting this app to the App Store yet. We only want to run it through Xcode. Therefore, we’ll create a development certificate. You can come back later to create a production certificate when you’re ready to distribute your app to the masses!
Create a CSR File in Keychain Access
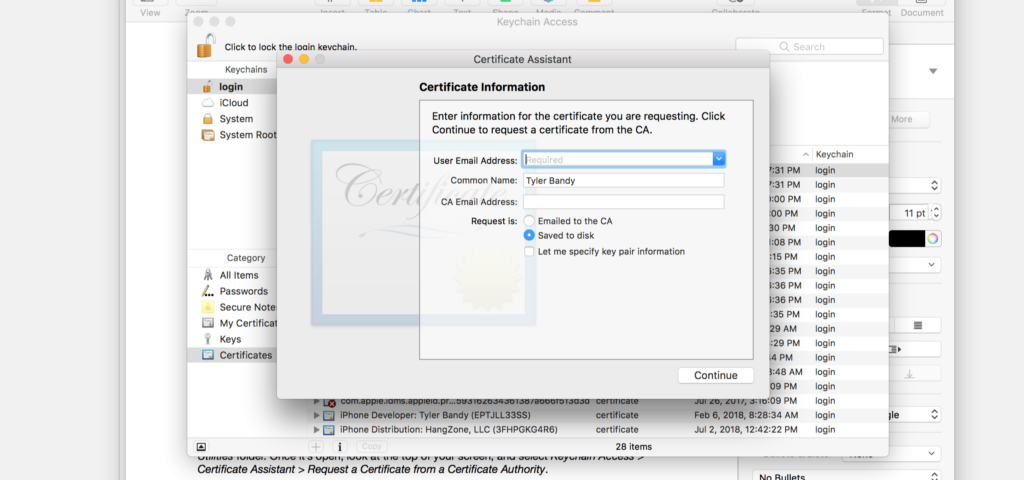
You’ll see a page that gives you instructions for how to create a Certificate Signing Request (CSR) file. I’ll walk through the instructions in a little more detail, because it’s an unusual process. First, open up a program on your Mac called Keychain Access. It’s located in your Utilities folder. Once it’s open, look at the top of your screen and select Keychain Access > Certificate Assistant > Request a Certificate from a Certificate Authority. You’ll see the following popup.
Enter your email address in the first field, write something recognizable for the name (i.e. Tyler Bandy Chat Dev Key), and check Saved to disk. Leave the CA Email Address field blank. Click the Continue button, and save the certificate wherever you like. Excellent! We can head back to our open window on the Apple Developer Website (I told you we were going to be bouncing around a lot between different places).
Upload the CSR File in the Apple Developer Portal
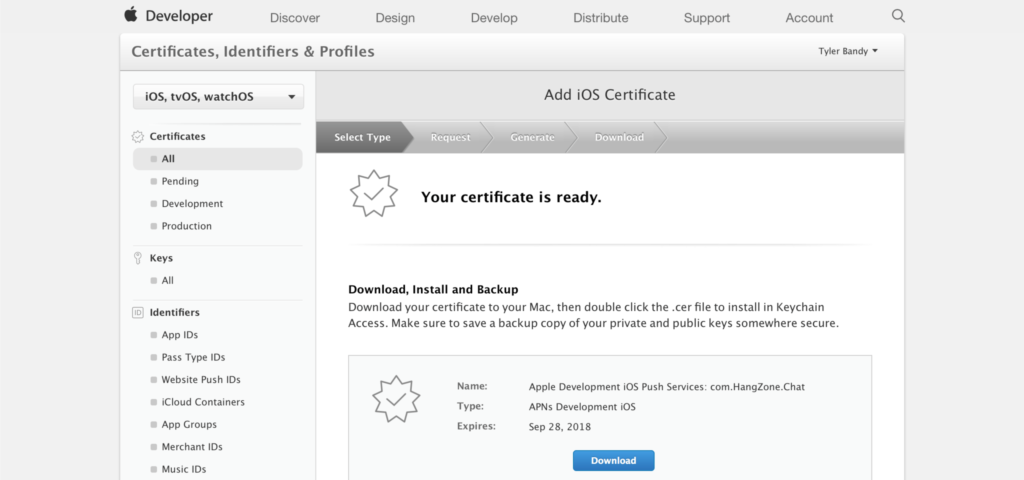
If you’re still on the CSR instructions page, tap the Continue button. On the next page, upload your CSR file and tap Continue again. You’ll see a congratulatory message that “Your certificate is ready.” You may have thought we just got a certificate. Why do I need another one? Just act cool and roll with it. You can always use more certificates. Tap the Download button. You now have a certificate to commemorate your progress.
Generate a p12 File in Keychain Access
Let’s take that new certificate and make, what else, another new certificate! We have to learn just how deep the certificate rabbit hole goes. Double click on your newest certificate. It’s the one in your Downloads folder named apps_development.cer. This will add it to Keychain Access.
Locate the certificate in Keychain Access. If you have a lot of certificates in here, it may be difficult to find. The name will be Apple Development IOS Push Services: com.HangZone.Chat (or whatever bundle ID you used). Once you find it, click the disclosure arrow to the left of the name. This will reveal the key you’re looking for.
Right-click the key, and choose to export it. You can keep the default Certificates name and .p12 file format. You’ll then get a chance to give it a password. Give it one if you like, and try to remember it for the rest of the tutorial. I went with chat123, which was already considered weak, but is now likely weaker since I’ve written it in this post. We’re done with Keychain Access!
Upload your p12 File to Firebase
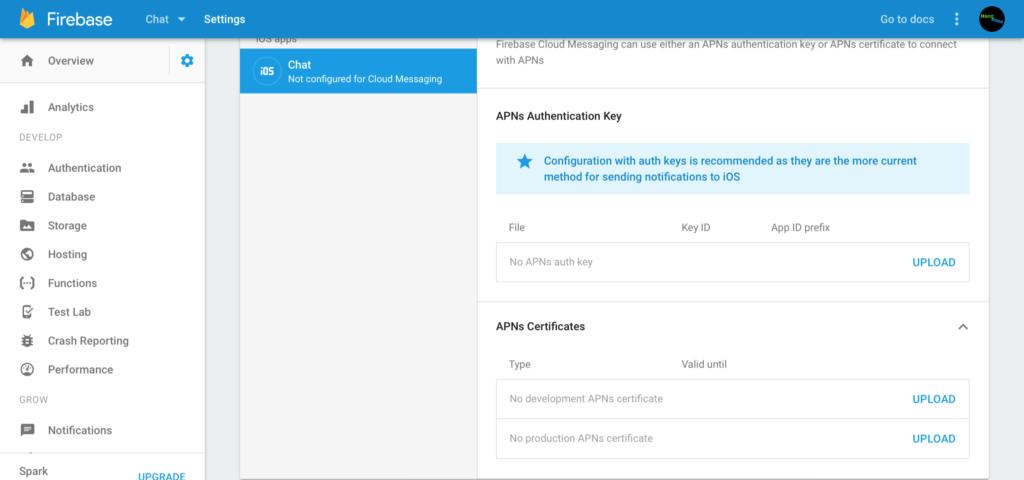
Open up the Firebase console and select your project. Next to the Overview tab, there’s a gear button that takes you to Project settings. Once there, select the Cloud Messaging tab. Scroll to the bottom to find a slot to upload your p12 file. Note that there are separate spots for development and production certificates. We’re doing a development certificate for now, so choose that one.
Upload the file and type in your password if you chose one. Now we’ve got the Firebase console ready to go!
Update the Podfile
We need to update our Podfile to gain access to the Firebase messaging library. Open up your Podfile and update it to look like this.
# Uncomment the next line to define a global platform for your project
# platform :ios, '9.0'

target 'Chat' do
    # Comment the next line if you're not using Swift and don't want to use dynamic frameworks
    use_frameworks!

    # Pods for Chat
    pod 'Firebase/Core'
    pod 'Firebase/Database'
    pod 'Firebase/Messaging'

end
Save and close the file, then open up Terminal. Navigate to your project’s directory and run the following command to update your project’s dependencies.
pod install
You’ll see some text that confirms the addition of the new Messaging pod.
Set-up Xcode
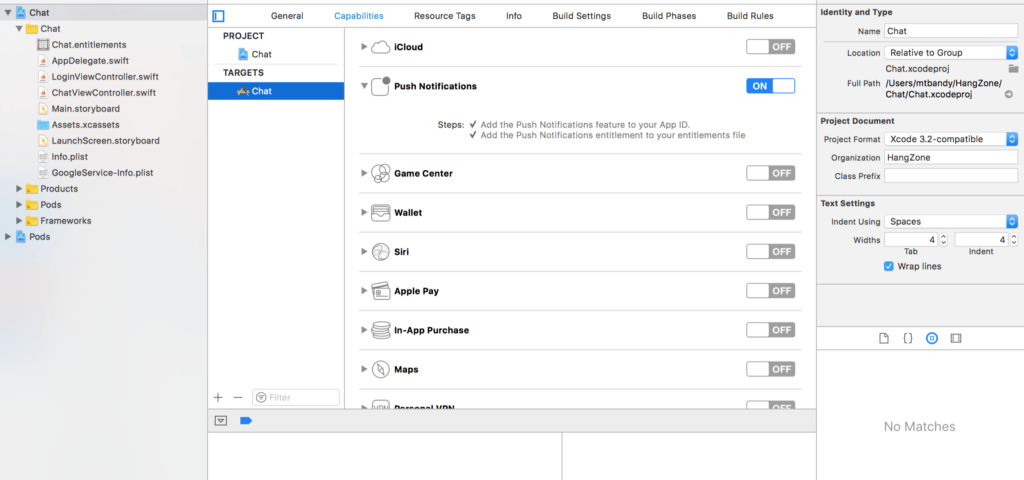
Open up Xcode and head to the Capabilities section. Turn on Push Notifications.
Head over to AppDelegate.swift and add the following imports at the top of the file.
import UserNotifications
import FirebaseInstanceID
import FirebaseMessaging
Next, add the UNUserNotificationCenterDelegate and FIRMessagingDelegate protocols to your class. Your code should look like this.
class AppDelegate: UIResponder, UIApplicationDelegate, UNUserNotificationCenterDelegate, FIRMessagingDelegate
You’ll see an error message that says you haven’t implemented all of the delegate methods for your protocols. Xcode will give you an option to automatically fix it, or you can write out the method yourself.
func applicationReceivedRemoteMessage(_ remoteMessage: FIRMessagingRemoteMessage) {

}
We don’t need to include anything in here for now. Adding the blank method allows us to conform to the protocol. We do need to add some code to applicationDidFinishLaunching, though. Just above where you added FirApp.configure(), add the following push notification code.
if #available(iOS 10.0, *) {
    UNUserNotificationCenter.current().delegate = self
    let authOptions: UNAuthorizationOptions = [.alert, .badge, .sound]
    UNUserNotificationCenter.current().requestAuthorization(
    options: authOptions,
    completionHandler: {_, _ in })
    FIRMessaging.messaging().remoteMessageDelegate = self
} else {
    let settings: UIUserNotificationSettings =
    UIUserNotificationSettings(types: [.alert, .badge, .sound], categories: nil)
    application.registerUserNotificationSettings(settings)
}

application.registerForRemoteNotifications()
Note that this code has different variations depending on whether the app is operating on iOS 10+ or an old operating system. The UNUserNotification has only been around since iOS 10, and since many people still support iOS 9, it’s a good idea to have a fallback plan.
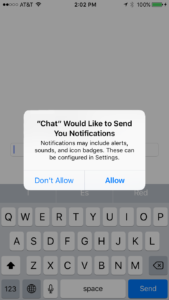
Go ahead and run your app. The new code will fire immediately when you run and display an alert asking whether you want to enable push notifications.
Select Allow. We’re finally ready to receive a push notification!
Send a Push Notification
Ultimately, we want the user to receive push notifications when someone else has sent a message. For now, let’s just send a push notification from the server.
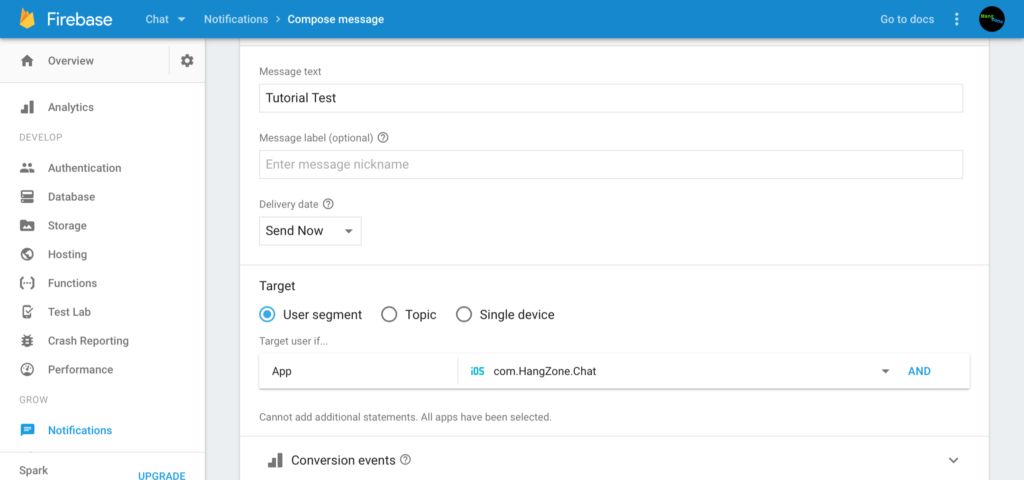
In the Firebase console, click the Notifcations tab on the left menu. Then, tap the big SEND YOUR FIRST MESSAGE button. You’ll find a template for sending out your message.
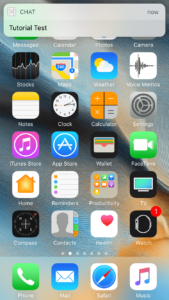
Write a message at the top, select your app, and send it out! Hopefully, you see the message on your phone.
Wrap-Up
That’s plenty of work for now. We went on a strange journey through the Apple Developer Website, Keychain Access, and the Firebase Console. We revisited how to edit and update Podfiles. You now have some nice boilerplate code in your app delegate for push notifications. Next time we’ll be ready to programmatically trigger push notifications when messages are sent instead of manually sending them from the backend. See you then!

