It’s been over a year since we tackled weather on the HangZone blog. Longtime readers may recall our original weather app tutorial, followed by our five day forecast tutorial. In those apps, we called the OpenWeatherMap API to get the weather information for our city. Next, we unpacked the JSON results to display the appropriate information on the screen. The end result works…but there’s a catch.
Since we hard-coded a specific city into our API call, the data is only useful if we’re in the right city. If you tend to stay in the same place, no problem! You don’t need to worry about this. Perhaps you find yourself traveling around a bit though. Maybe you’ve even moved to a new city since you originally built your own weather app. Wouldn’t it be nice if your app just automatically detected your location?
Today we’ll use Apple’s Core Location framework to upgrade our 5 day forecast app to automatically query results for the user’s location. Go make a copy of your old weather project, and fire up Xcode.
Choose the Right Level of Privacy
In order to track a user’s location automatically, we first have to convince the user to grant our app permission to do so. These days, users are more concerned about privacy than ever, so they don’t want to give apps more information than absolutely necessary. Furthermore, location tracking can drain your iPhone’s battery relatively quickly if you use it constantly. Consequently, users are all the more reluctant to enable location tracking.
Fortunately, Apple has multiple degrees of location tracking that apps can use. Although this can make things more confusing for the developer, the upside is that users shouldn’t have to grant excessive tracking abilities to apps that don’t need them.
For our purposes, When-in-use authorization will suit our needs perfectly, plus it’s more efficient than Always authorization. The names are fairly self-explanatory. The primary difference is that Always authorization can continue to track location data while the app is in the background. Each authorization level supports various Core Location services. Always authorization does support more services, but When-in-use authorization covers the Standard Location Service that we’ll need for this app.
Set-up info.plist for Core Location
Now that we’ve decided what sort of tracking we want to do, it’s time to set-up our Core Location code. We’ll start with the info.plist file. In an effort to better educate users on why apps need to infringe on users’ privacy, Apple makes developers offer an explanation for the use of various services, including Core Location.
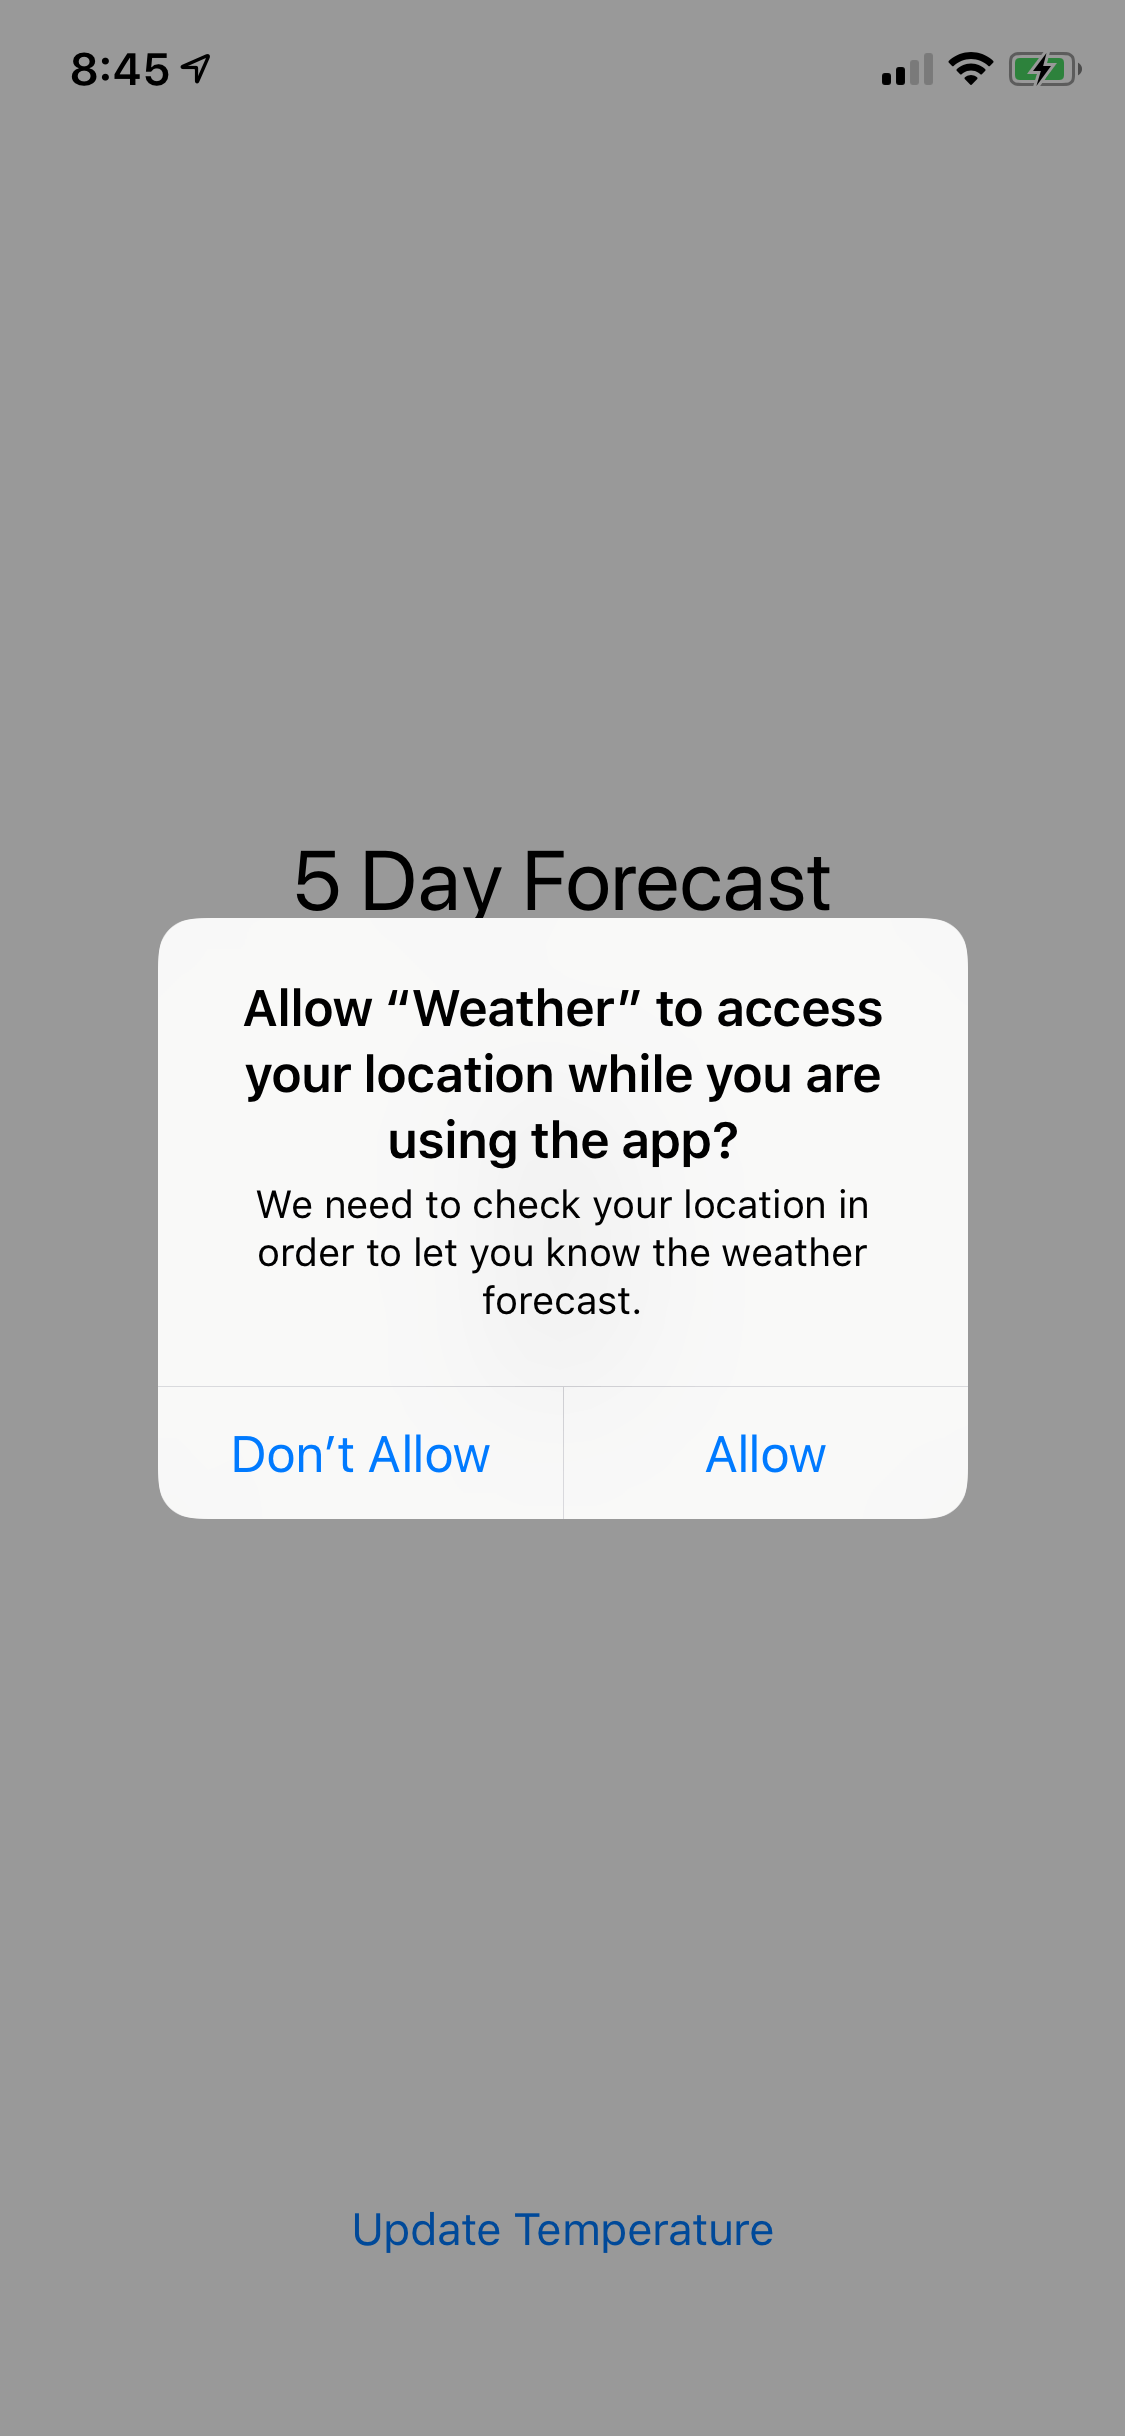
The key we’re looking for is NSLocationWhenInUseUsageDescription. The more human-readable version of the key displayed in Xcode is Privacy – Location When In Use Usage Description. You can write whatever you want for the description. I used the following.
We need to check your location in order to let you know the weather forecast.
Seems like a reasonable request, right? With that out of the way, let’s write some code!
Request the User’s Location
The first thing we need to do is get the user’s approval to use their location. Normally, it’s best to wait until you absolutely need whatever data you’re requesting before asking the user for it. Again, users are reluctant to allow anything that seems like overreaching, so it’s nice to onboard them in the app a little bit before asking about a tracking service.
Considering this a weather app and tracking is obviously necessary, we’re going to jump the gun and ask for tracking permission immediately. Open ViewController.swift and make our view controller a Core Location Manager Delegate by adjusting the class line at the top.
class ViewController: UIViewController, CLLocationManagerDelegate {
Now we can receive callbacks on Core Location events. Let’s go ahead and define the Location Manager, so we can get some events. Put the following constant just below our IBOutlets.
let locationManager = CLLocationManager()
Now we’ll add some functions to go with it. You can put them anywhere inside the class braces.
func enableBasicLocationServices() {
    locationManager.delegate = self

    switch CLLocationManager.authorizationStatus() {
    case .notDetermined:
        // Request when-in-use authorization initially
        locationManager.requestWhenInUseAuthorization()
        break

    case .restricted, .denied:
        // Disable location features
        clearWeather()
        break

    case .authorizedWhenInUse, .authorizedAlways:
        // Enable location features
        getWeather()
        break
    }
}

func locationManager(_ manager: CLLocationManager,
didChangeAuthorization status: CLAuthorizationStatus) {
    switch status {
    case .notDetermined, .authorizedAlways:
        locationManager.requestWhenInUseAuthorization()
        break

    case .restricted, .denied:
        clearWeather()
        break

    case .authorizedWhenInUse:
        getWeather()
        break
    }
}
We’ll call our enableBasicLocationServices function manually to get the user’s tracking permission. If we haven’t asked the user before, they’ll get a prompt with our request. Otherwise, we’ll use their previous answer. If they allow us to get their location, we’ll get the weather. Otherwise, we’ll call a new function—clearWeather. We also have a similar switch statement in our locationManagerDidChangeAuthorization function. Users are capable of changing authorization whenever they want through settings, so we have to adjust accordingly.
Go ahead and define clearWeather.
func clearWeather() {
    self.weatherLabel1.text = "Day 1: ?"
    self.weatherLabel2.text = "Day 2: ?"
    self.weatherLabel3.text = "Day 3: ?"
    self.weatherLabel4.text = "Day 4: ?"
    self.weatherLabel5.text = "Day 5: ?"
}
Five question marks is about the best we can do for a forecast if they won’t give us a location! Now replace the call to getWeather in viewDidLoad with a call to enableBasicLocationServices.
override func viewDidLoad() {
    super.viewDidLoad()

    // Do any additional setup after loading the view, typically from a nib.
    enableBasicLocationServices()
}
That will set cogs in motion!
Interpret the Location
Assuming the user approves location tracking, we still need to get their location and pass it into the OpeanWeatherMap API. Our previous API call used a city name, but we can also use latitude and longitude coordinates. That’s more convenient and precise since we have them readily available with Core Location. Our getWeather function will look the same, other than we now get our weatherURL in the following manner.
var currentLocation: CLLocation!

if( CLLocationManager.authorizationStatus() == .authorizedWhenInUse || CLLocationManager.authorizationStatus() == .authorizedAlways){

    currentLocation = locationManager.location

} else {
    clearWeather()
    return
}

let latitude = currentLocation.coordinate.latitude
let longitude = currentLocation.coordinate.longitude

let session = URLSession.shared

let weatherURL = URL(string: “http://api.openweathermap.org/data/2.5/forecast?lat=\(latitude)&lon=\(longitude)&units=imperial&APPID=XXX")!
The coordinate property on currentLocation is an optional, so I put in one more check to make sure the user has granted proper authorization. This also covers us if the user reloads the forecast with the onscreen button, which currently calls getWeather without checking on the Core Location authorization. Latitude and longitude are available off the coordinate property, and then all we do is plug them into our slightly modified API string. I replaced my API key with XXX. Use whatever your API key is, just as in the previous iterations of this app.
Run the app and see what happens!
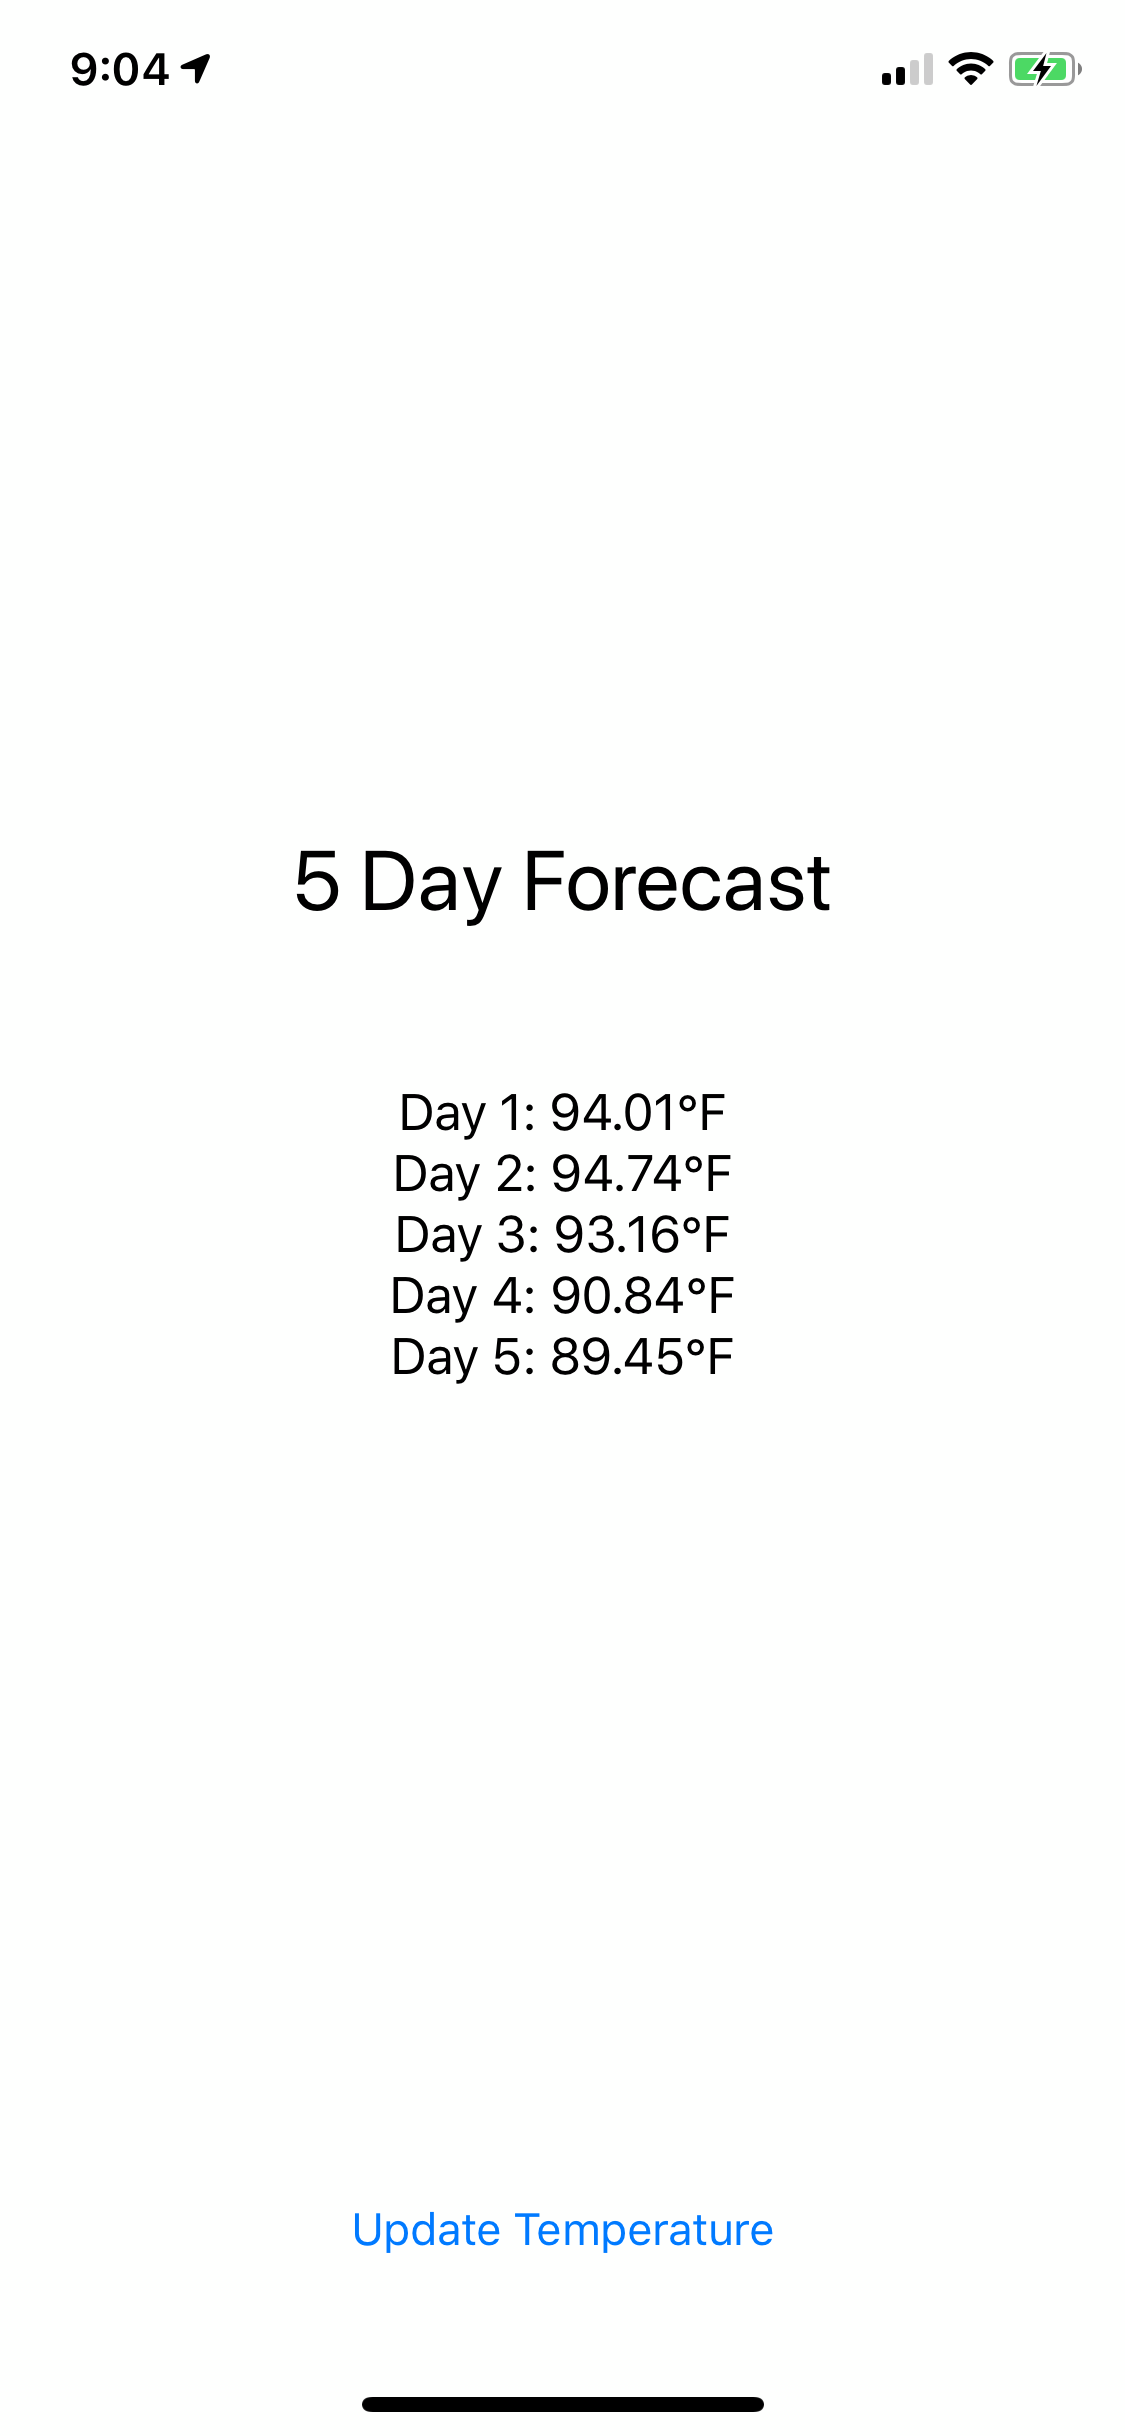
Did your message from earlier convince you to grant yourself tracking privileges? I hope so! Try driving a few states over and reloading the data. Pretty nifty, right!
Conclusion
This is just a taste of what you can do with Core Location, but it’s a very practical taste and often all you need. Our weather app is moving on up in the world. Maybe we’ll add another feature to it next year! Until next time, have fun thinking of the crazy things you can do with Core Location’s Always authorization!