This tutorial starts where Part 1 leaves off. If you haven’t read it, you can find it here.
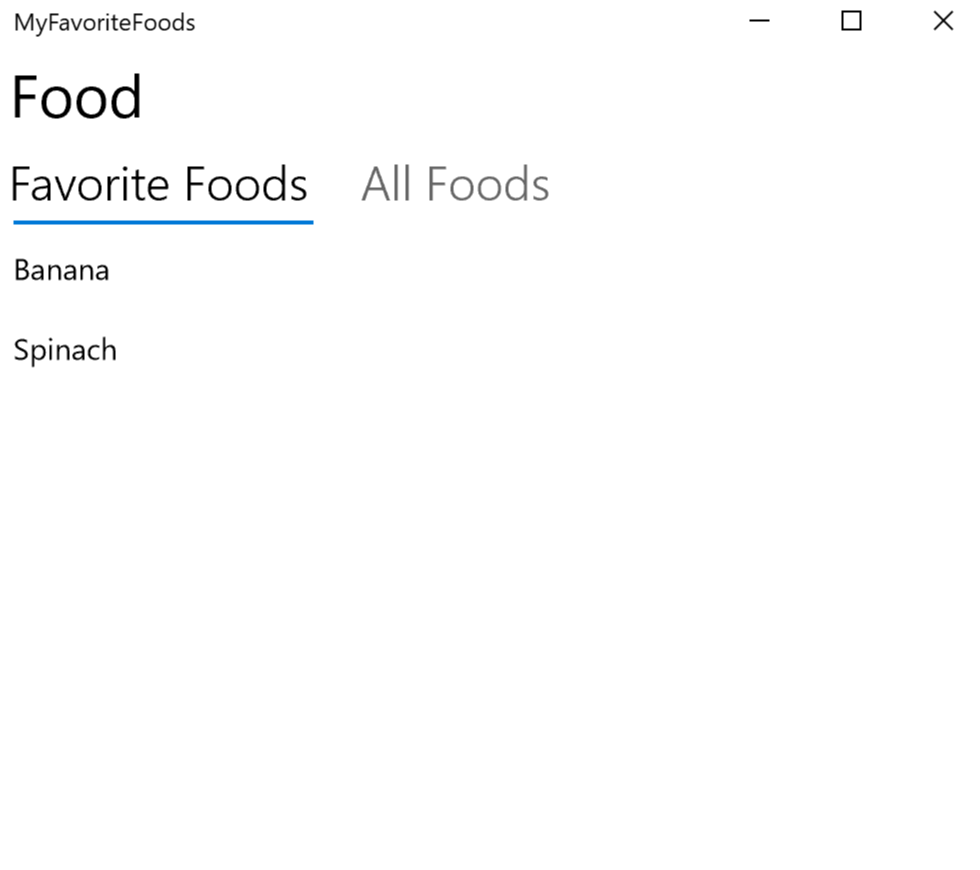
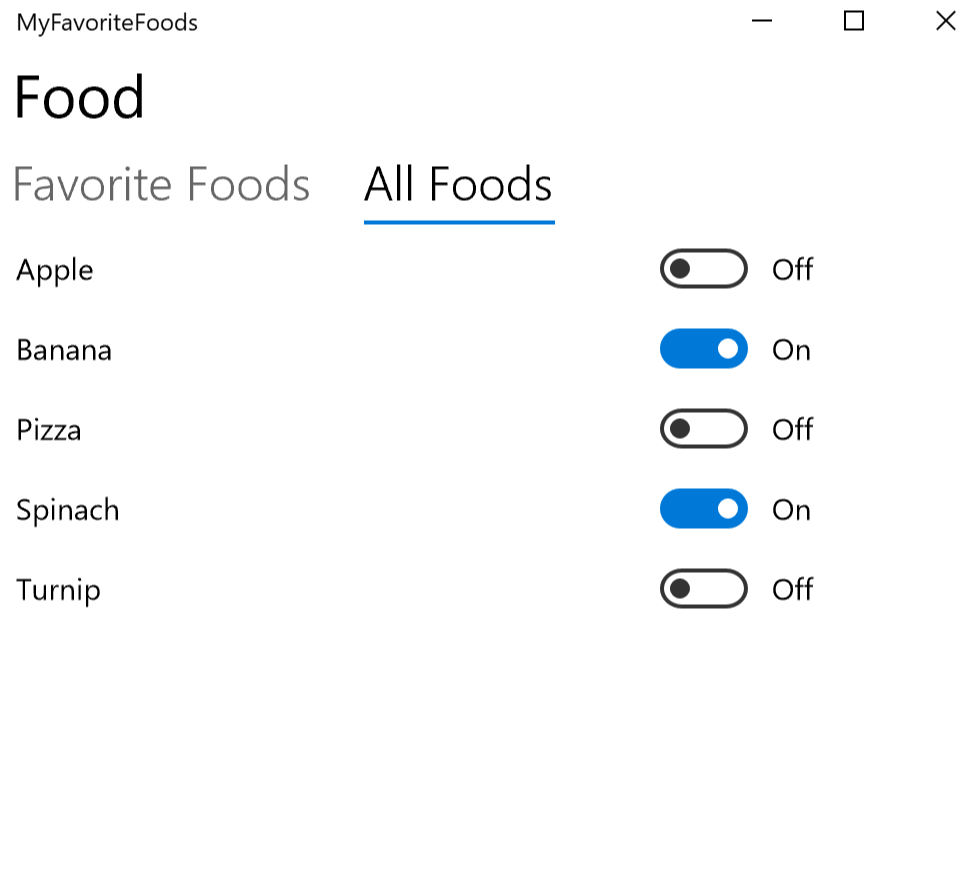
As a quick refresher, we are creating an application that highlights data binding and the MVVM architectural design pattern in UWP. There is a clear separation of concerns in our code, and data binding is used for the UI to communicate with the data. So far, we have created a model, view, and viewmodel. We will continue to add code (including data binding code) to each of these classes to achieve our desired functionality. Remember, we have a one page application with two pivots. The “All Foods” pivot allows you to select your favorite foods from a list of all foods. The “Favorite Foods” pivot will then show a list of your favorite foods. Let’s jump back in by finishing up our view!
Finishing our View
Now that we have collections to work with in the viewmodel and some data, let’s go back and complete our view. If you remember, we laid out a simple structure, but we need to finish our pivot sections for all foods and favorite foods.
First, we need to go to the code-behind file of the view to add our viewmodel as the data context for the view. At the top of the FoodView.xaml.cs file, add “using MyFavoriteFoods.ViewModel.”
Next, we will add the viewmodel as an instance variable, and set it as the datacontext in the constructor.
public FoodViewModel ViewModel { get; set; } = new FoodViewModel();

public FoodView()
{
    DataContext = ViewModel;
    this.InitializeComponent();
}
Now, back to the .xaml file. We first choose a control that includes ItemTemplate to be used to display the data. ListView, GridView, ListBox, and ItemsControl are all potential options. I will use ItemsControl since it does less manipulation to the view than the other options (no highlighting, selecting, etc). Inside ItemTemplate, we will have a DataTemplate that defines the datatype and the UI layout for each instance of the object. We are using data templates of type FoodModel so we need to add our model namespace to the definitions. In the definitions at the top, add:
xmlns:models=“using:MyFavoriteFoods.Model”Now, fill in the pivot items as follows.
<PivotItem Header=“Favorite Foods”>
    <ItemsControl ItemsSource=“{x:Bind ViewModel.FavoriteFoods, Mode=OneWay}”>
        <ItemsControl.ItemTemplate>
            <DataTemplate x:DataType=“models:FoodModel”>
                <Grid Height=“40”>
                    <TextBlock VerticalAlignment=“Center” Text=“{x:Bind Name}”/>
                </Grid>
            </DataTemplate>
        </ItemsControl.ItemTemplate>
    </ItemsControl>
</PivotItem>
<PivotItem Header=“All Foods”>
    <ItemsControl ItemsSource=“{x:Bind ViewModel.AllFoods}”>
        <ItemsControl.ItemTemplate>
            <DataTemplate x:DataType=“models:FoodModel”>
                <Grid Height=“40”>
                    <Grid.ColumnDefinitions>
                        <ColumnDefinition Width=“*”/>
                        <ColumnDefinition Width=“auto”/>
                    </Grid.ColumnDefinitions>
                    <TextBlock VerticalAlignment=“Center” Text=“x:Bind Name”/>
                    <ToggleSwitch Grid.Column=“1” HorizontalAlignment=“Right” VerticalAlignment=“Center” IsOn=“{x:Bind IsFavorite, Mode=TwoWay}”/>
                </Grid>
            </DataTemplate>
        </ItemsControl.ItemTemplate>
    </ItemsControl>
</PivotItem>
Explanation of Data Binding Code
You will notice that on the data binding for the ItemsControl.ItemSource in the favorite foods section, we used “Mode=OneWay.” Also, for the toggle switch in the all foods section, we used “Mode=TwoWay.” There are three different modes for binding: one time (the default if not specified), one way, and two way. For one way, the view reads the property when the view is created and uses that value going forward. With one way, the view will update its display if the value that it is bound to changes. For two way, the view will update the display if the bound property is changed, like with one way, but it will also update the bound property if the view is manipulated. For instance, if a toggle switch is toggled or a text box changed by the user, the property that is bound to that control will be updated with the information entered by the user.
We need to use one way binding for our favorite foods item source because the bound collection will be modified when we add or remove foods as favorites. The ToggleSwitch.IsOn binding needs two way because the IsFavorite property for the FoodModel object needs to be updated when the user toggles the switch.
Feel free to run the project and take a look at our progress. All of our data and controls should now be displayed correctly. Congratulations! The only problem is that the favorite foods list does not update when the switches are toggled on the all foods pivot.
Using INotifyPropertyChanged
With our two way binding, the IsFavorite property on the corresponding FoodModel object is updated when a switch is toggled. We need to be notified when the property is changed so that we can either add or remove the FoodModel from the favorite foods collection. To do this, we need to implement INotifyPropertyChanged for the IsFavorite property in the FoodModel class. Then, we can add code to the FoodViewModel to execute code whenever the property’s value changes.
Go to FoodModel.cs. Add “using System.ComponentModel” to the class. Now, we are going to change the IsFavorite property so that you can subscribe to be notified when the property changes.
public bool IsFavorite { get; set; }

private bool _isFavorite;
public bool IsFavorite
{
    get { return _isFavorite; }
    set
    {
        _isFavorite = value;
        RaisePropertyChanged(“IsFavorite”);
    }
}

public event PropertyChangedEventHandler PropertyChanged;
protected void RaisePropertyChanged(string name)
{
    if (PropertyChanged != null)
    {
        PropertyChanged(this, new PropertyChangedEventArgs(name));
    }
}
Now, whenever the IsFavorite property is modified, the PropertyChanged event handler is called. This handler will be used to trigger a method to adjust our favorite foods collection in the viewmodel. Let’s go to the FoodViewModel.
Subscribing to Property Changed
We need to subscribe to the PropertyChanged event on each FoodModel in the AllFoods collection so that we can adjust our FavoriteFoods collection. The action is rather simple. First, add “using System.ComponentModel” at the top of the page. In the LoadFoodData method, where we loop through each FoodModel in AllFoods, we add the following line.
foreach(FoodModel eachFood in AllFoods)
{
    eachFood.PropertyChanged += IsFavoritePropertyChanged;
    if (eachFood.IsFavorite)
    {
        FavoriteFoods.Add(eachFood)
   }
}
Now, we define that method to handle the addition or removal of the toggled FoodModel.
public void IsFavoritePropertyChanged(object sender, PropertyChangedEventArgs e)
{
    FoodModel toggledFood = sender as FoodModel;
    if (toggledFood.IsFavorite)
    {
        FavoriteFoods.Add(toggledFood);
    }
    else
    {
        FavoriteFoods.Remove(toggledFood);
    }
}
That’s it. Our code is notified when the IsFavorite property changes for each instance of FoodModel in the viewmodel, and the FavoriteFoods collection is adjusted accordingly. Run the project and see your work in action!
Conclusion
In this project, we used data binding and the Model-View-ViewModel pattern to create an application. Our code is nicely segregated so that the view deals only with UI display and the data and logic are handled in the model and viewmodel. Data binding is done to allow the UI to properly communicate with the data to display proper values and relay any user inputs or changes. We use fairly simple binding concepts in this project, but it is a good introduction to how they work. As always, thanks for reading the HangZone blog!