As a developer, it’s usually helpful to take a quantitative view of things. Colors are no different. Most of us learned in school that you can mix the primary colors—blue, red, and yellow—to create any other color. Tweaking blue to cyan and red to magenta will give you a more versatile color range, but it’s just a modern version of the same idea. If you mix them all together, you get black. This is known as the subtractive color model, as colored paints subtract wavelength from light so that you see a particular color.
When dealing with computer screens, we’re concerned with the additive color model. Our primary colors are red, green, and blue. We can mix these colored lights together to get white. Any combination of two of these light colors creates each of the primary subtractive colors (i.e. red plus green equals yellow). You can see how they blend in the chart below.

When you’re working with a graphic software, you can select red, green and blue values ranging from 0 to 255. By defining values for red, green, and blue in that order, you can make any color you want. You can create red with (255, 0, 0). Note that’s a max value for red, with nothing for green or blue. White is defined as (255, 255, 255), while black is the absence of all light color: (0, 0, 0). You can get a light shade of gray with (200, 200, 200) or a darker shade with (100, 100, 100). If you’re longing to revisit cyan from the primary color wheel, try (0, 255, 255).
With that review out of the way, let’s make some different colored bubbles!
Our Objective
Let’s say we want to make a relaxing meditation app. We’ll have bubbles floating up from the bottom of the screen. I’m feeling pretty tranquil just thinking about it!
We don’t want all of our bubbles to look the same though. Sure, we could export 100 different colored bubble images and add them to our Xcode project. Unfortunately, that’s both time consuming and takes up extra space. We can stick with one bubble image and use our knowledge of RGB channels to do things more efficiently.
Make a Bubble
First we need our bubble image. You can download the one I made here, or you can make your own. Mine has some blue tones in it for shading, but it will still adjust to other colors quite well.
Generate Bubbles in Your Code
Create a new Xcode project called Bubbles. Drag three size variants of the bubble image into Assets.xcassets. Now let’s hop over to ViewController.swift to make something happen.
First, locate your viewDidLoad function. At the bottom of the function, add the following.
Timer.scheduledTimer(timeInterval: 0.2, target: self, selector: #selector(makeBubble), userInfo: nil, repeats: true)
This will call a function called makeBubble every 0.2 seconds. Feel free to adjust that number if you like more or less bubbles!
Now we need to create the makeBubble function. Add the following function to your file.
@objc func makeBubble()
{
    let bubbleImage = UIImage(named: "bubble.png")
    let bubbleImageView = UIImageView(image: bubbleImage)

    let screenSize = UIScreen.main.bounds
    let bubbleWidth = Int(bubbleImage!.size.width)
    let bubbleHeight = Int(bubbleImage!.size.height)
    let randomX = arc4random_uniform(UInt32(screenSize.width))
    bubbleImageView.frame = CGRect(x: Int(randomX) - Int(Double(bubbleWidth) * 0.5), y: Int(screenSize.height) + bubbleHeight, width: bubbleWidth, height: bubbleHeight)
    view.addSubview(bubbleImageView)

    UIView.animate(withDuration: 3.0, animations: {
        bubbleImageView.center = CGPoint(x: bubbleImageView.center.x, y: CGFloat(-bubbleHeight))
    }) { (finished: Bool) in
        bubbleImageView.removeFromSuperview()
    }
}
Let’s break down the code. We create a UIImage from our bubble.png file. Then we convert it to a UIImageView, so we can add it as a subview to our main view. Before we add it as a subview, we calculate a random x coordinate for it, uniformly distributed across the width of the screen. We set the y coordinate so that the bubble is just below the bottom of the screen. After we add the UIImageView, we animate it up out of the top of the screen. We don’t want to leave too many views just sitting around wasting memory, so we remove the bubbles from the superview once they reach their destination.
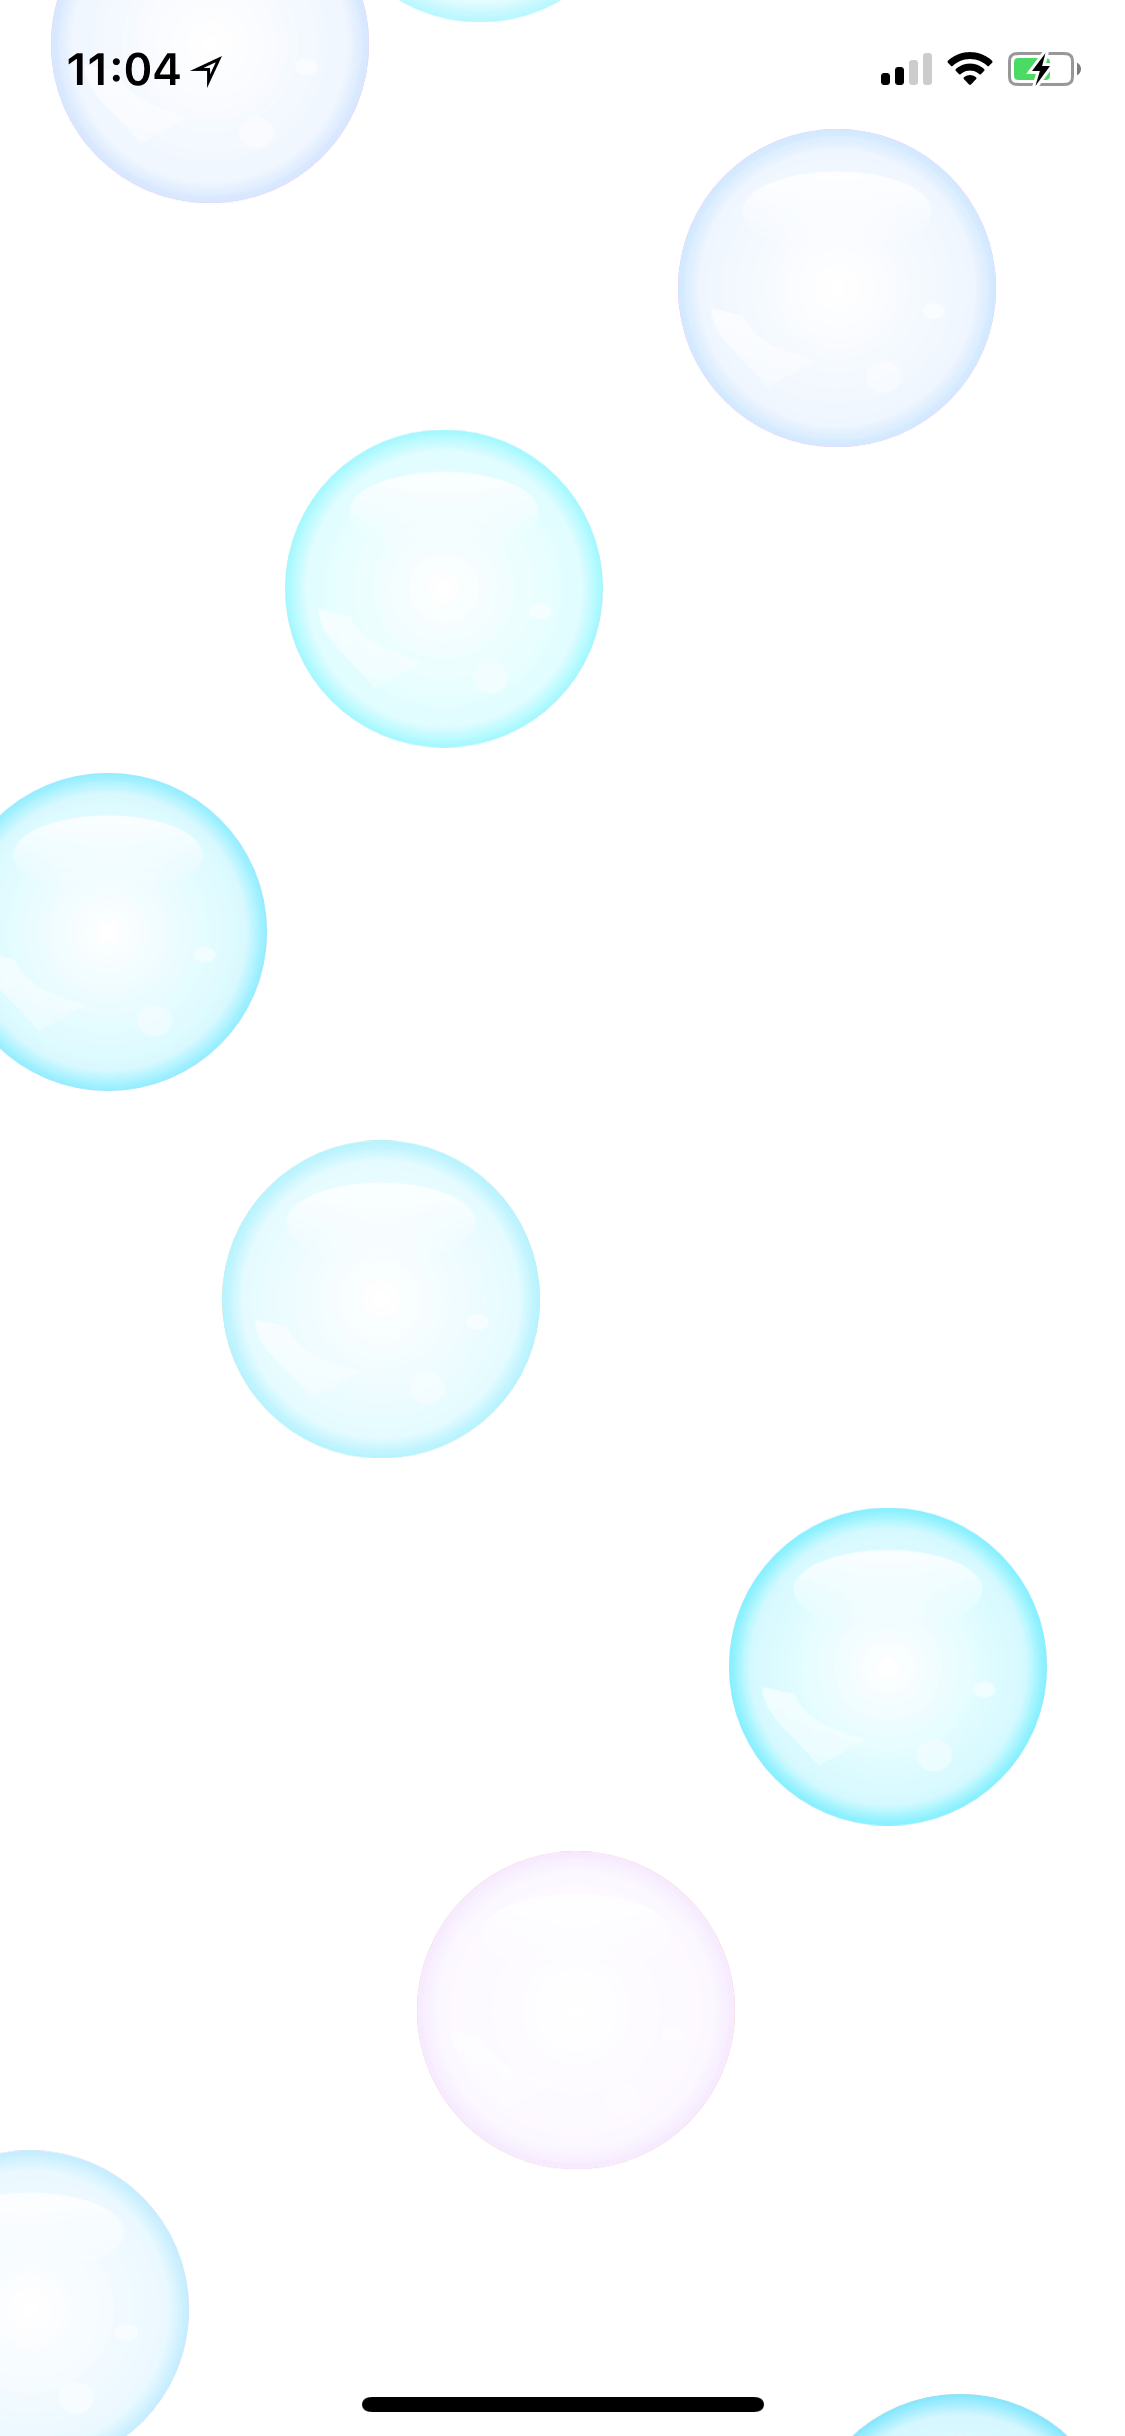
Go ahead and run your app to see where we stand. You should see a nice stream of bubbles on your screen. It’s relaxing, but imagine how relaxing it would be with some subtle color variation.
Adjust the Bubble Colors with Swift’s Tint Color
We’ll turn to random number generators again to create a wide array of colors for our bubbles. Immediately after declaring bubbleImage, add the following code.
let randomRedValue = 0.5 + CGFloat(arc4random_uniform(51))/100
let randomGreenValue = 0.5 + CGFloat(arc4random_uniform(51))/100
let randomBlueValue = 0.5 + CGFloat(arc4random_uniform(51))/100

let bubbleColor = UIColor(red: randomRedValue, green: randomGreenValue, blue: randomBlueValue, alpha: 1.0)
While red, green, and blue channels are usually expressed as values from 0 to 255, the UIColor constructor takes floats from 0 to 1. We want to focus on brighter colors, so we’re restricting our values between 0.5 and 1.0, then plugging them into the UIColor constructor. The final parameter in the constructor, alpha, is the alpha channel or transparency attribute. We’ll use 1.0 for full opacity.
The next step that most people are tempted to try is to use Swift’s built-in tintColor attribute on UIImageView. This won’t work for this project, but let me show you why. To use tintColor, tweak your bubbleImage declaration to the following.
let bubbleImage = UIImage(named: “bubble.png”)!.withRenderingMode(.alwaysTemplate)
Right below your UIImageView declaration, set the tint color.
bubbleImageView.tintColor = bubbleColor
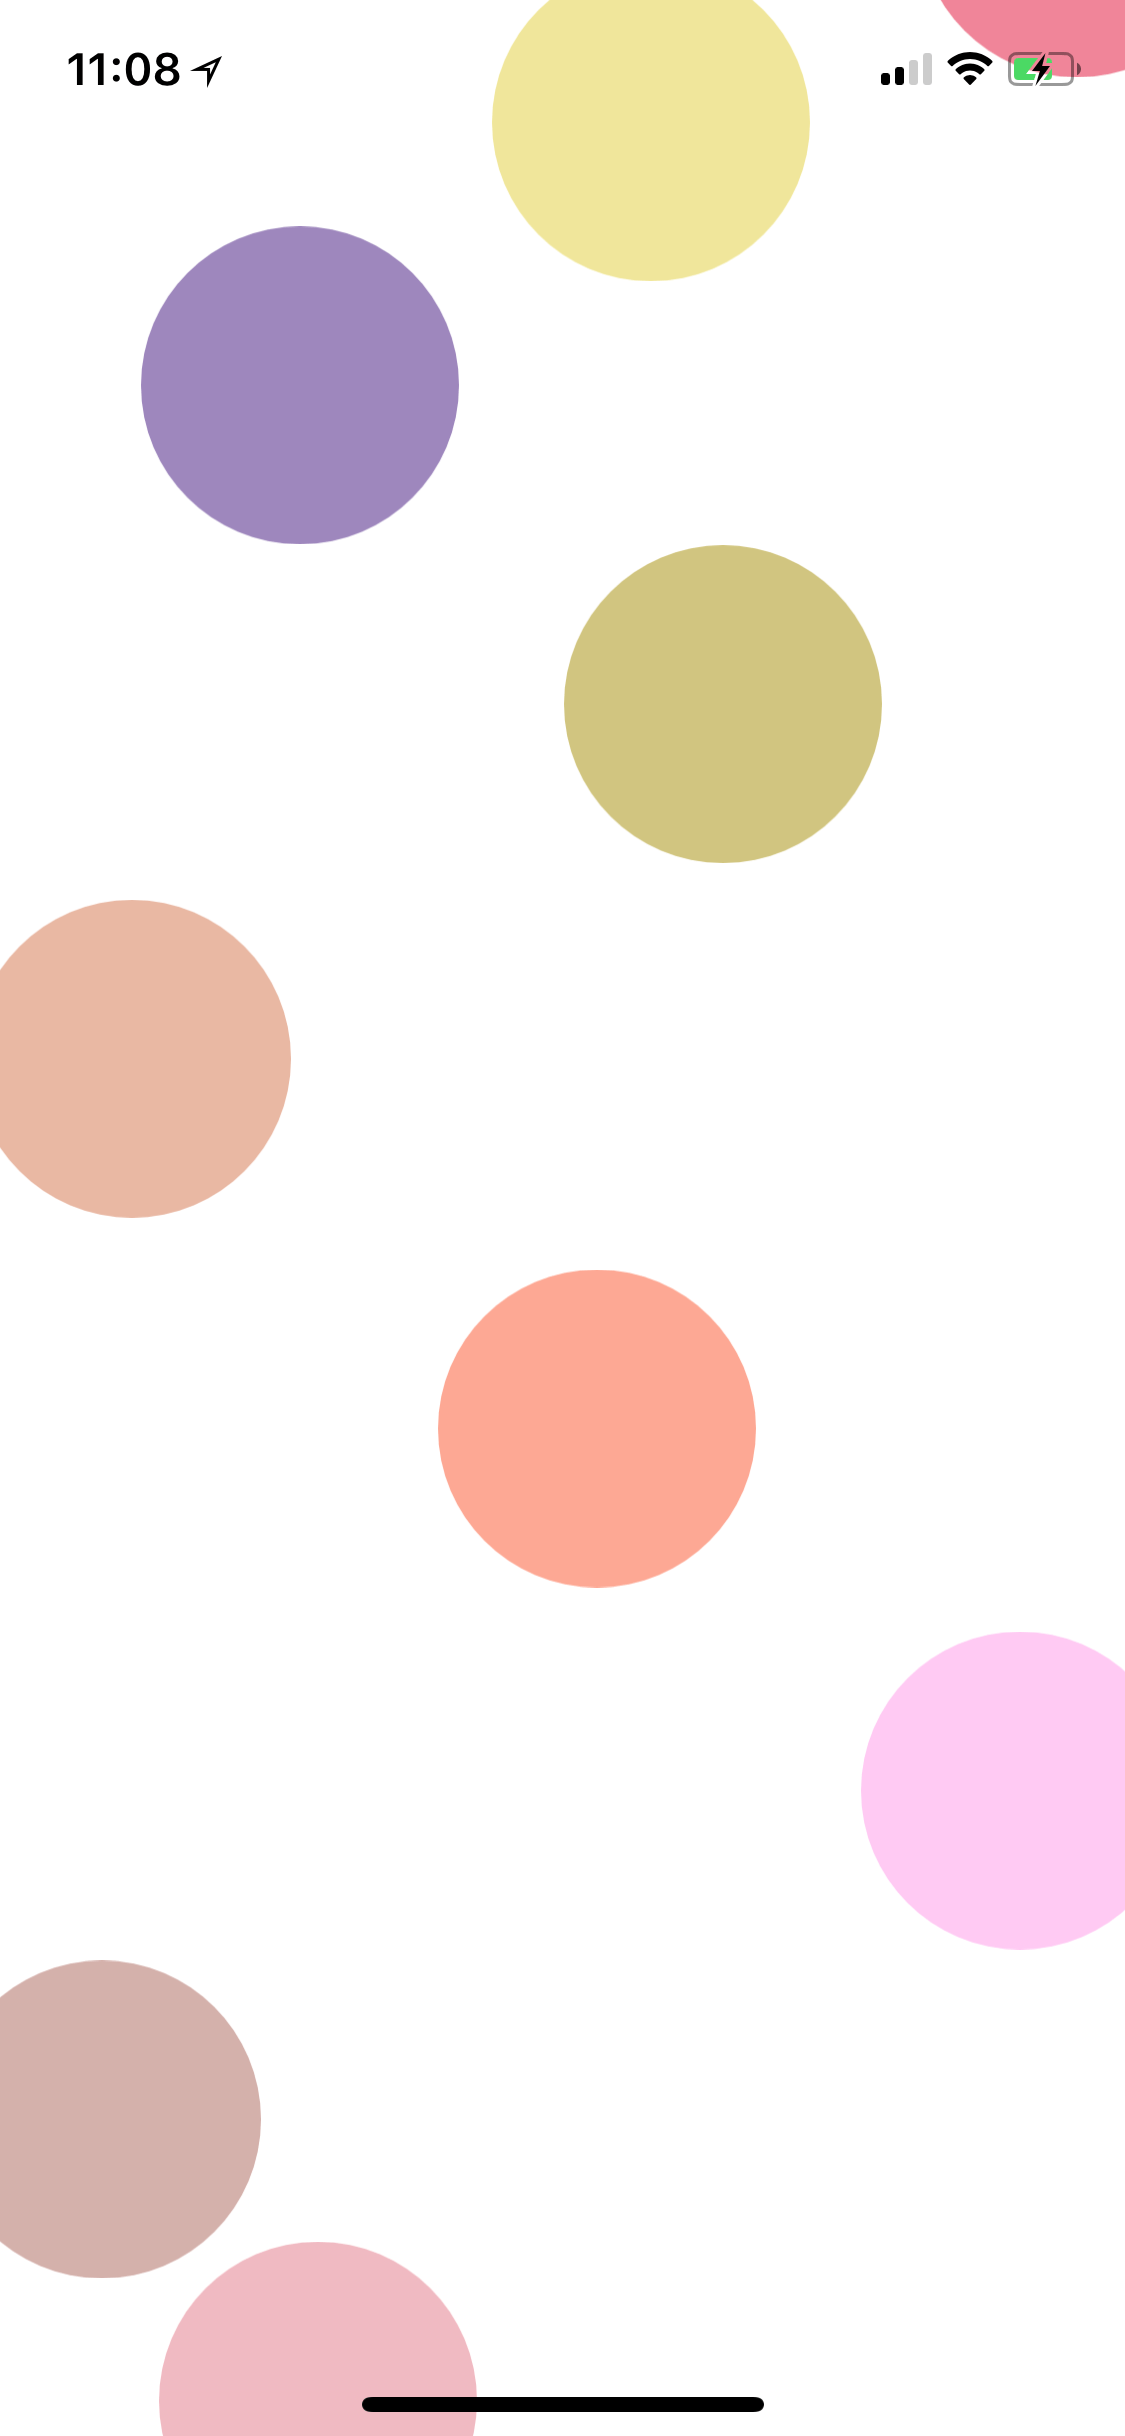
If you run your app, you’ll find that we’ve lost all of the image’s gradients, and we just have solid colored bubbles. This code might be useful when you want to do a full color change on a UI element, but it’s not what we want here. Go ahead and undo those last two changes (keep the bubbleColor code though), and we’ll do this right.
Use an Overlay for Blending
We want to adjust the color while still maintaining the underlying texture of the image. If we were using the 2D game engine Cocos2d-x, as we often do at HangZone, this would be a single line of code to set the RGB values for the sprite. Things aren’t so easy in native iOS, but we can still get the desired result.
Between your bubbleColor declaration and your bubbleImageView declaration, add the following blend code.
UIGraphicsBeginImageContextWithOptions(bubbleImage!.size, false, 0.0)
bubbleColor.setFill()
let bounds = CGRect(x: 0, y: 0, width: bubbleImage!.size.width, height: bubbleImage!.size.height)
UIRectFill(bounds)
bubbleImage?.draw(in: bounds, blendMode: .overlay, alpha: 1.0)
bubbleImage?.draw(in: bounds, blendMode: .destinationIn, alpha: 1.0)
let coloredBubbleImage = UIGraphicsGetImageFromCurrentImageContext()
UIGraphicsEndImageContext()
Basically, we’re creating a blend with our random color using the overlay blend mode. For reference, the destination in blend mode, would give us a similar textureless result to tintColor. We do, however, call another draw using destination in immediately after our overlay draw. This is because overlay doesn’t recognize the alpha channel of our original bubble image. Without the follow-up destination in draw to reestablish our alpha channel, we would get squares like this.

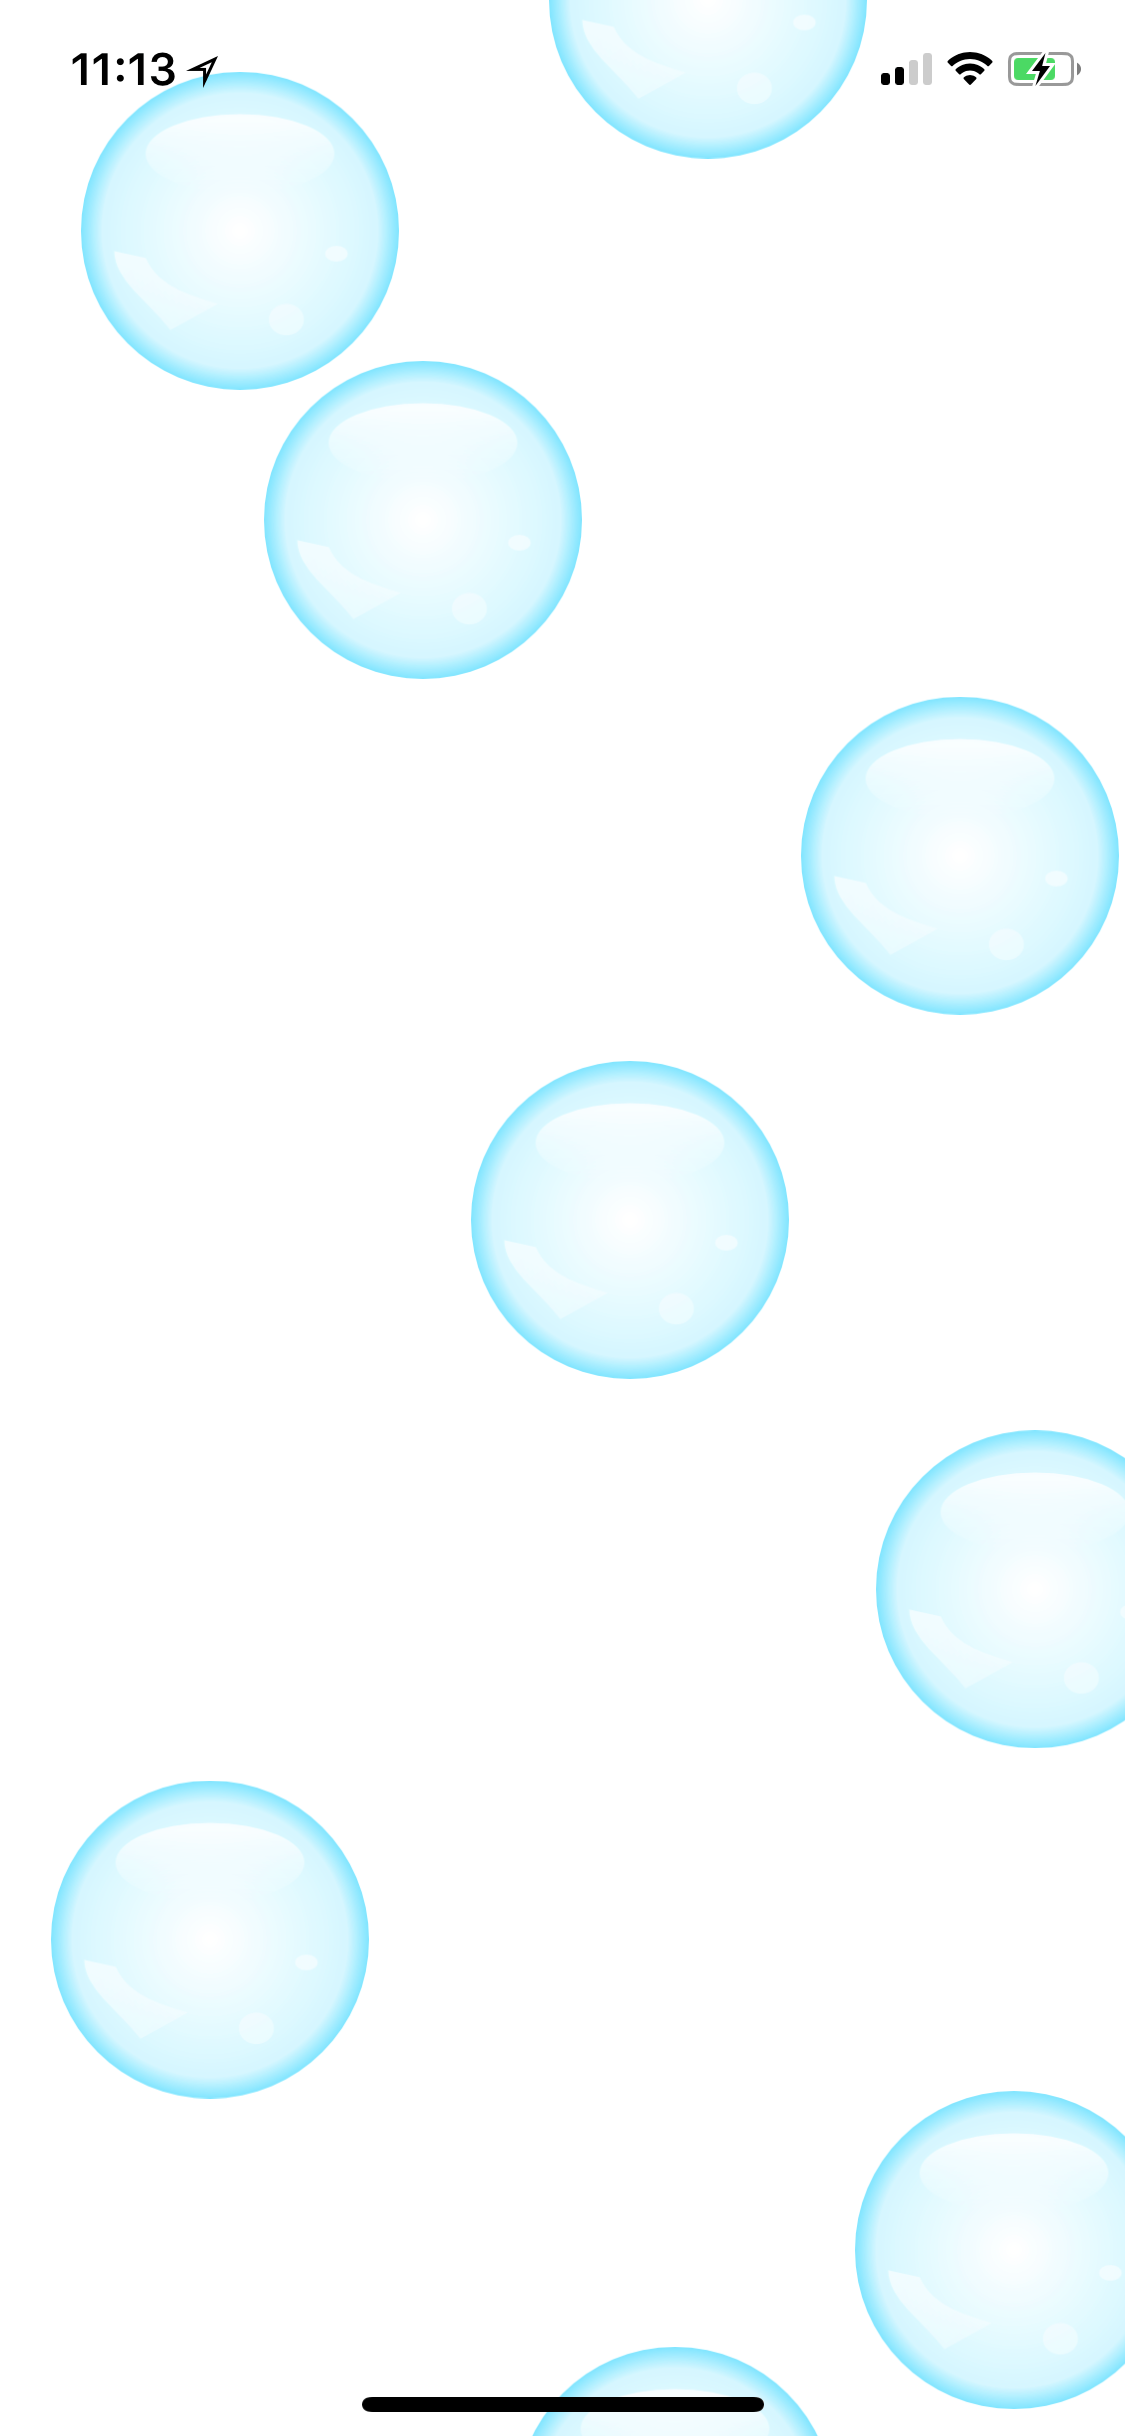
Fortunately, the second draw call fixes that and we get a lovely assortment of delightful bubbles. Run your app and see for yourself! Those pretty colors may just distract you from the curious order of the time stamps in my screenshots!
Conclusion
Blend functions are intimidating, but I hope this gives you a taste of the power they bring to the table. If bubbles are too serene for your taste, try making a simple game where the boss gradually changes to a deeper red hue as it edges closer to defeat. Throw in some erratic blinking for the full-blown arcade effect! Until next time, have fun adding a little color to your code!