Xamarin.Forms is an excellent cross-platform tool for enterprise apps that don’t require a lot of platform specific functionality. These sort of apps tend to have a lot of tableviews for displaying information or letting users enter data in a structured format. Considering the heavy reliance on tables, you’re inevitably going to be working with cells.
If you don’t need anything too complicated, you may be able to make do with Xamarin’s three default cells: EntryCell, SwitchCell, and TextCell. EntryCells have a label and a text field (known as an entry in Xamarin). SwitchCells have a label and a switch, while TextCells just have text. They’re all pretty self-explanatory and function as expected.
Why To Make a Custom EntryCell
This may all seem well and good, but after using the EntryCell for a while, you’ll start to notice a nagging issue, particularly on iOS. The entry only gets focus and brings up the keyboard if you actually tap in the entry portion of the EntryCell. This is frustrating, because there is a lot of white space, particularly on a large tablet, between the label and the entry. If you tap in this area, nothing will happen. It makes the app feel clunky and non-responsive.
Ideally, the app should respond to a tap anywhere in the cell and give focus to the entry. If we want this to happen, we’re going to have to rebuild this cell ourselves. Let’s get started!
Note: This is a much larger concern on iOS, since Android draws a line below the entry, making its bounds much easier to gauge. It also has minimal space between the label and the entry. Therefore, I’ll place the emphasis on iOS in this tutorial.
Initial Setup
Open Visual Studio and create a new solution. Use the Blank Forms App template. Name it “EntryCellApp” and use whatever you like for the Organization Identifier. Target Android and iOS (I’m using a MacBook for this tutorial, so I don’t have Windows as an option). Use .NET Standard for the Shared Code. Store the app wherever you like, and create the project. You should see a new project outline on your left that contains a shared codebase folder called EntryCellApp, along with separate folders for Android and iOS custom code, called EntryCellApp.Android and EntryCellApp.iOS, respectively.
Create a Borderless Entry
When you add an entry to a cell or anywhere else in your project, it will have a border. So you can see for yourself, go to MainPage.xaml. Modify the existing code to look like this.
<?xml version="1.0" encoding="utf-8"?>
<ContentPage xmlns="http://xamarin.com/schemas/2014/forms"
             xmlns:x="http://schemas.microsoft.com/winfx/2009/xaml"
             xmlns:local="clr-namespace:EntryCellApp"
             x:Class="EntryCellApp.MainPage">

    <StackLayout>
        <Entry MinimumWidthRequest="500"
               Placeholder="Border"
               HorizontalOptions="Center"
               VerticalOptions="CenterAndExpand"/>

    </StackLayout>
</ContentPage>
The project initially sets Android as the default project, but let’s change to iOS. Right click EntryCellApp.iOS and select “Set as Startup Project.” Now run the app on your device.

That border won’t look look particularly attractive inside a cell, since cells have their own borders. Unfortunately, there’s not a simple way to remove the border within the shared codebase of Xamarin Forms. You’ll have to use custom renderers for each platform.
Let’s start by creating a new C# class in the shared code called BorderlessEntry. It should look like this.
using System;
using Xamarin.Forms;

namespace EntryCellApp
{
    public class BorderlessEntry : Entry
    {

    }
}
There’s not much going on here. We’re just creating an entry subclass that we style with custom renderers.
Next, head to Android portion of your project and create a new C# class called BorderlessEntryRenderer.
using System;
using System.Collections.Generic;
using System.Linq;
using System.Text;

using System;
using System.Collections.Generic;
using System.Linq;
using System.Text;

using Android.App;
using Android.Content;
using Android.OS;
using Android.Runtime;
using Android.Views;
using Android.Widget;
using Xamarin.Forms.Platform.Android;
using Xamarin.Forms;
using EntryCellApp.Android.Renderers;
using EntryCellApp;

[assembly: ExportRenderer(typeof(BorderlessEntry), typeof(BorderlessEntryRenderer))]
namespace EntryCellApp.Android.Renderers
{
    public class BorderlessEntryRenderer : EntryRenderer
    {
        public static void Init() { }
        protected override void OnElementChanged(ElementChangedEventArgs<Entry> e)
        {
            base.OnElementChanged(e);
            if (e.OldElement == null)
            {
                Control.Background = null;
                var layoutParams = new MarginLayoutParams(Control.LayoutParameters);
                layoutParams.SetMargins(0, 0, 0, 0);
                LayoutParameters = layoutParams;
                Control.LayoutParameters = layoutParams;
                Control.SetPadding(0, 0, 0, 0);
                SetPadding(0, 0, 0, 0);
            }
        }
    }
}
You’ll want to make another BorderlessEntryRenderer in your iOS folder with the following code.
using System;
using System.Collections.Generic;
using System.Text;
using Xamarin.Forms;
using Xamarin.Forms.Platform.iOS;
using System.ComponentModel;
using CoreGraphics;
using EntryCellApp;
using UIKit;
using Xamarin.Forms.Internals;
using System.Reflection;
using System.Diagnostics;
using EntryCellApp.iOS.Renderers;

[assembly: ExportRenderer(typeof(BorderlessEntry), typeof(BorderlessEntryRenderer))]
namespace EntryCellApp.iOS.Renderers
{
    public class BorderlessEntryRenderer : EntryRenderer
    {
        public static void Init() { }
        protected override void OnElementPropertyChanged(object sender, PropertyChangedEventArgs e)
        {
            base.OnElementPropertyChanged(sender, e);
            Control.Layer.BorderWidth = 0;
            Control.BorderStyle = UITextBorderStyle.None;
        }
    }
}
Now let’s return to MainPage.xaml and change our entry control to a BorderlessEntry.
<local:BorderlessEntry MinimumWidthRequest="500"
    Placeholder="Border"
    HorizontalOptions="Center"
    VerticalOptions="CenterAndExpand"/>
You don’t have to change the placeholder text—it’s simply there to drive home the excitement of our borderless control! Your screen should look something like this.

Note that Alex Dunn’s GitHub has a nice collection of borderless Xamarin controls like this borderless entry, which are helpful building blocks for making custom cells. https://github.com/SuavePirate/SuaveControls.MaterialFormControls
Create a TableView
Before we can make our custom cell, we should go ahead and create a tableview where we can put it. Delete the BorderlessEntry in MainPage.xaml and replace it with a tableview.
<TableView Intent="Form">
    <TableRoot>
        <TableSection Title="Traditional EntryCell">
        <EntryCell Label="Name:"
        Text=""/>
    </TableSection>
    </TableRoot>
</TableView>
We’re using a regular EntryCell in this section of the table, so you can get a feel for how it works. Run this on your device.
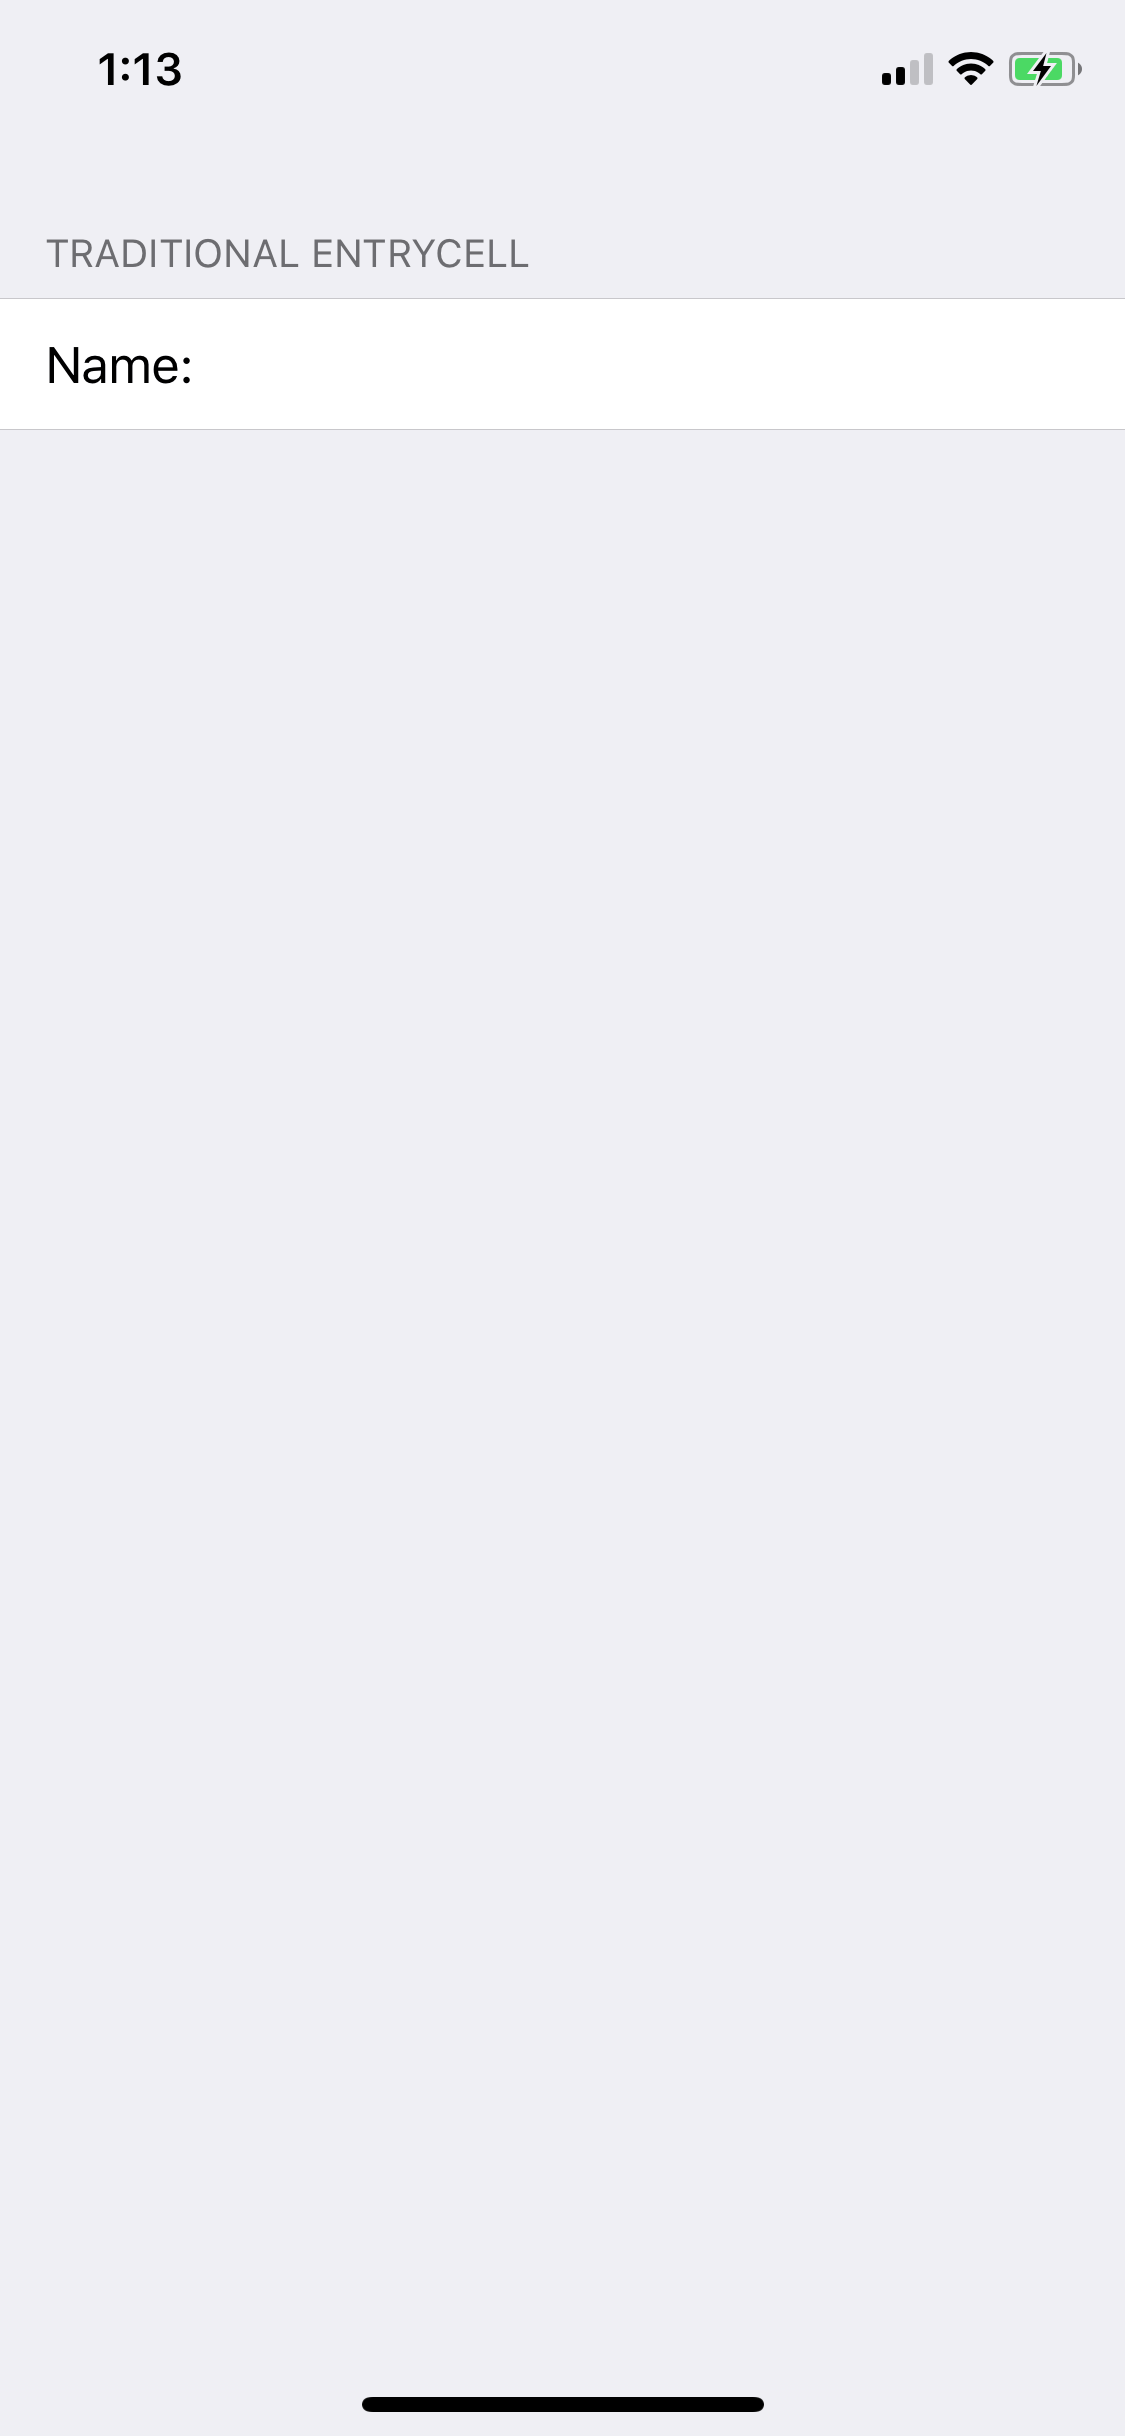
You’ll find that there’s a sort of dead area between the label and the entry that you can tap without highlighting the entry. We can do better.
Create a Custom Cell
Now it’s time for the custom cell class itself. In the shared portion of the project, create a new C# class called CustomEntryCell. The class should contain the following code.
using System.Diagnostics;
using System.Runtime.CompilerServices;
using EntryCellApp;
using Xamarin.Forms;

namespace EntryCellApp
{
    public class CustomEntryCell : ViewCell
    {
        Label fieldLabel;
        public BorderlessEntry textBox;
        private Grid grid;

        public static readonly BindableProperty FieldProperty = BindableProperty.Create("Field", typeof(string), typeof(CustomEntryCell), "Field");
        public static readonly BindableProperty TextProperty = BindableProperty.Create("Text", typeof(string), typeof(CustomEntryCell), "");

        public string Field
        {
            get { return (string)GetValue(FieldProperty); }
            set { SetValue(FieldProperty, value); }
        }

        public string Text
        {
            get { return (string)GetValue(TextProperty); }
            set { SetValue(TextProperty, value); }
        }

        public CustomEntryCell()
        {
            grid = new Grid();
            double fieldPercentWidth = 0.4;
            if (Device.Idiom == TargetIdiom.Tablet)
            {
                fieldPercentWidth = 0.3;
            }
            grid.ColumnDefinitions.Add(new ColumnDefinition { Width = new GridLength(fieldPercentWidth, GridUnitType.Star) });
            grid.ColumnDefinitions.Add(new ColumnDefinition { Width = new GridLength(1 - fieldPercentWidth, GridUnitType.Star) });

            fieldLabel = new Label()
            {
                HorizontalTextAlignment = TextAlignment.Start,
                VerticalTextAlignment = TextAlignment.Center,
            };

            textBox = new BorderlessEntry()
            {

            };

            textBox.Unfocused += TextBox_Unfocused;

            fieldLabel.Margin = new Thickness(15, 0, 0, 0);
            textBox.Margin = new Thickness(0, 0, 5, 0);

            grid.Children.Add(fieldLabel);
            grid.Children.Add(textBox, 1, 0);

            var tapGestureRecognizer = new TapGestureRecognizer();
            tapGestureRecognizer.Tapped += (s, e) => {
                textBox.Focus();
            };
            grid.GestureRecognizers.Add(tapGestureRecognizer);

            View = grid;
        }

        void TextBox_Unfocused(object sender, FocusEventArgs e)
        {
            Text = textBox.Text;
        }

        protected override void OnPropertyChanged([CallerMemberName] string propertyName = null)
        {
            base.OnPropertyChanged(propertyName);

            if (BindingContext != null)
            {
                fieldLabel.Text = Field;
                textBox.Text = Text;
                if (IsEnabled)
                {
                    fieldLabel.TextColor = Color.Black;
                }
                else
                {
                    fieldLabel.TextColor = Color.LightGray;
                }
            }
        }

        protected override void OnBindingContextChanged()
        {
            base.OnBindingContextChanged();

            if (BindingContext != null)
            {
                fieldLabel.Text = Field;
                textBox.Text = Text;
                if (IsEnabled)
                {
                    fieldLabel.TextColor = Color.Black;
                }
                else
                {
                    fieldLabel.TextColor = Color.LightGray;
                }
            }
        }
    }
}
There’s a good bit going on here, so let’s break it down. The first chunk of code before the constructor establishes bindable “Field” and “Text” properties on the cell. Yes, I know that the original Entry cell calls the first property “Label” instead of “Field.” I just didn’t want to write “Label labelLabel” in the code!
In the constructor, we lay out the label and our custom entry. You can play around with the exact placement if you want to more closely match the original EntryCell. Then, we add an unfocused handler to save the entry’s text to our binding context when the user is done typing. Toward the end of the constructor, you’ll find a TapGestureRecognzier that sets the focus to the entry no matter where you tap in the cell. If Xamarin Forms included those couple lines in their default version of EntryCell, you wouldn’t need to read this tutorial!
The OnPropertyChanged and OnBindingContextChanged functions update the binding context, as well as adjust the text color to gray if the cell is disabled. There are other minor tweaks you’ll want to add if you’re trying to mimic all of the functionality of the stock EntryCell, but this gives you a good start.
Add a View Model
Since we built our cell to handle binding, we should make sure it works. You may have worked with BindableBase.cs in one of your projects. It’s a helpful inheritable base to use for your view models to easily manage binding. If you have a copy handy, throw it in your project. Otherwise, create a new C# class in the shared section of your project called BindableBase. Copy in this code.
using System;
using System.ComponentModel;
using System.Runtime.CompilerServices;

namespace EntryCellApp
{
    public abstract class BindableBase : INotifyPropertyChanged
    {
        public event PropertyChangedEventHandler PropertyChanged;

        protected void OnPropertyChanged([CallerMemberName] string propertyName = null) =>
        PropertyChanged?.Invoke(this, new PropertyChangedEventArgs(propertyName));

        protected bool SetProperty<T>(ref T storage, T value,
          [CallerMemberName] String propertyName = null)
        {
            if (object.Equals(storage, value)) return false;
            storage = value;
            OnPropertyChanged(propertyName);
            return true;
        }
    }
}
Now make another C# file in the shared project called ViewModel. We will keep things simple and just have a single field called name.
using System;
using System.Diagnostics;
using Xamarin.Forms;

namespace EntryCellApp
{
    public class ViewModel : BindableBase
    {
        public ViewModel()
        {

        }

        private string _name;
        public string Name
        {
            get => _name;
            set
            {
                SetProperty(ref _name, value);
                Debug.WriteLine(_name);
            }
        }
    }
}
Notice that we added a log in the Name setter, so we can get a behind the scenes look at the magic!
Bring It All Together
It’s time to put our custom cell to the test. Return to MainPage.xaml. We’ll add a new section to the tableview to test the cells side by side.
<TableView Intent="Form">
    <TableRoot>
        <TableSection Title="Traditional EntryCell">
            <EntryCell Label="Name:"  Text=""/>
        </TableSection>
        <TableSection Title="Custom EntryCell">
            <local:CustomEntryCell x:NameCell Field="Name:" Text="{Binding Name, Mode=TwoWay}"/>
        </TableSection>
    </TableRoot>
</TableView>
Since we’re binding the entry’s text to our view model, we need to establish this connection in the code-behind. Open up MainPage.xaml.cs. Add the following line to the end of the constructor.
BindingContext = new ViewModel();
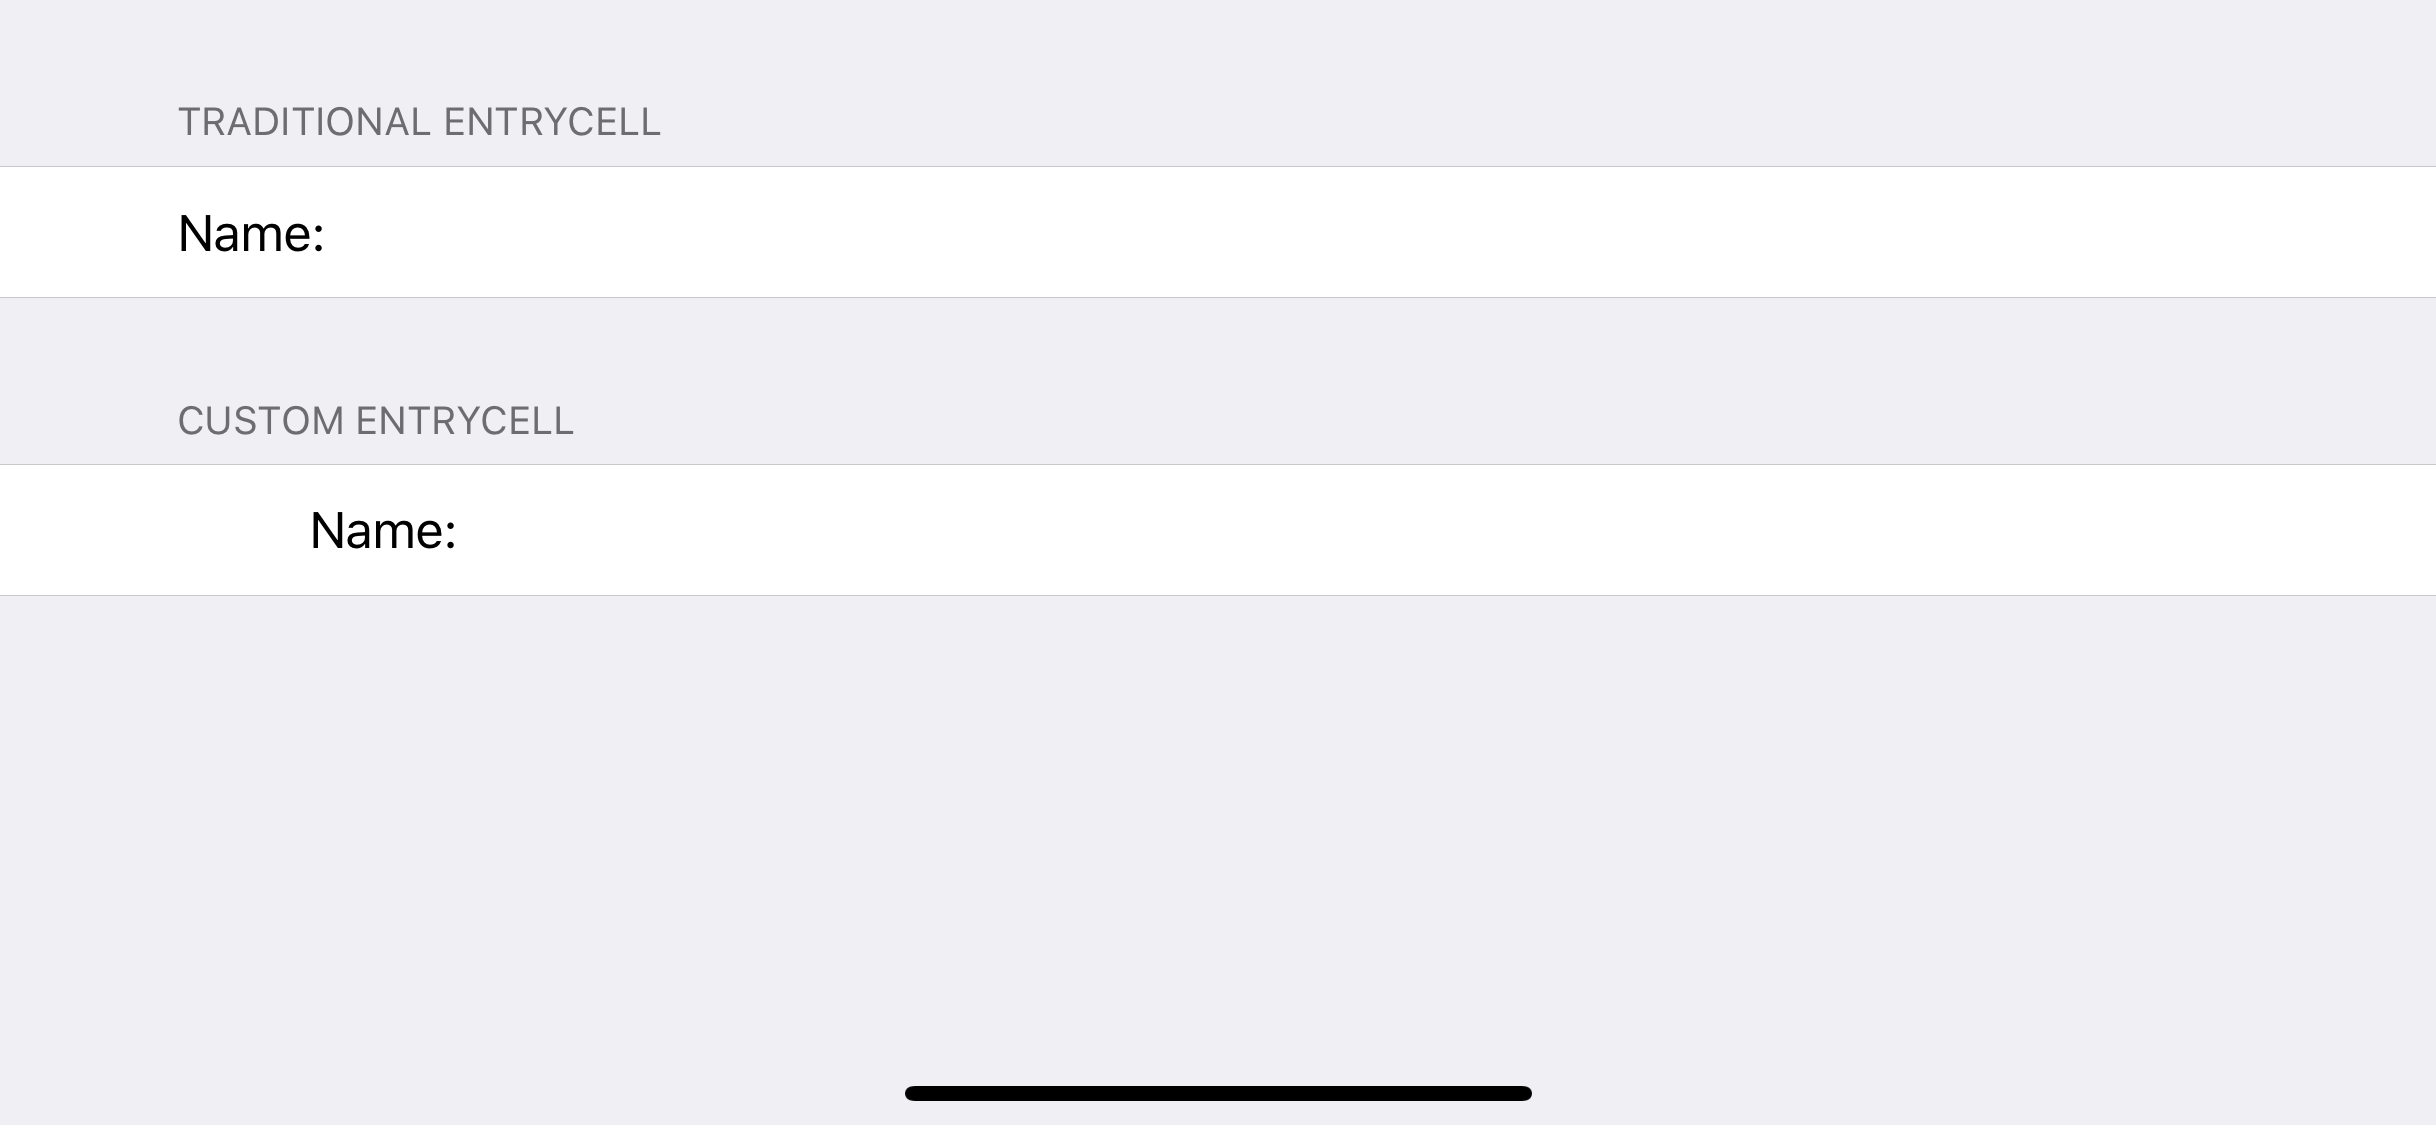
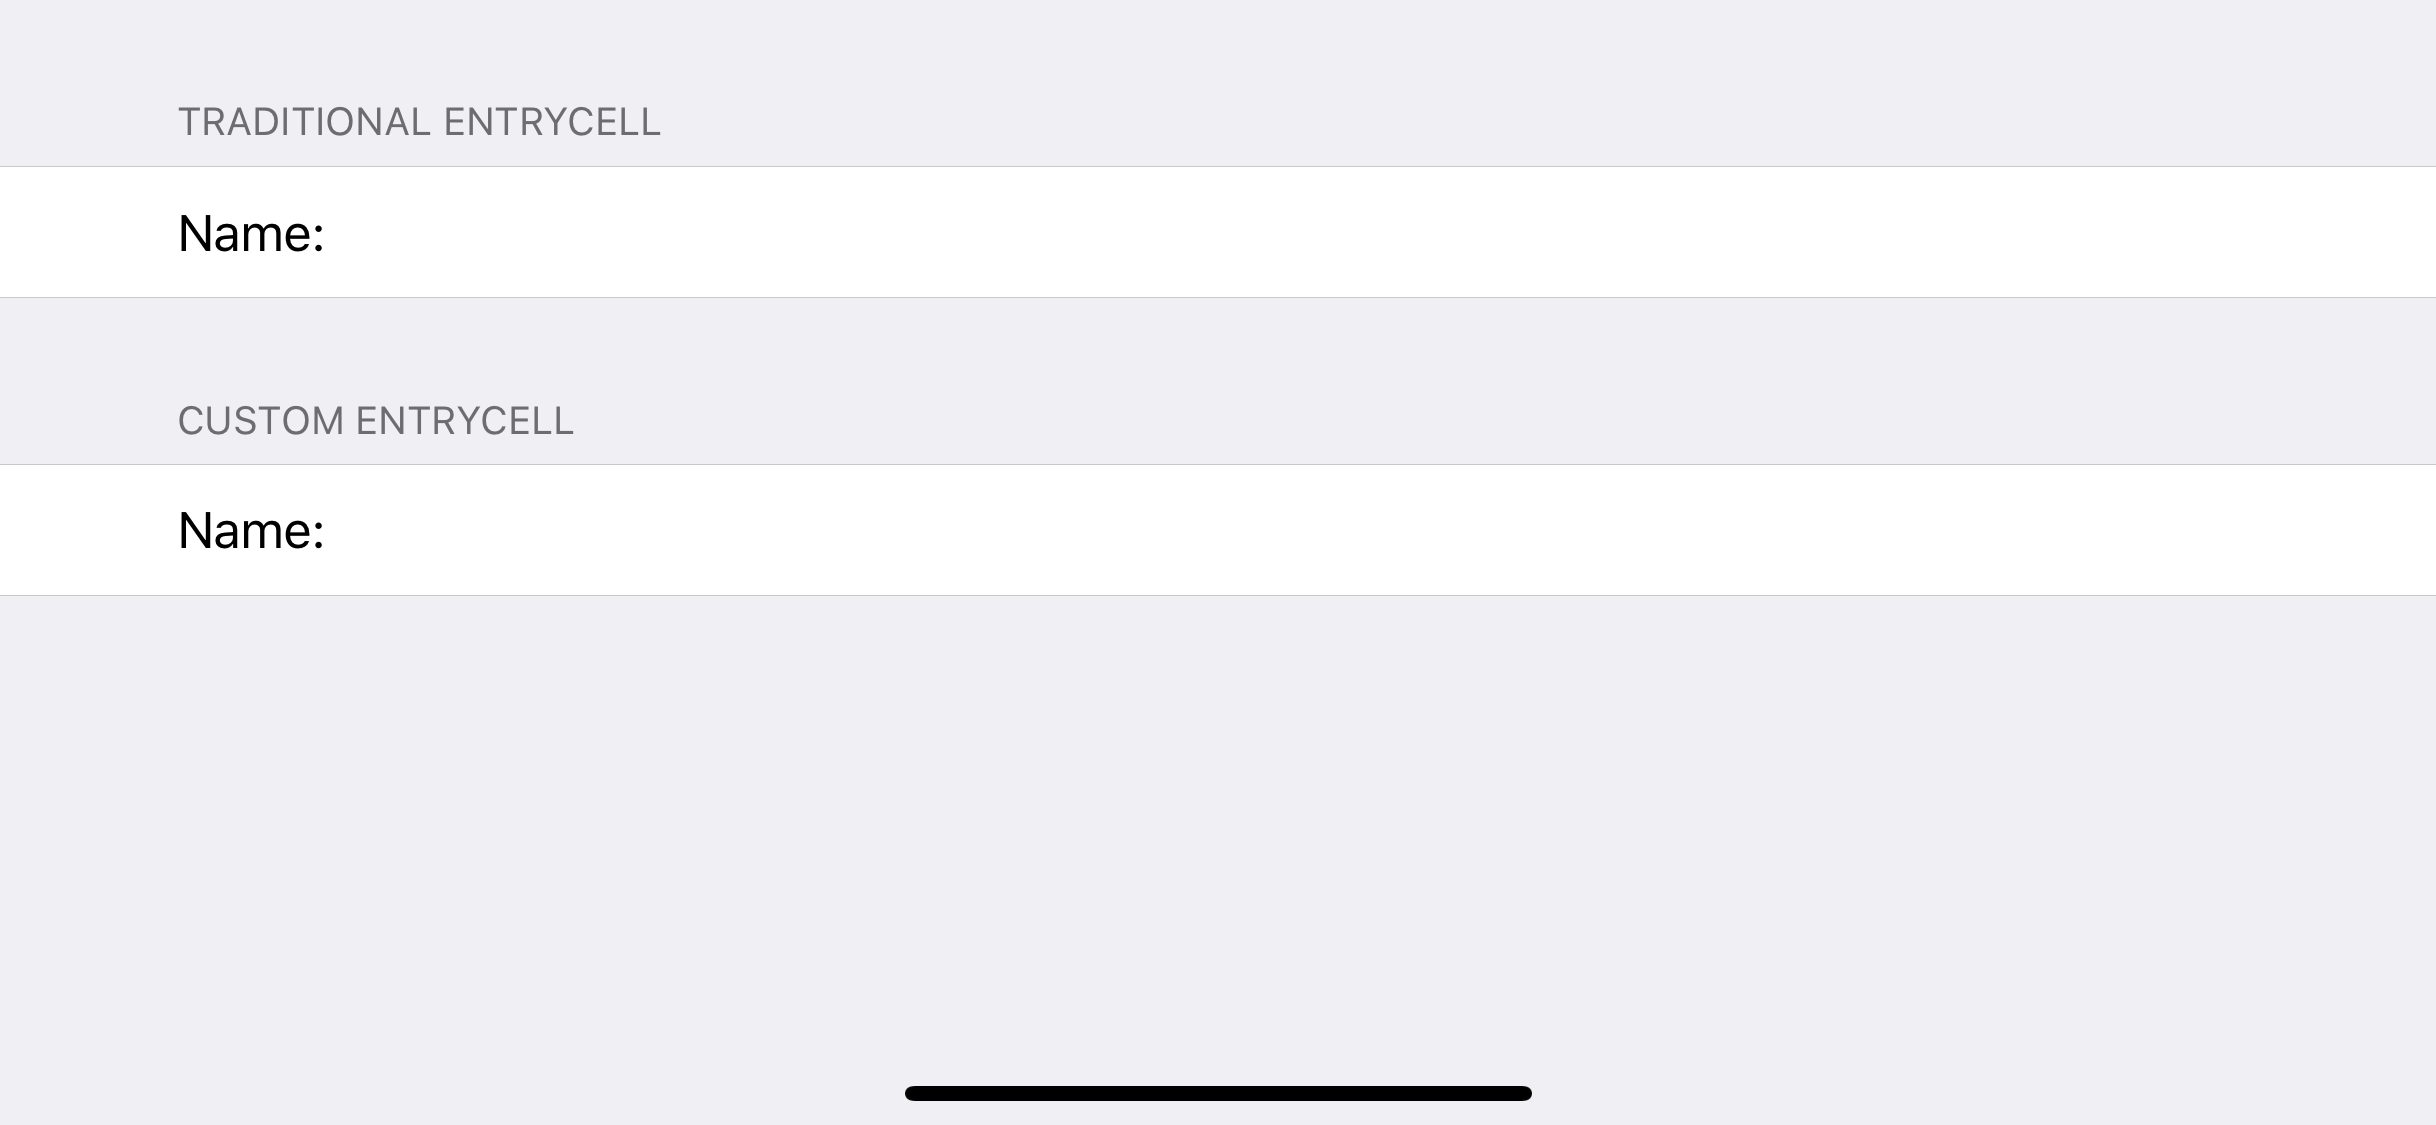
Now give the project a run.
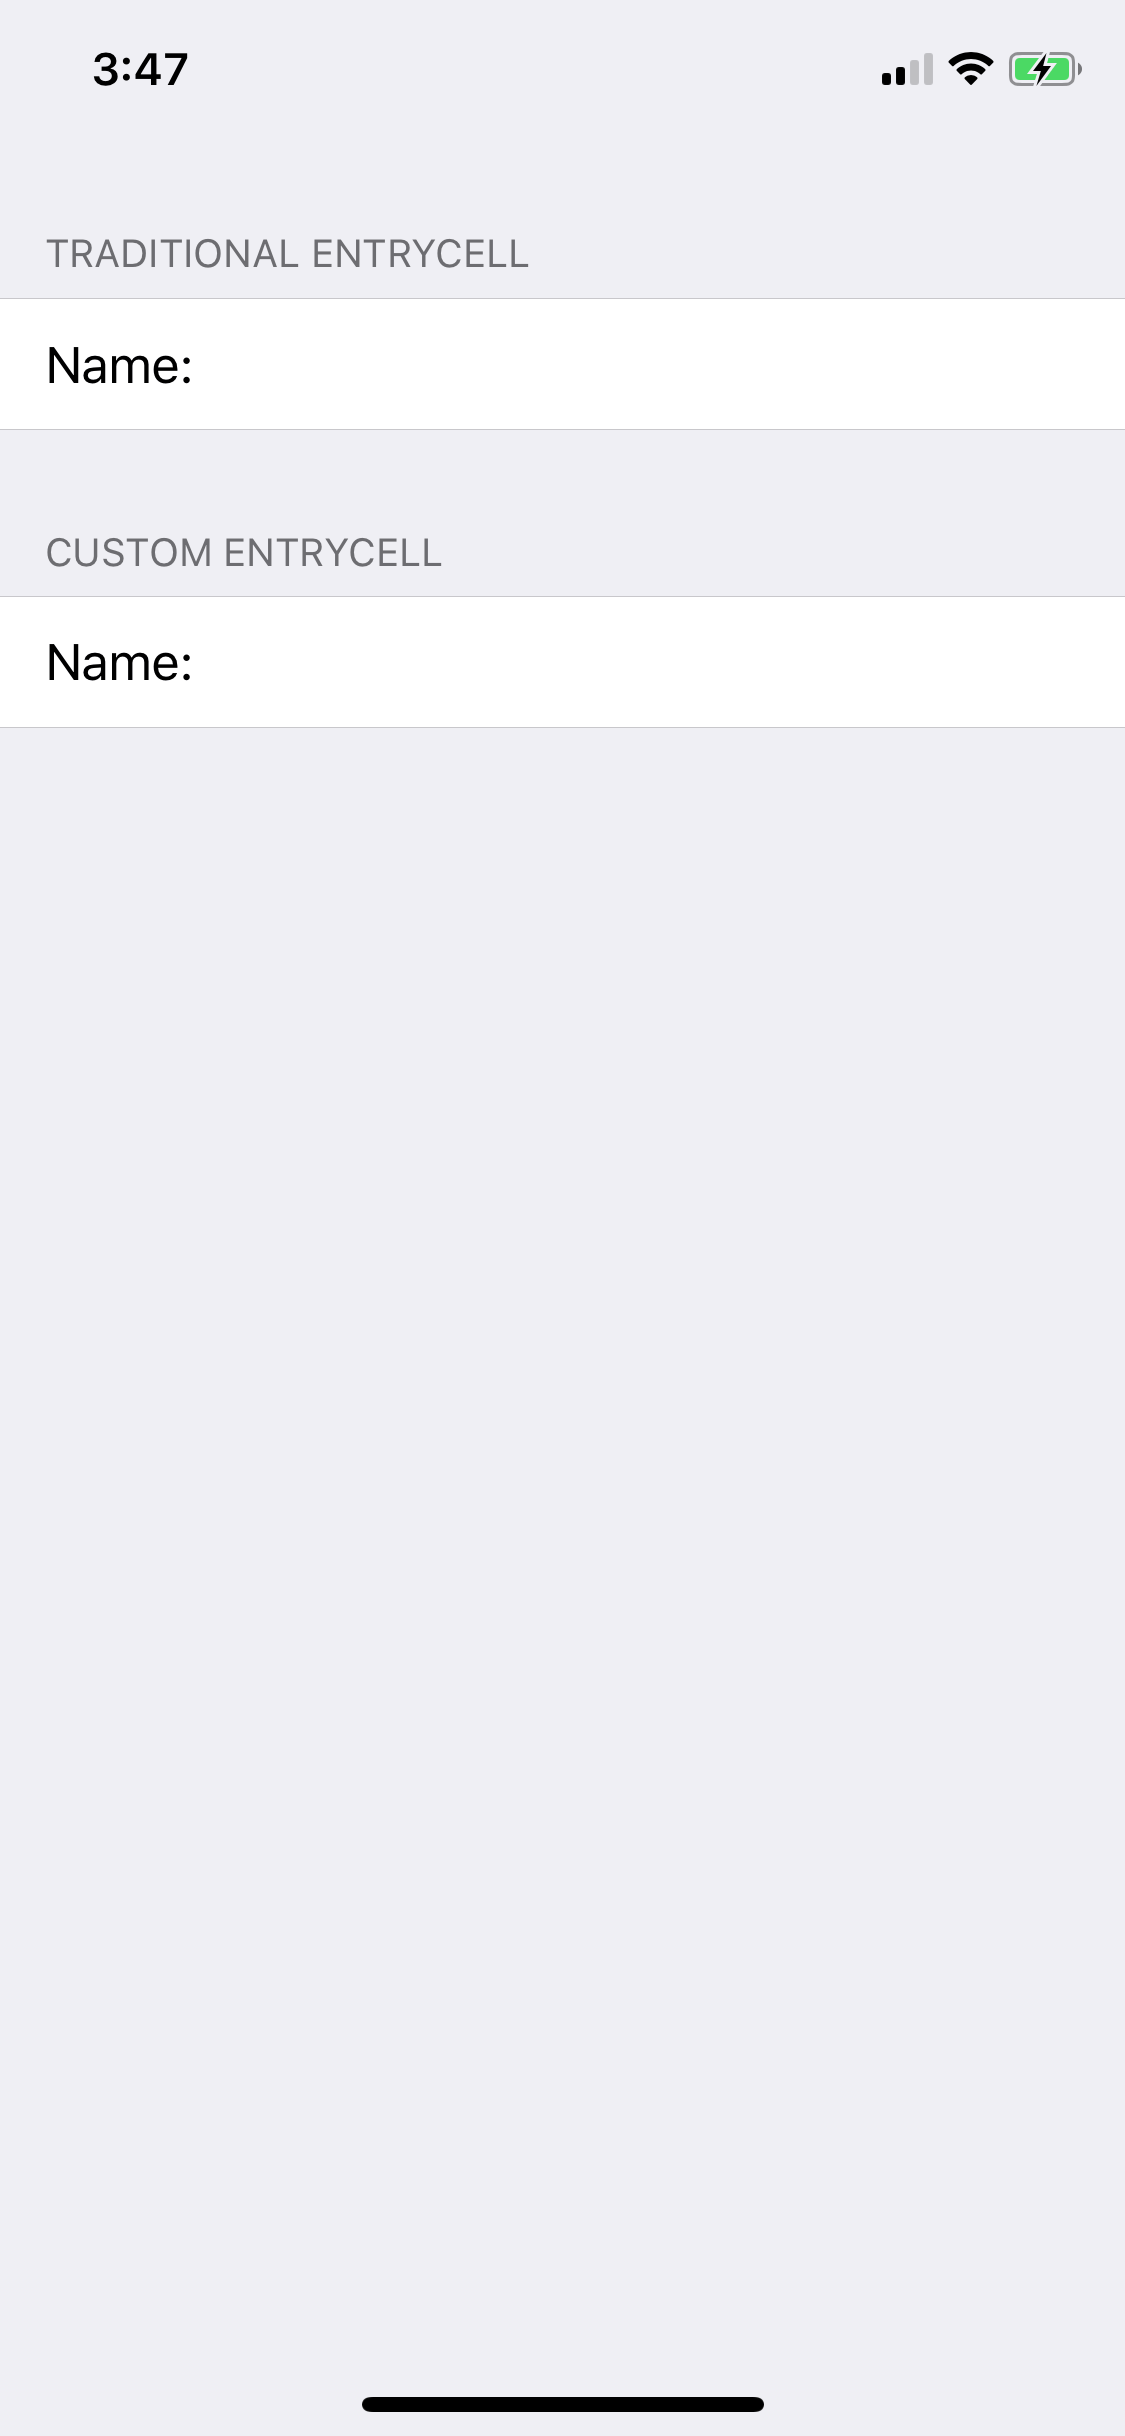
That top cell is ok, but how about that bottom cell! You can tap on it anywhere you please and activate the entry. Also, make sure to check your console to watch the contents of your cell getting set in the view model!
A Final Step for iPhone X
If you’re running on iPhone X, you may have noticed that your cell contents shift awkwardly to the right when your phone is turned in the landscape orientation. Xamarin Forms attempts to handle the iPhone X notch by itself sometimes, but it often messes things up instead.
We’re going to fix this by counteracting what Xamarin Forms is doing. Add the following function to CustomEntryCell.
public void AdjustForSafeArea(double horizontalAdjustment)
{
    grid.Margin = new Thickness(horizontalAdjustment * -1, 0, horizontalAdjustment * 1, 0);
}
Back in MainPage.xaml.cs, add this line at the top of the class.
using Xamarin.Forms.PlatformConfiguration.iOSSpecific;
Then add two instance variables.
private double _width, _height;
Next, add a function at the bottom to check for orientation changes. We’ll let our custom cell know about any changes, so it can counteract the Xamarin Forms horizontal adjustment.
protected override void OnSizeAllocated(double width, double height)
{
    base.OnSizeAllocated(width, height);
    if ((int)width != (int)_width || (int)height != (int)_height)
    {
        _width = width;
        _height = height;
        var safeAreaInset = On<Xamarin.Forms.PlatformConfiguration.iOS>().SafeAreaInsets();

        if (width > height)
        {
            nameCell.AdjustForSafeArea(safeAreaInset.Left);
        }
        else
        {
            nameCell.AdjustForSafeArea(0);
        }
    }
}
Give the app a fresh build and make sure everything is in order.
Conclusion
The tapping issue with the default EntryCell has always bugged me. While this approach takes a bit of setup, it’s a viable workaround around once you’ve laid the groundwork. You’ll also want to use the same relative column sizes within your grids on other custom cells to make sure all of your text lines up nicely. As always thanks for reading the HangZone blog.