If you’ve ever spent any time on Twitch, you’re likely familiar with speed running. Essentially, gamers try to complete video games as quickly as possible. Often aided by glitches and sequence breaking, speed runners spend hundreds if not thousands of hours practicing their game of choice.
Even though we’re mobile game developers at HangZone, the console classic Super Mario Bros. is my favorite game to watch players run. The runs are much quicker than those of most other games, with the current world record at less than 5 minutes. That’s a huge plus, because I can stop what I’m doing and watch a new record as soon as it happens. I can’t say the same for the popular 100 percent runs in Ocarina of Time, which clock in just below four hours.
Due to the short length of the game, Super Mario Bros. runs are incredibly optimized. This makes it all the more satisfying to see any incremental improvements. There’s a quirk to Super Mario Bros., however, that makes it relatively difficult for players to shave time off of levels. This odd phenomenon is known as the frame rule, and many casual observers and new players have a hard time understanding it. For that reason, I decided to write a short programming tutorial to clear up the concept.
The Frame Rule
Before we dig into the programming, let me give a quick explanation of how the frame rule works. There’s a scheduled function in Super Mario Bros. that checks to see if you’ve completed a level. The function fires once every 21 frames. The game runs at 60 frames per second, so this function executes every 0.35 seconds.
You may have already grasped the implications, but let’s write some code ourselves to create a helpful visual.
iOS Frame Rule Timer
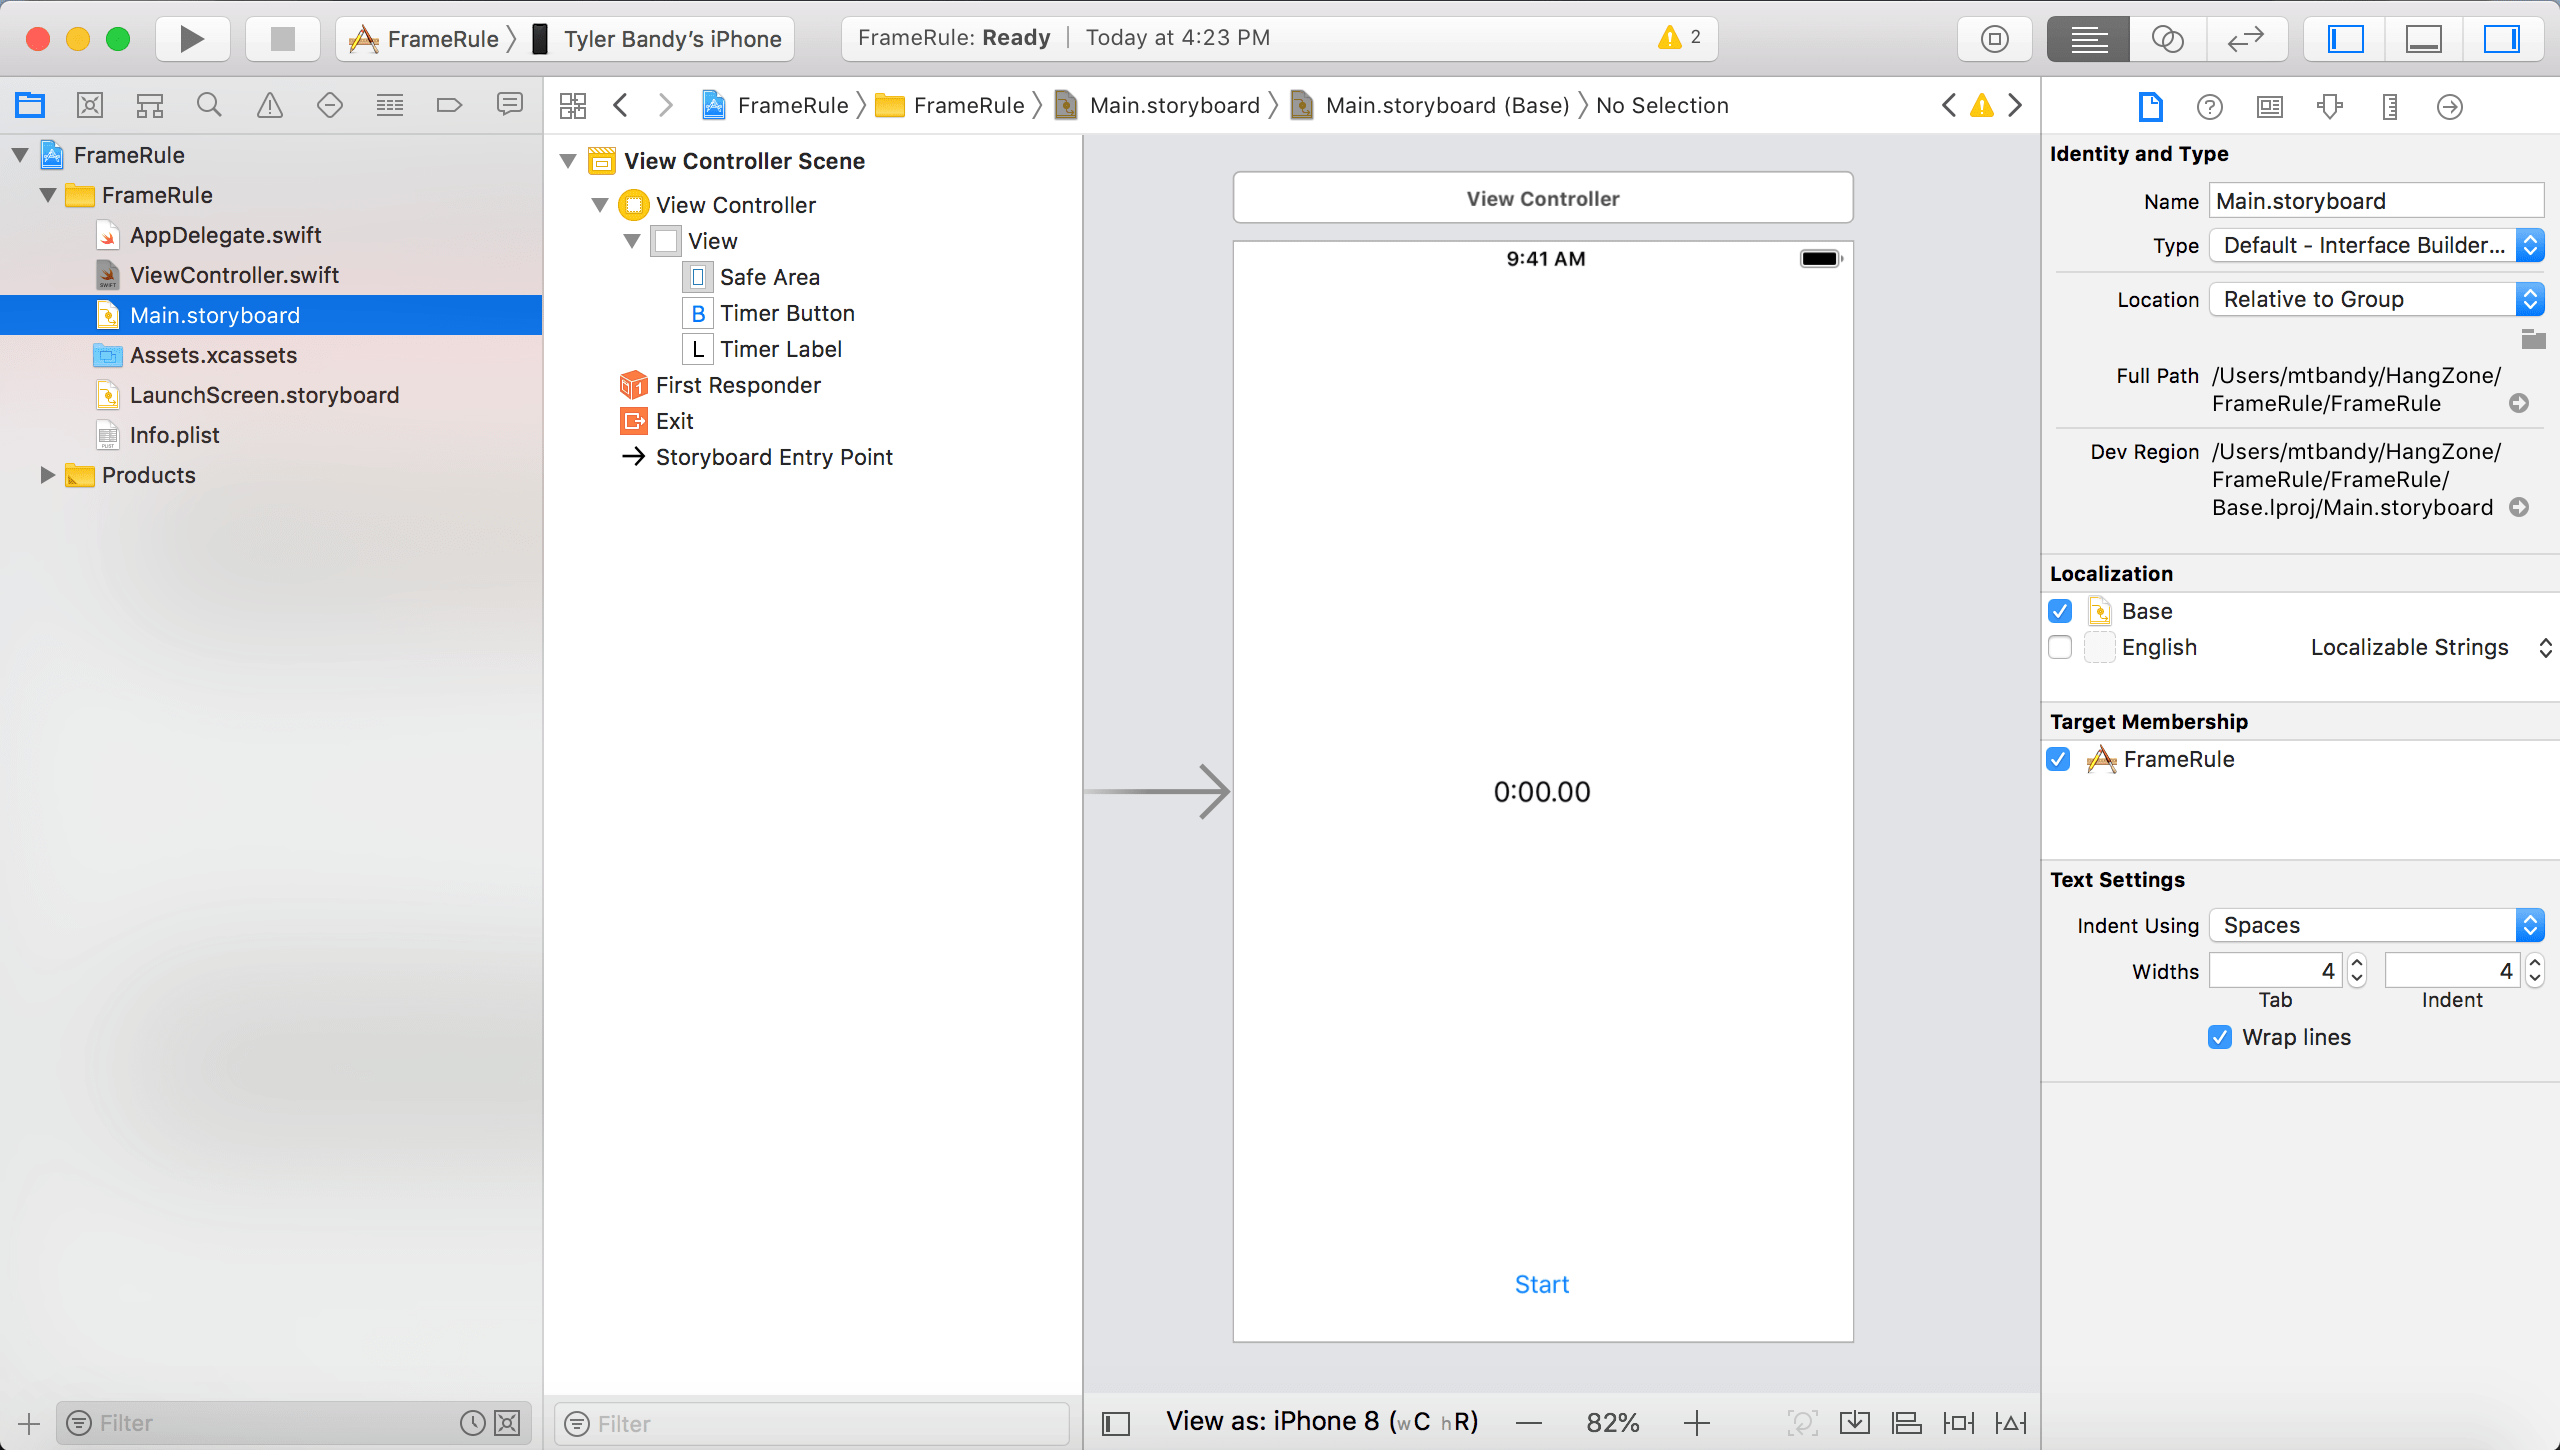
Open up Xcode and create a new single page Swift project. I called mine FrameRule. Head over to Main.storyboard. Add a label in the middle of the screen, and stretch it’s width across the screen. Write 0:00.00 for the label’s initial text. This will be our timer.
Now drag a button to the bottom of the screen. Write Start for the button’s label. We’ll skip the constraints, since this is just a quick demonstration.
Your storyboard should look something like this.
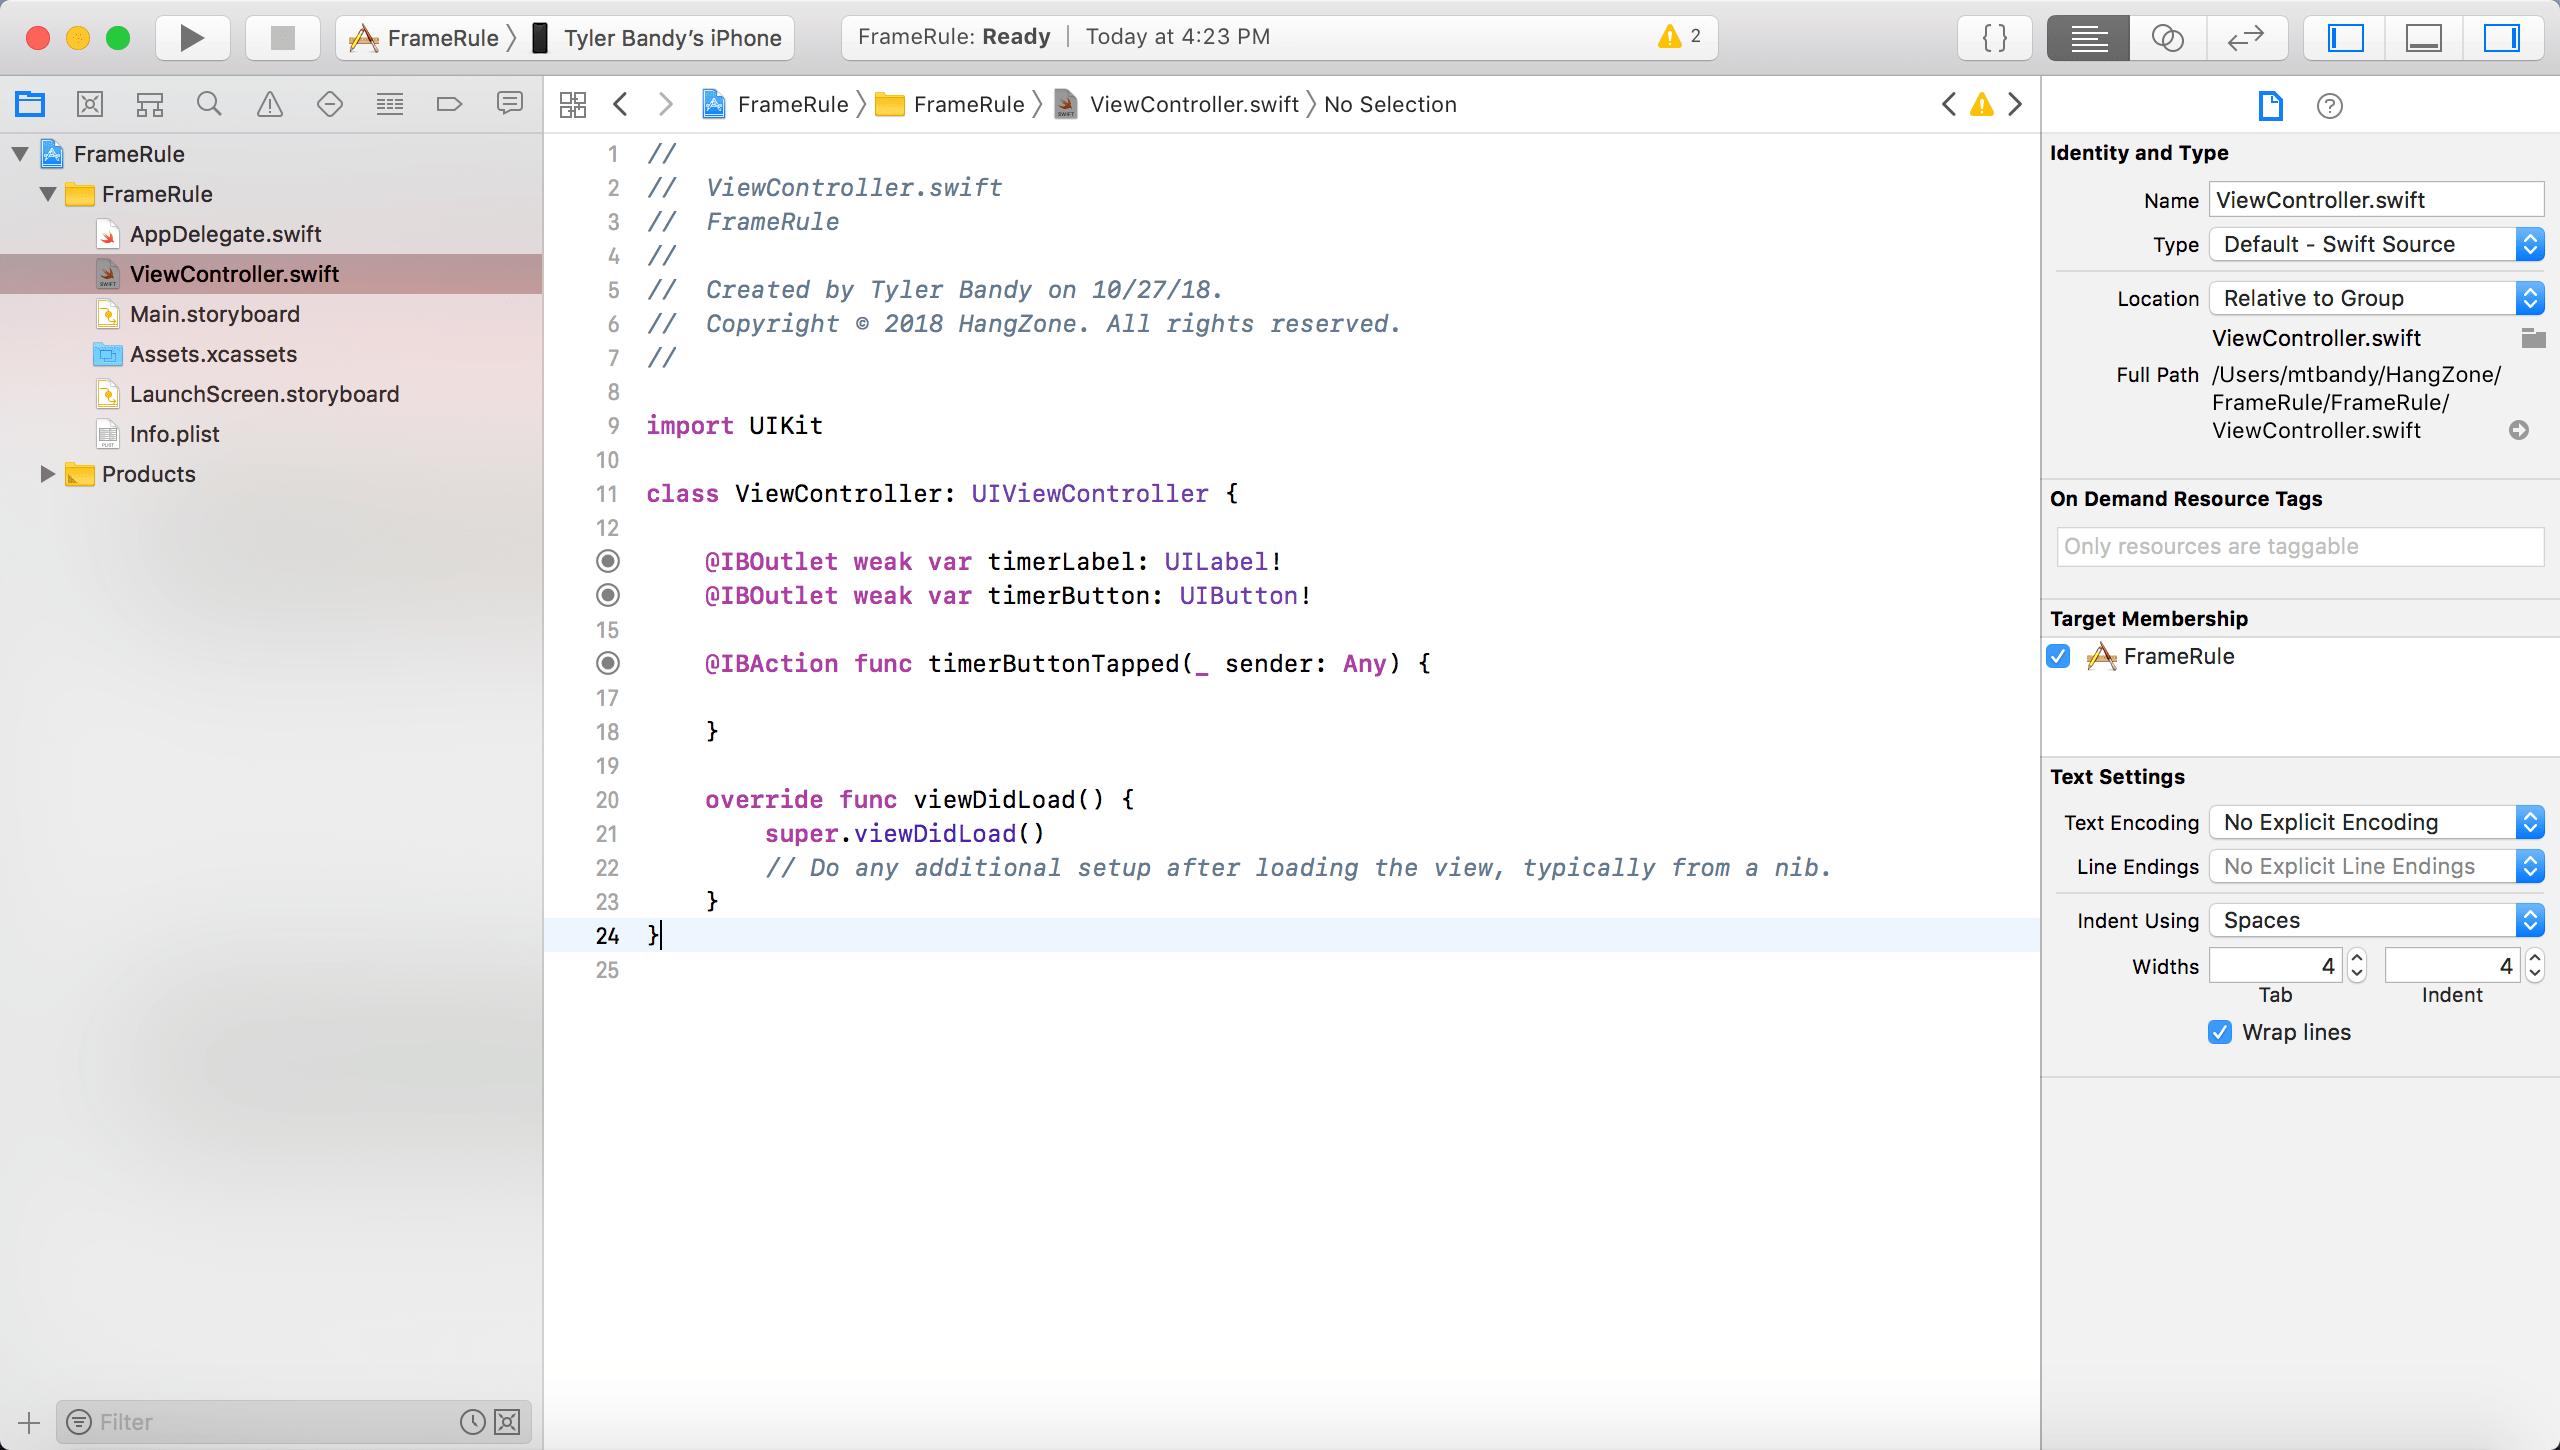
Put Xcode into Assistant editor mode, and link your label over to ViewController.swift as an IBOutlet. Call it timerLabel. Now do the same for the button. Let’s call it timerButton. The button also needs an action, so link it again to create a new IBAction. We’ll call it timerButtonTapped. Your code should look like this.
Writing the Timer Code
I’m going to go ahead and write the entire contents of ViewController.swift, and then we can break it down together. Here’s the code.
import UIKit

class ViewController: UIViewController {

    var elapsedTime = 0.0
    var timer: Timer?
    var frameRuleTimer: Timer?
    var isPlayerFinished = true
    var isFrameRuleFinished = true

    @IBOutlet weak var timerLabel: UILabel!
    @IBOutlet weak var timerButton: UIButton!

    @IBAction func timerButtonTapped(_ sender: Any) {
        if (isPlayerFinished && isFrameRuleFinished) {
            isPlayerFinished = false
            isFrameRuleFinished = false
            timerButton.setTitle("Stop", for: .normal)
            elapsedTime = 0.0
            timer = Timer.scheduledTimer(timeInterval: 1/60.0, target: self, selector: #selector(fireTimer), userInfo: nil, repeats: true)
            frameRuleTimer = Timer.scheduledTimer(timeInterval: 21/60.0, target: self, selector: #selector(fireFrameRuleTimer), userInfo: nil, repeats: true)
        } else if (!isPlayerFinished) {
            isPlayerFinished = true
        }
        // the third case is finished, but the frame rule isn't finished yet -- don't do anything for that case
    }

    override func viewDidLoad() {
        super.viewDidLoad()
        // Do any additional setup after loading the view, typically from a nib.
    }

    @objc func fireTimer() {
        if (!isFrameRuleFinished) {
            elapsedTime += 1/60.0
            let minutes = floor(elapsedTime / 60)
            let seconds = elapsedTime - (minutes * 60)
            timerLabel.text = String(format:"%i", minutes) + ":" + String(format: "%05.2f", seconds)
            if (isPlayerFinished) {
                self.view.backgroundColor = UIColor.red
            }
        } else {
            self.view.backgroundColor = UIColor.white
            timer?.invalidate()
            timerButton.setTitle("Start", for: .normal)
        }
    }

    @objc func fireFrameRuleTimer() {
        if (isPlayerFinished) {
            isFrameRuleFinished = true
            frameRuleTimer?.invalidate()
        }
    }
}
Let’s start at the start. In addition to the IBOutlets that we hooked up, we need five additional variables. The first variable, elapsedTime, is a double to keep track of the time. Next, timer is a timer that we’ll call every 60th of a second. This replicates the 60 frames per second from Super Mario Bros. Similarly, frameRuleTimer will mimic the 21 frames per second timer from the game. If we were making a real game, we wouldn’t use Swift’s Timer class for frame perfect precision, but it will do for this tutorial. Finally, we have two bools—isPlayerFinished and isFrameRuleFinished—to track when the player actually finishes the level and when the 21 frame per second timer realizes it.
Most of the action takes place in timerButtonTapped, which gets called whenever you press the timerButton. Imagine you press this at the start of a level. Your first press of this button will reset the clock to zero, fire up the timers, and set the bools to denote the player has started the level. A second tap of the button will change a bool to document that the player has finished the level.
The only remaining codes involves the two timers. The fireTimer function increments the timer and formats it for the label, so long as the frame rule isn’t finished. Once this function sees that the player has finished, it changes the background of the screen to red. The timer keeps running though until the frame rule finishes, at which time the screen returns to white and the timer stops. All that fireFrameRuleTimer does is change the isFrameRuleFinished bool to true once it realizes the player has finished the level.
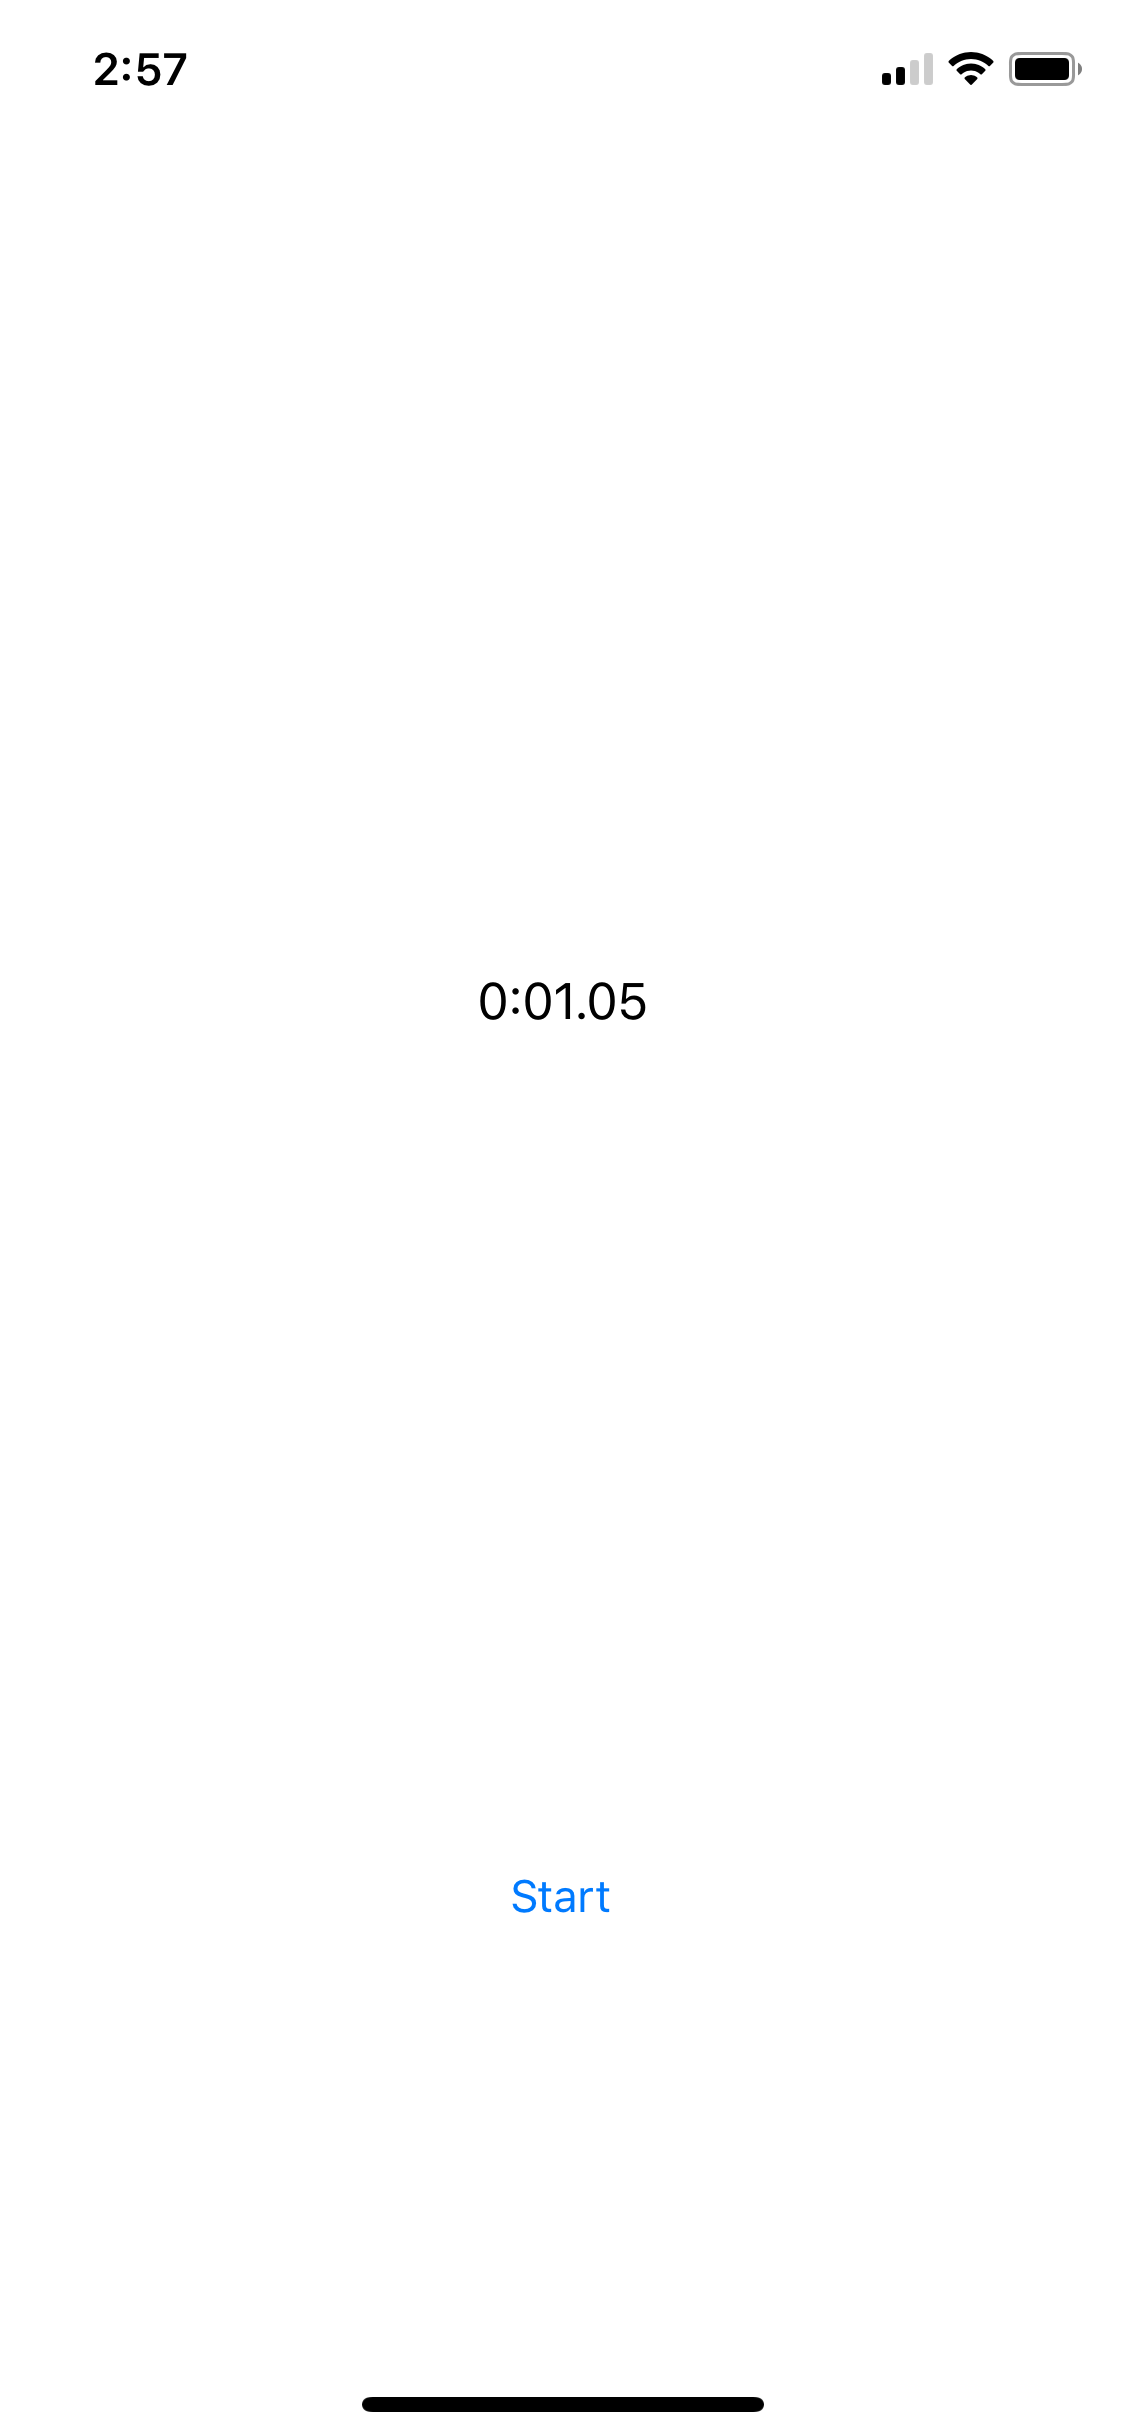
Testing the App
Go ahead and run the app. Try starting and stopping the timer. If you have a copy of Super Mario Bros., use it to time yourself on level 1-1. You’ll notice that whenever you stop the timer, the screen will turn to red for short period of time. It could be almost instantaneous or it could last for around a third of a second. You’ll also notice that all of your times are multiples of 0.35 seconds.
Herein lies the issue with speed running Super Mario Bros. levels. You might beat your previous time on a level by 0.3 seconds, but as long as the two times are part of the same frame rule, they’ll be effectively treated as the same time. Mario can’t advance to the next level until the game realizes that he’s completed the level. The longer you see red after you tap the stop button in the app, the longer you were stuck waiting on the function to execute. Although that’s wasted effort for the current run, you can optimistically view a lengthier red stretch as evidence that your skill has almost advanced enough to shave off that next frame rule!
Final Thoughts
Hopefully this coding exercise helped you to visualize frame rules a little better. It’s likely that Nintendo only scheduled this function to check every 21 frames in order to improve performance, given the limited computing power of the NES. I doubt they considered the speed running implications this decision would have 30 years later. Personally, I like the importance of frame rules in this game, since it makes it all the more exciting and impressive when someone manages to knock a frame rule off of the record, as opposed to a single frame.
Armed with some new insight and a timer, go give the game a run! We’ll be here when you get back. As always, thanks for following along with our tutorials on the HangZone blog.